


Whew, after close to one week in bed sniffing away with the flu, I’m actually feeling alive again and more than ready to get back to work! Unfortunately I cursed Teddy with the flu as well, so he’s been down and out for a while too… Fred seems to have remained immune this time around!
Because 2/3rds of the company has been unable to do much work the past week, there aren’t much in terms of news! We are drawing ever closer to being able to move into our new office space though, so that’s super exciting and we’re all looking forward to it (and have already begun planning how we’ll move everything and changes we need to make to make it all work for us).
As I mentioned last week, the office is actually already available to us (since Dec 1st), but we’re waiting to move in until the 6th (this Wednesday) when we’ll get helped by a moving company. Since we don’t have too much stuff to move but the items we do have are quite cumbersome to transport in the tiny car that’s available to us – in fact we don’t think the larger of the two desks will fit in it even if we unscrew the whole thing- we decided for our peace of mind it’s probably better to hire a couple guys to move it for us. Less risk of us dropping and breaking stuff, and having to solve how to transport a much too large table.. Carry it to the office by foot, a healthy 50 minute walk…? Hmm.
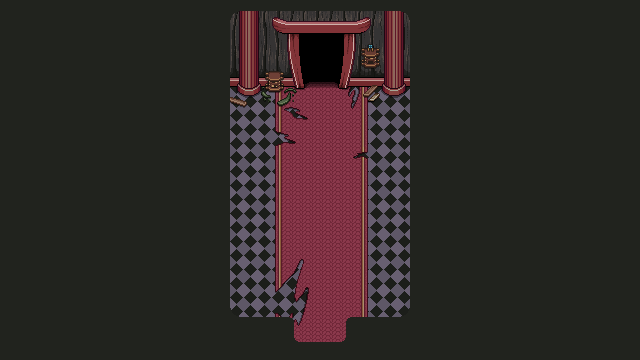
Now, I’ll be getting back to work properly today, and have already started off by sketching what the final desert map will look like (ignore my amazing misspelling of fight…):
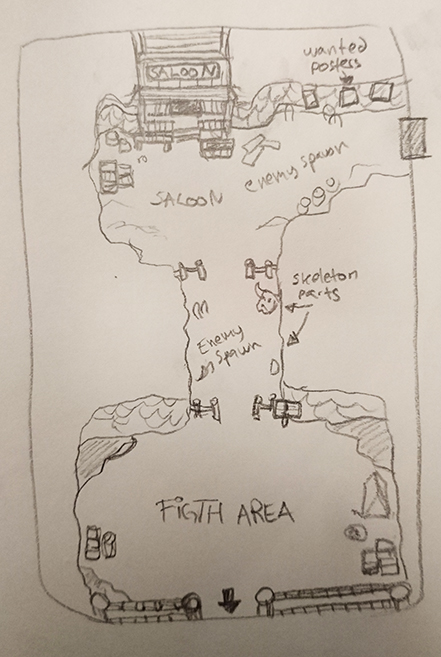
The are three important areas in this map. First, the entrance to the city, indicated by the arrow pointing downwards. Second, the battle area in front of it, where you’ll battle a mini-boss and possibly some random enemy spawns. Third, the Saloon in the top part of the map, home of the shady people of the country. I want to make wanted posters in the surrounding area, featuring the gangsters you’ll meet in there. Maybe you’ll even run into a set of suspicious ferrets again…
The rest of this week will, however, be focused on finishing up the new Arcade Floors (some minor things remaining), and after that I’ll do the last interiors for the Arcadia town rework – just a few left! Once those are done we’ll start designing the new interfaces needed to get all the new systems up and running, and then test, test, test before we’re finally ready to release it all to the public! We’re very excited about the rework and though it’s a little while left before it’s 100% ready we hope you are too :D
So, time to finish up those Arcade floors! There’s a couple of pretty important maps missing from both the Tai Ming and the Mount Bloom floors that need to be added before they are truly complete: the score counting screens!
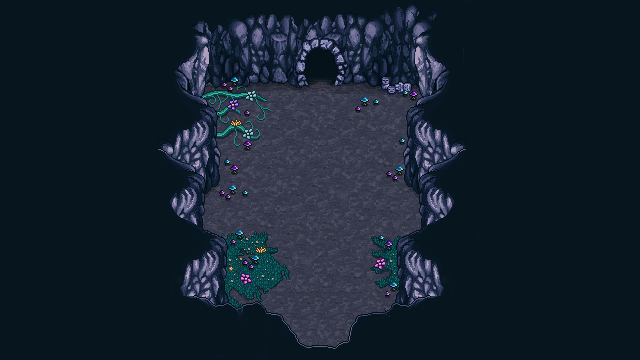
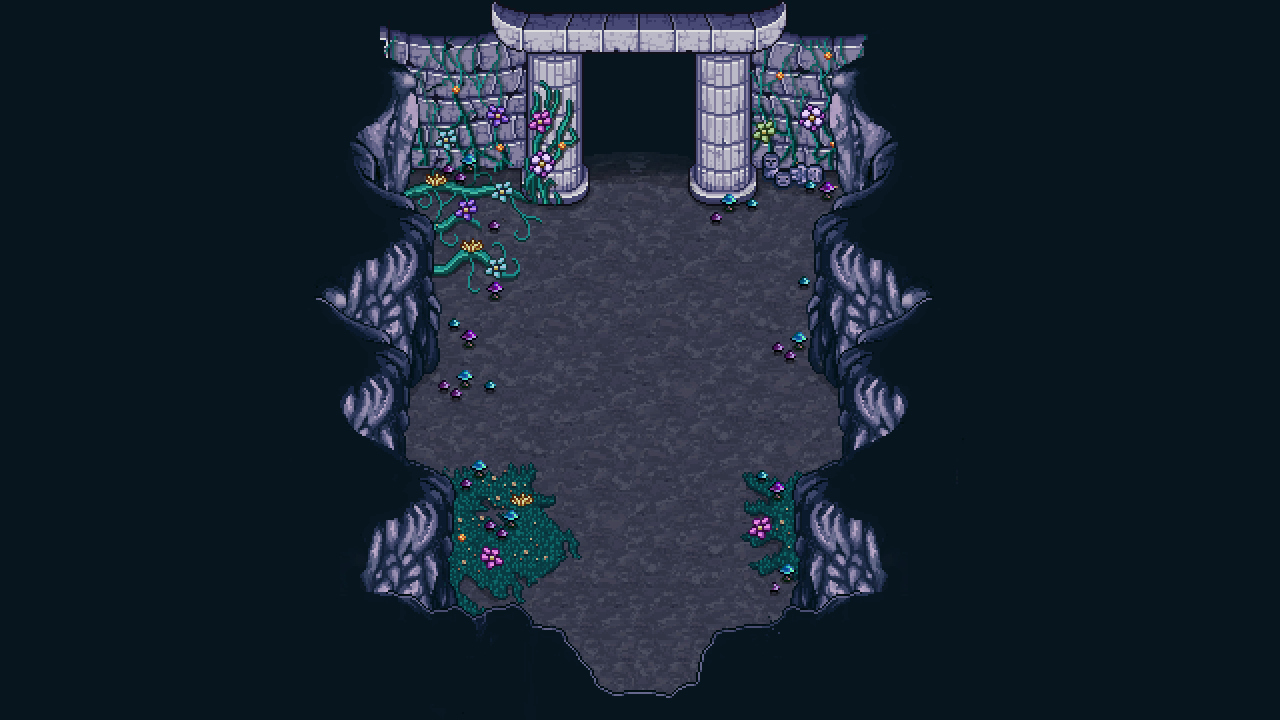
Whenever you finish a floor in Arcade Mode, you’ll run through a corridor of some sort while the game shows you your current score and how well you did in each room of the floor. These corridors are either connecting two floors of the same area, or serve to connect one type of floor with the next. The first corridor shown above is the corridor that will bridge the two Mount Bloom floors, while the second leads the way into the Tai Ming floors.
Below you have two types of the same corridor, one for past and one for present. Which one you’ll pass through depends on what boss you fought against. Meanwhile, when you transfer from Tai Ming to the desert maps, you’ll simply walk through a door from the Mimic room.
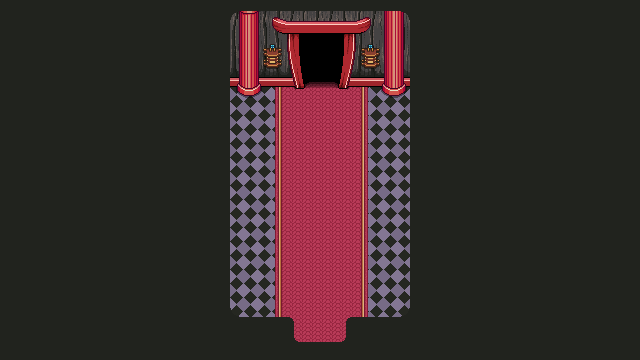
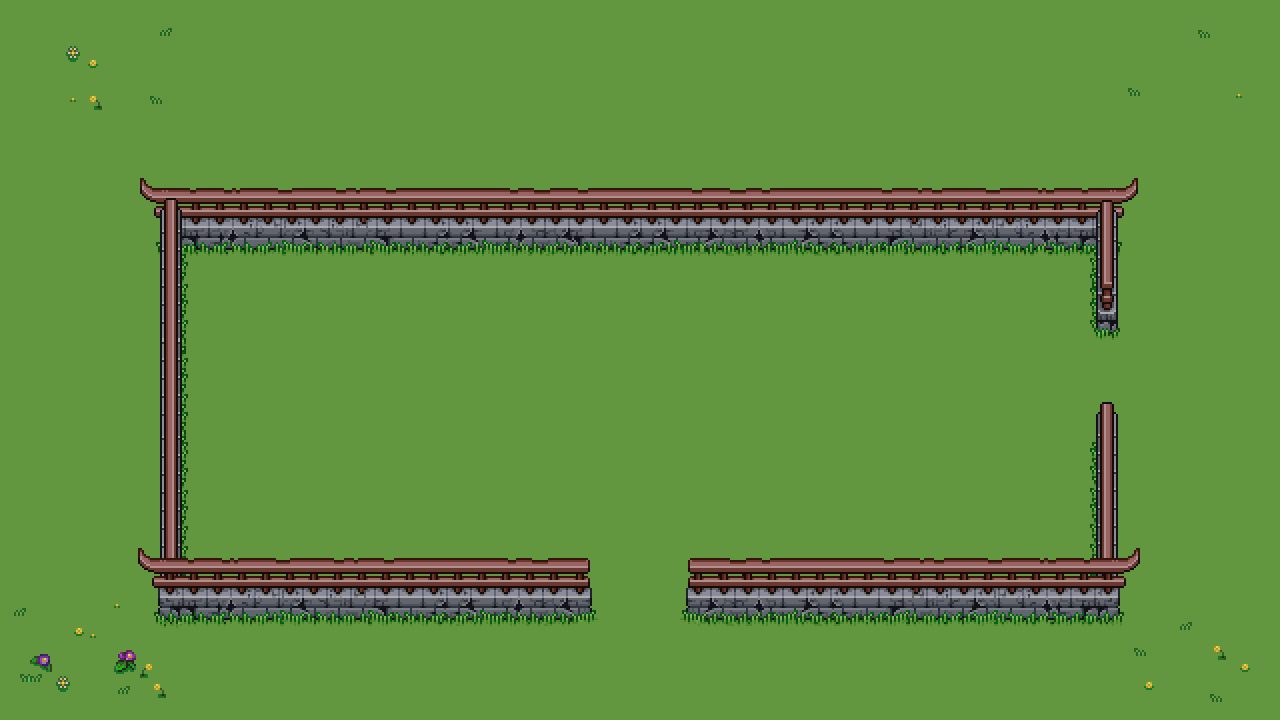
In order to have a proper exit from the above corridors, I had to extract and polish up the entrance/exit to the courtyard used in story mode and make a version of it in both timelines as well:
![]()

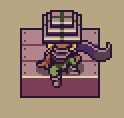
Finally, some minor changes to one of the boss rooms (the Arcade Mode version, that is):
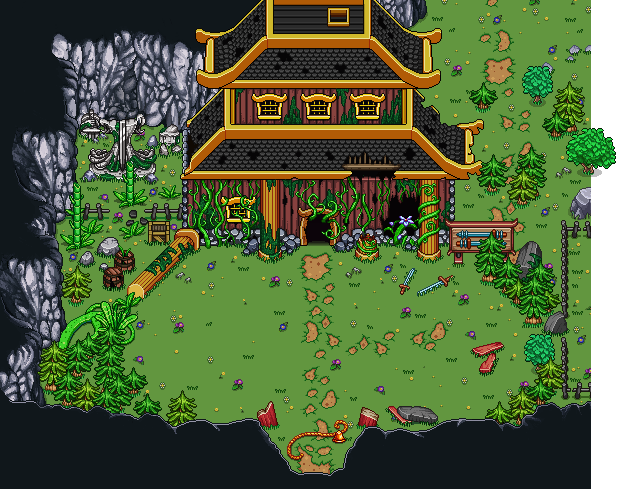
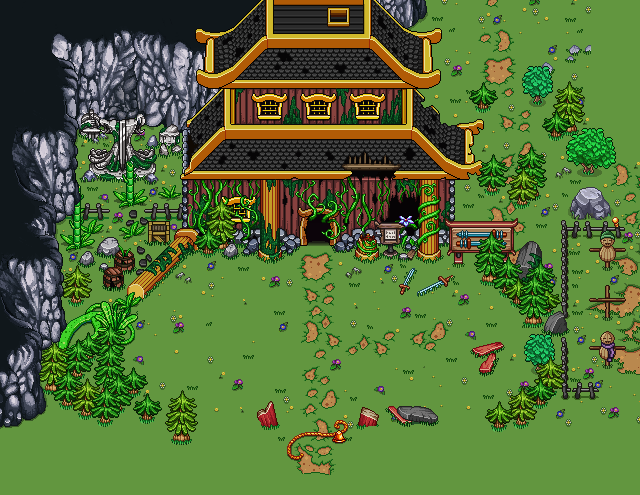
Instead of having to limit ourselves to having this boss appear after going through a mountain wall, we decided to remove the lower mountain part and adjust how things were placed slightly, so we can put a regular fence there instead (and as such be able to place the boss map anywhere on the map rather than along a mountain). In order to do this we also had to repaint the lower parts of the vertical mountain wall, as can be seen in the second picture.
Now there’s just one more thing to do before these floors are fully complete (unless I’m forgetting something)!! And you guessed it, it’s turning all those polished and clean Past props into their present, ruined versions!!
Actually, since we decided each room will only be available in one of the timelines, I decided to not do exact replicas of some things, such as the buildings. With these I felt it’d be more interesting to bring in more designs to create more variations.
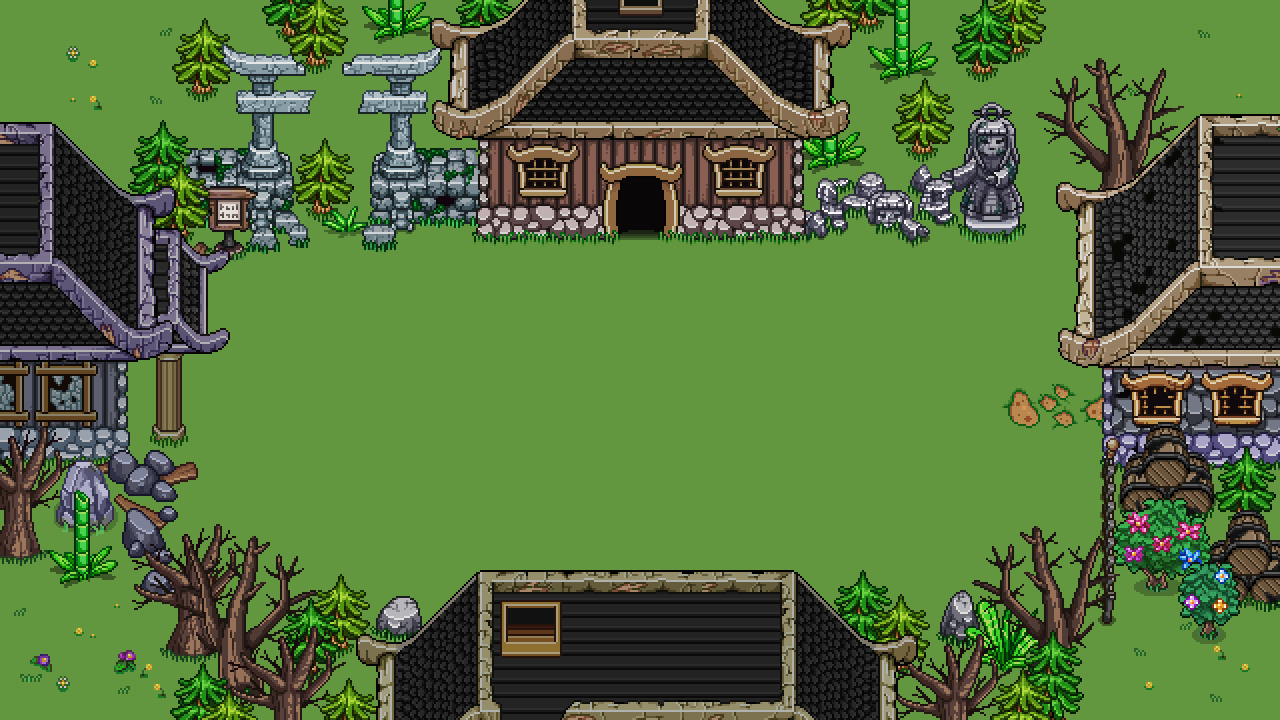
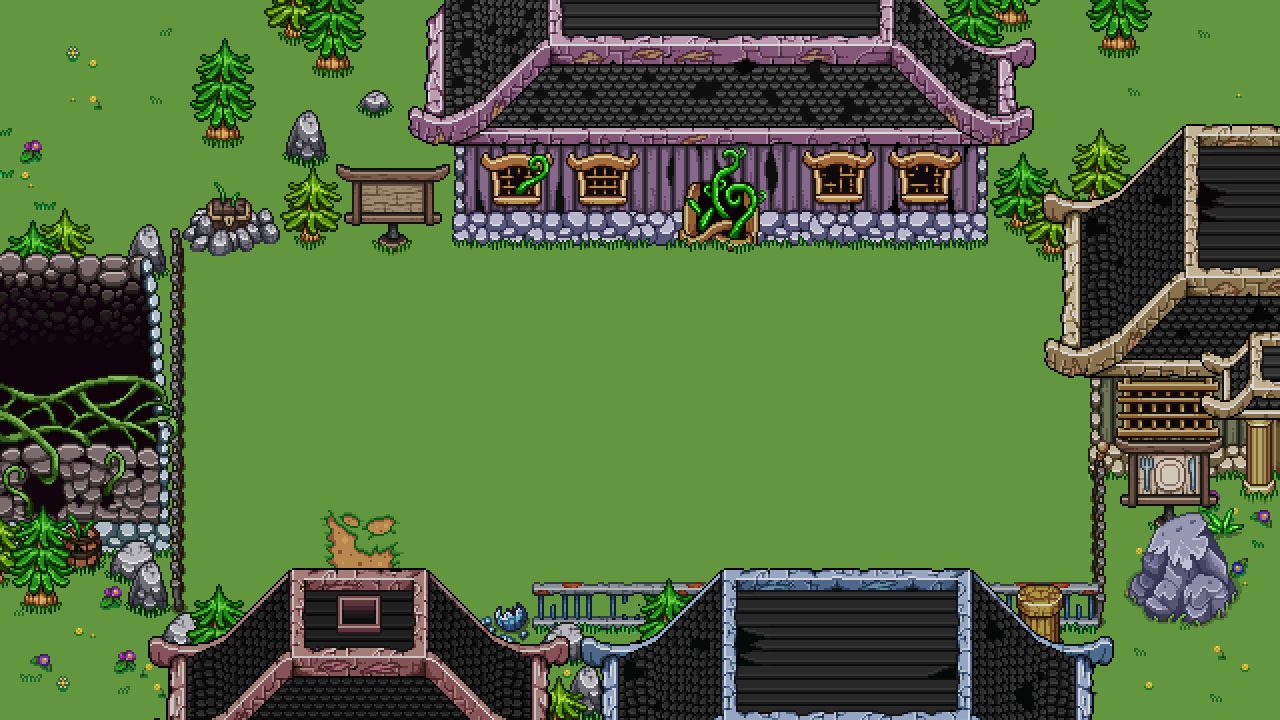
Here’s a few of the buildings that might appear on your run:
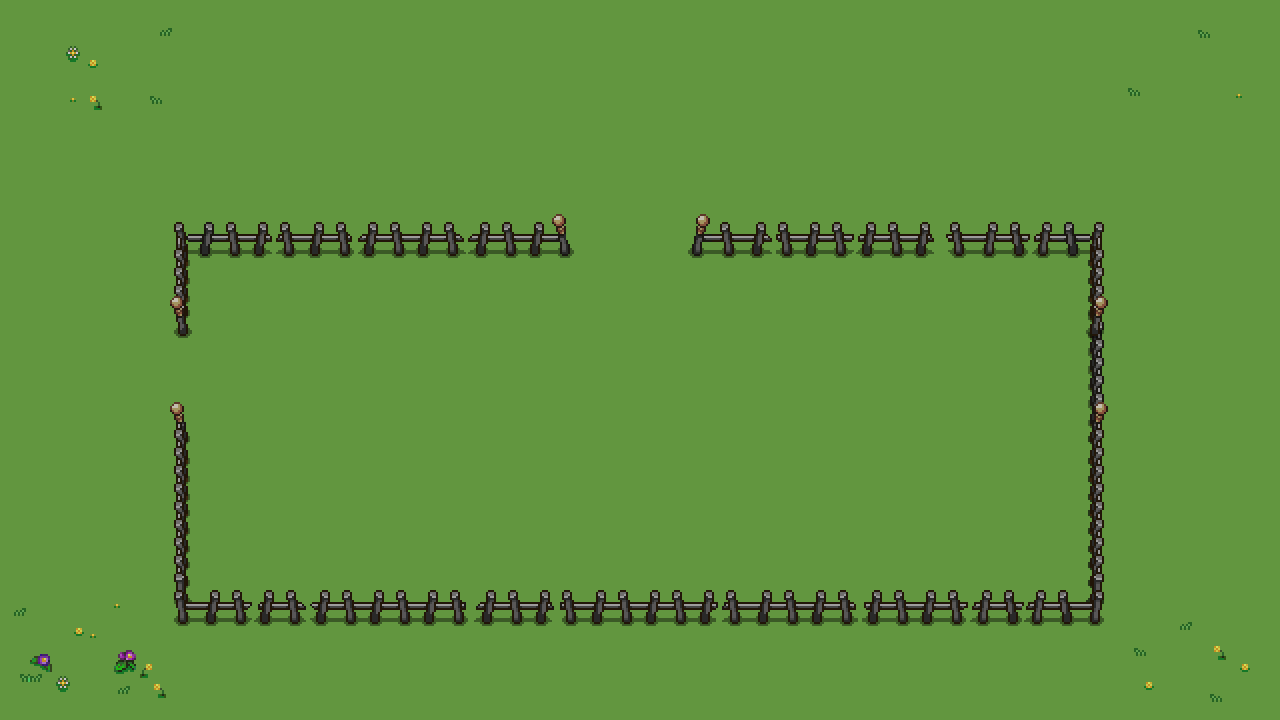
The fences were more straight forward, just make a ruined, old-looking version of each part:
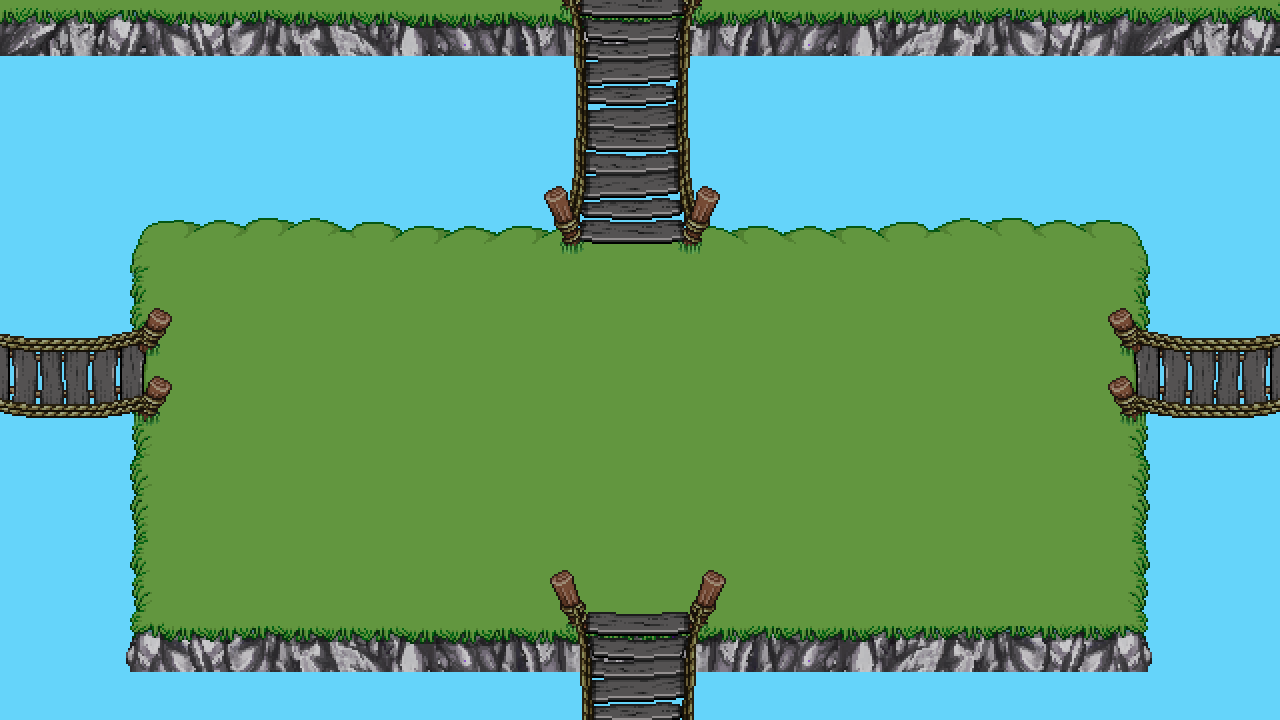
And finally, the new (very old looking!) bridges to connect islands or help you cross over streams:
Okay, now that the new bunch of floors are properly completed, let’s celebrate by taking a quick break from Arcade Mode and make another portrait featuring yet another sailor (can’t have too many of those in a harbor town, right?):

And the finished portrait:

Meanwhile, Fred has moved on from fishes and started making a ton of NPCs for the desert! Here are some of the ones you’ll meet during your adventure:


Love the game guys, i bought 3 copies on steam! Cant wait to get into the desert. This game is a gem in the way that it brings me back to old school gaming. Any plans to add more pet food drops from mobs?