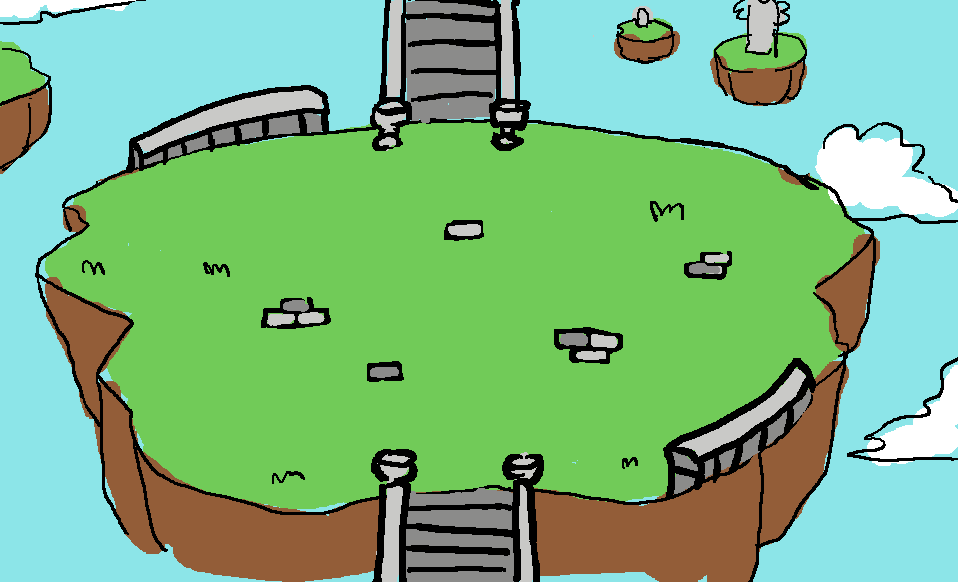
The next floor we’ve been tackling has been the Tai Ming floor, which is all about returning to the past (unsurprisingly…) :)

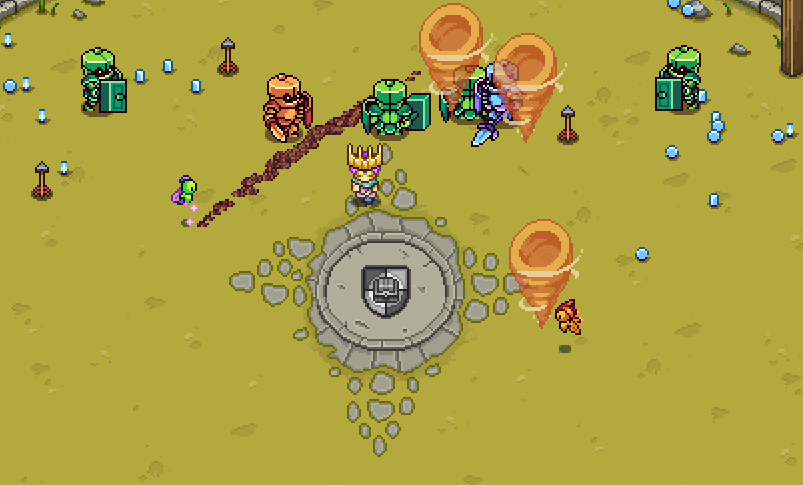
You’ll enter into a large open space area, looking much like the ruined present version of Tai Ming, but smaller. A statue of ancient priestess Tessen in her boss form blocks the path leading to the next floor, although this version is edited to have slots for three emblems (oh dear).

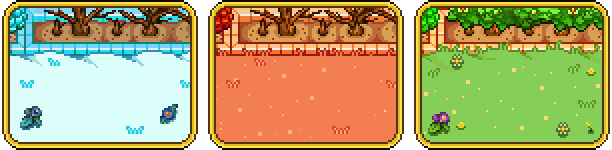
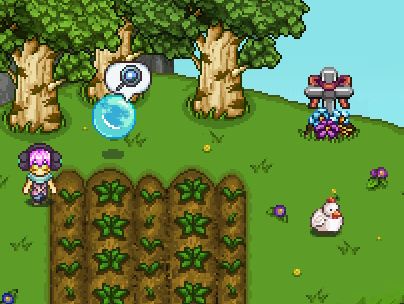
You’ll travel back in time using a time rift, to a version of the map where any buildings are whole and it’s a nice village-y feel. There are NPCs from Tai Ming walking around this area, and talking to three of them will trigger you to travel to the present day where you’ll have to do a challenge of some sorts (battling various sets of enemies, most likely), after which the ghost of the NPC you talked to will appear and hand you their emblem.

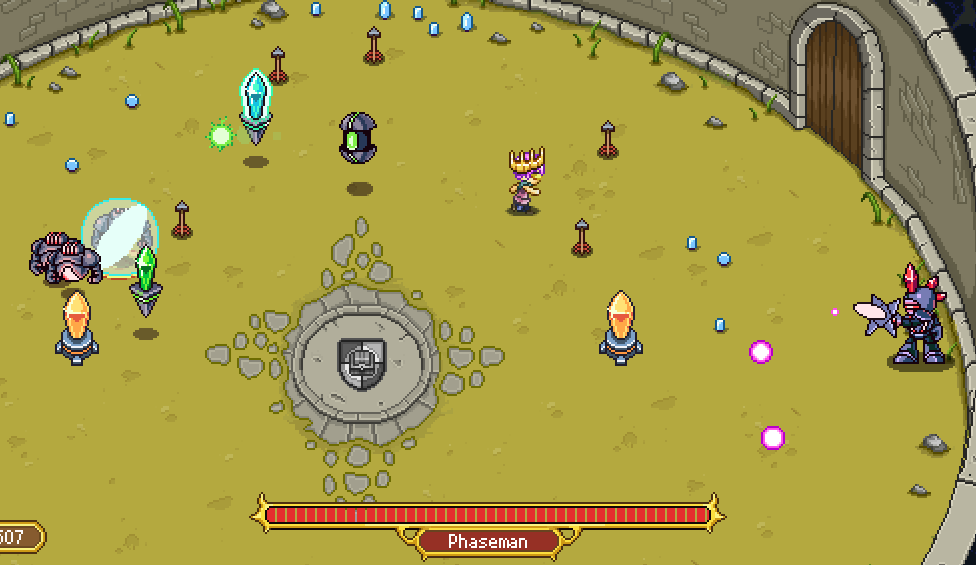
Once you have collected all three emblems you can return to the present day version of the floor hand and insert them into the statue, after which it’ll come alive for an empowered version of the Priestess battle!

Now, just two floors left…. :)

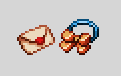
Remember the skill point to talent orb transmuter from last week? Here’s his apprentice, a young boy called Bokus! He’ll hand around with his master in the HQ once they’ve been added to the game properly:

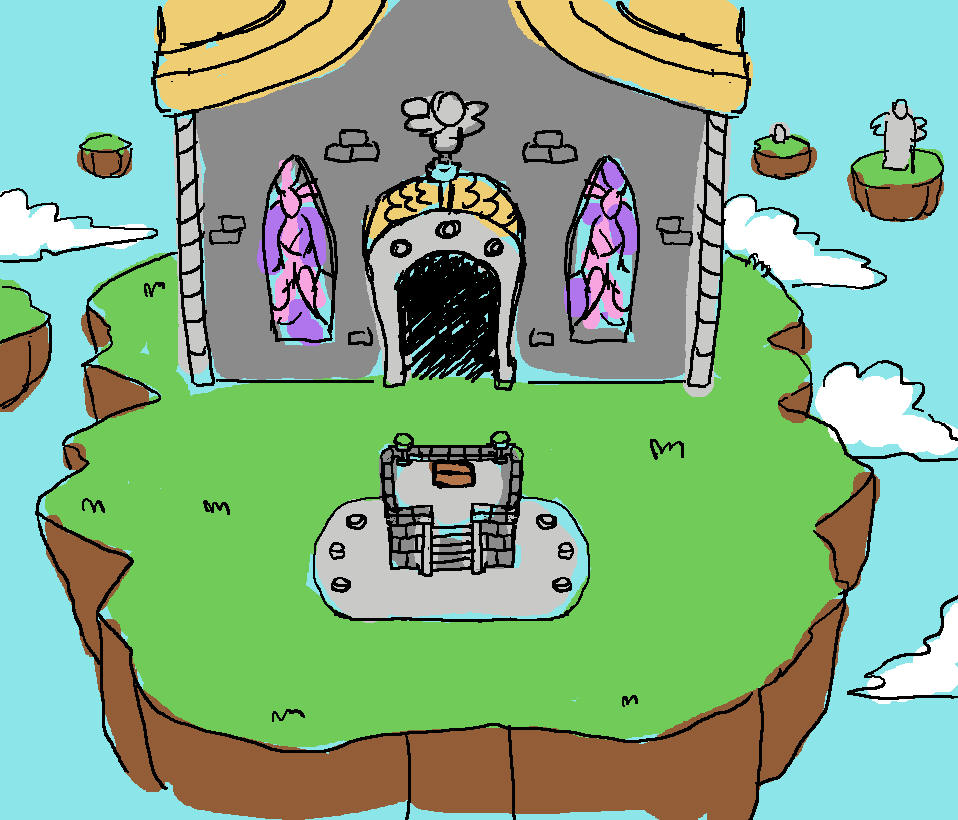
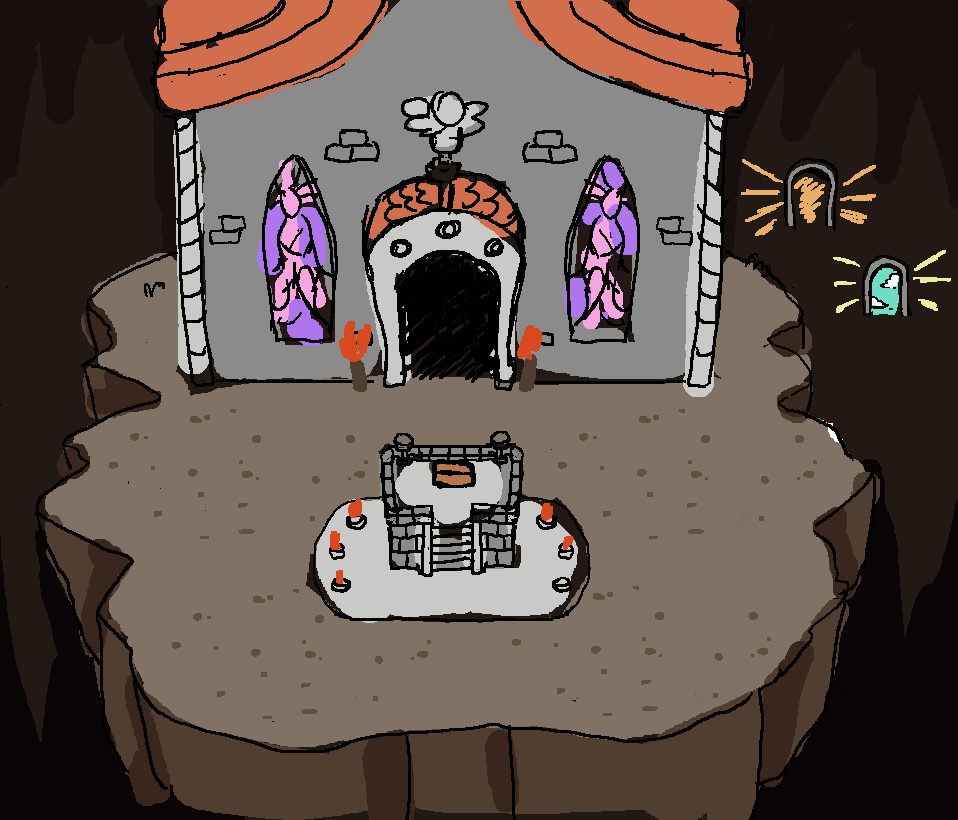
Next up, we’ve continued to work on sketches for what we’d like that final Arcade Mode room to look like. We’ve moved away from the idea of the church like structure, as that would imply you’ll be able to go inside it – which you won’t – but settled for having the final room set among the heavens, since you’ve, after all, climbed the way up there :)

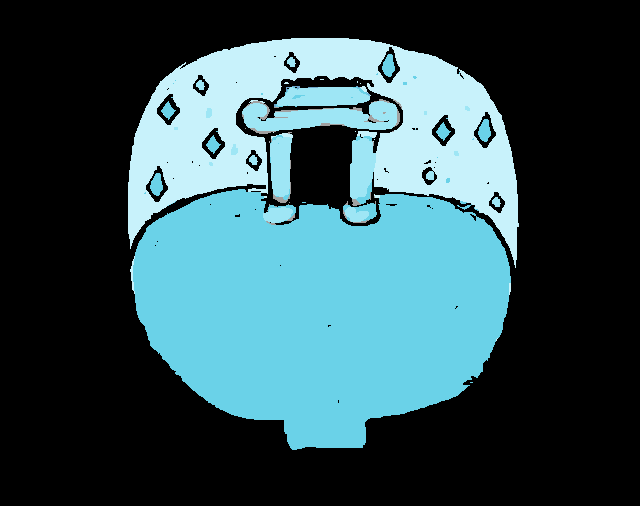
Here’s a bunch of new designs for the portal that will take you back to Arcadia or on to more adventures, depending on your power level:

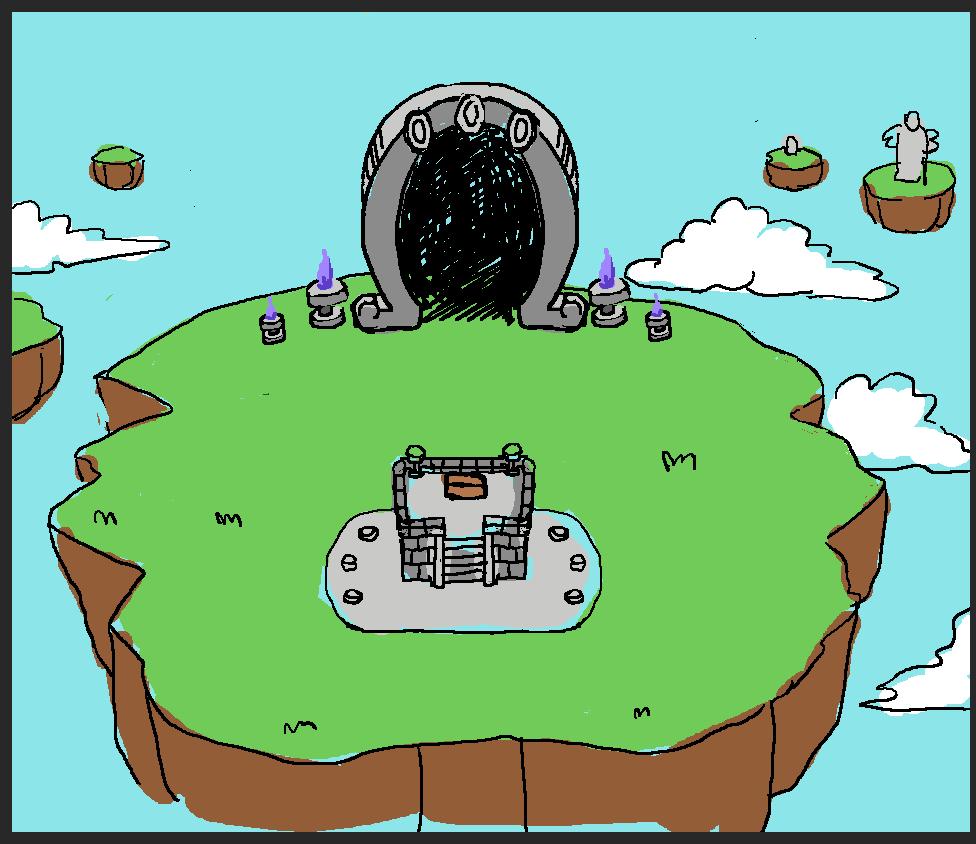
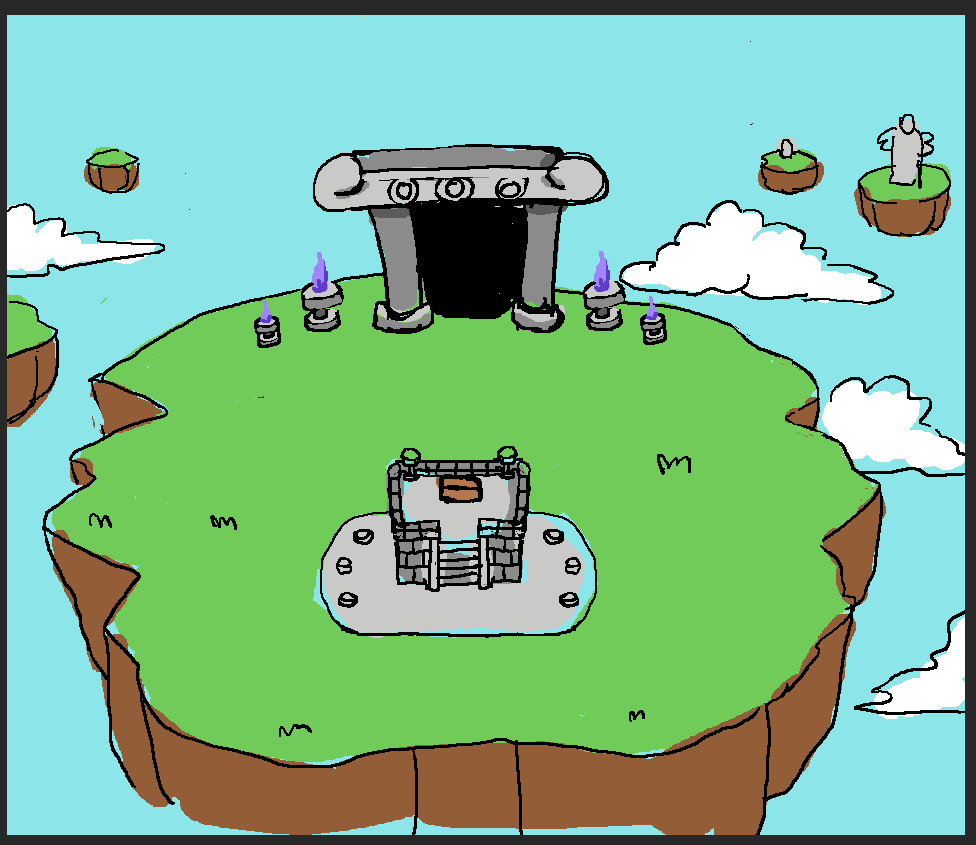
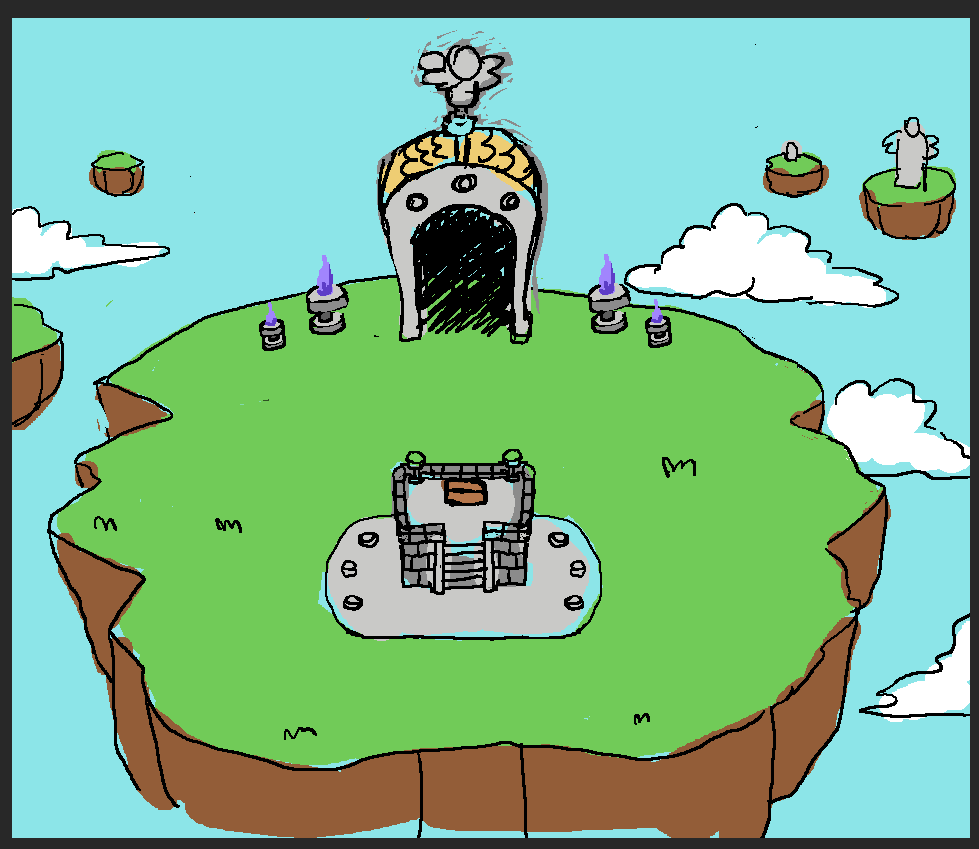
Our favourite this far is the first one (although technically, it was the last one I made) :) Our idea is that the gate will either be dark like in the sketch, or empty (as in, you’ll see the background on the other end), until you’ve opened the chest, after which a portal will appear within the gate, looking slightly different depending on whether it’s leading back to Arcadia or onwards :)

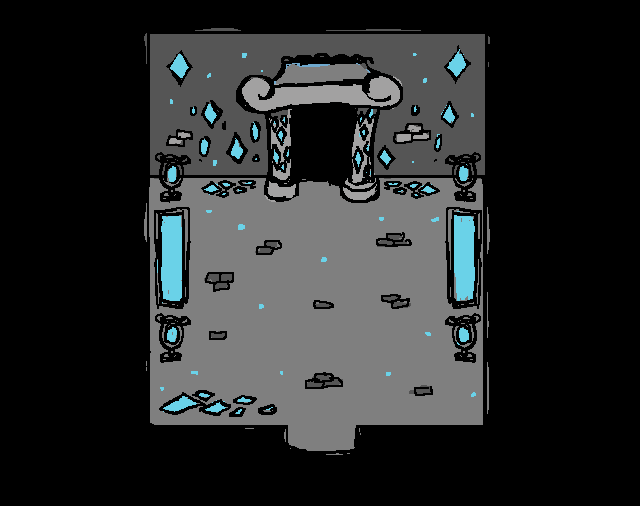
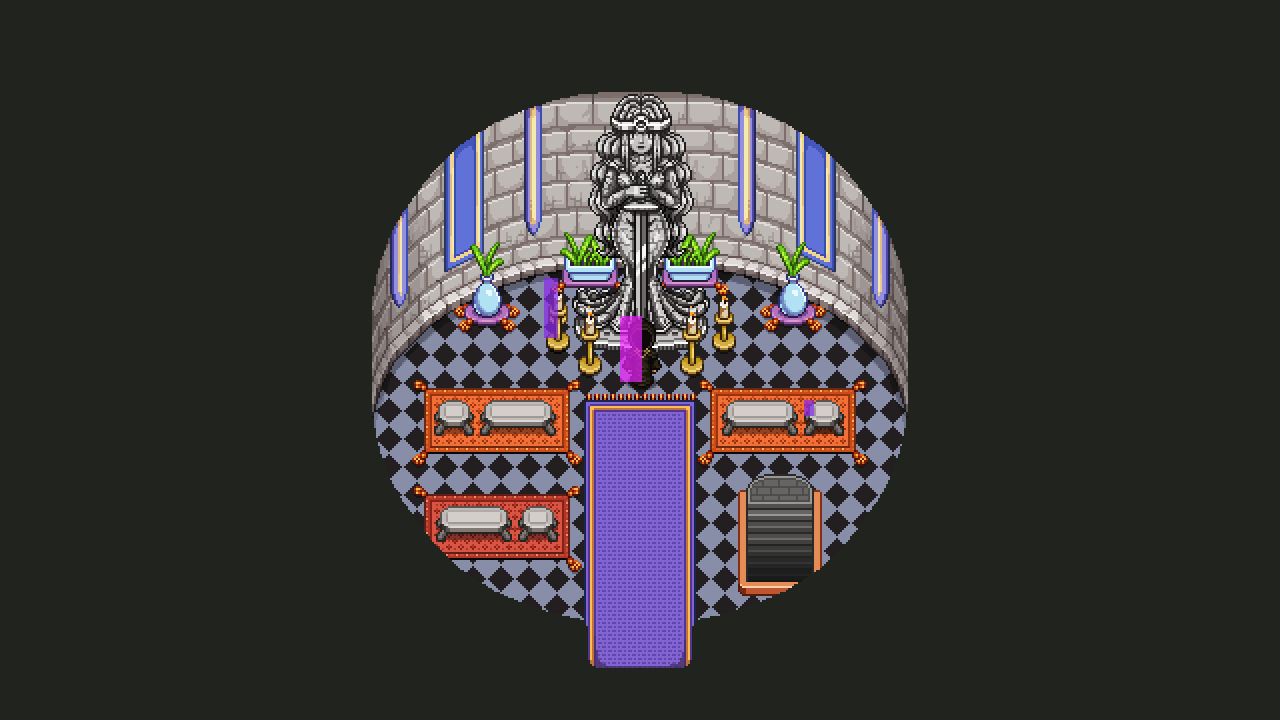
We’ve also been discussing the final tower interior and what it should look like, and as such I’ve been playing around with a bunch more sketches, where the amount of mirror material varies from barely any to full on “everything’s-a-mirror” mode.

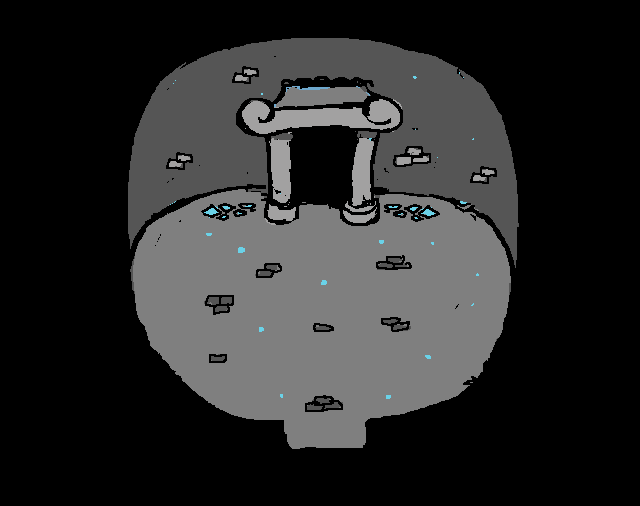
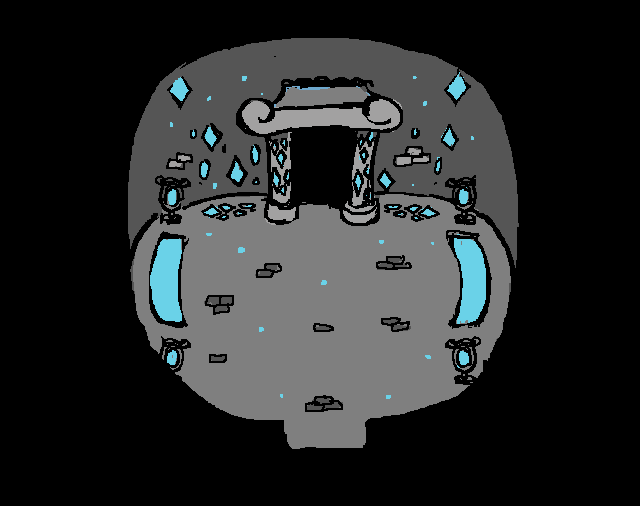
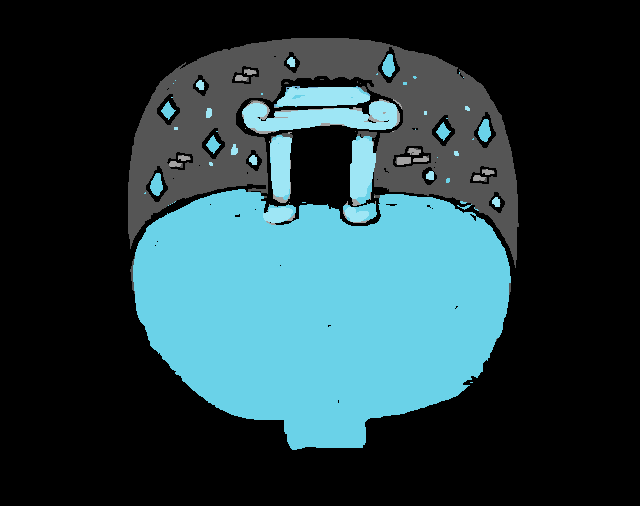
Right now we’re kind of leaning more towards the ’emptier’ version, meaning little to no mirror decorations. What do you guys think? One of the reasons we prefer that is because we won’t be able to use a proper reflection for the character on mirrors that aren’t on the floor, which means the mirror effect won’t be too clear to begin with. Also, having a more ‘boring’ look means that once you break the tower’s spell and it reverts back to it’s normal version it should be a bigger difference compared to the magically transformed room you were just in.

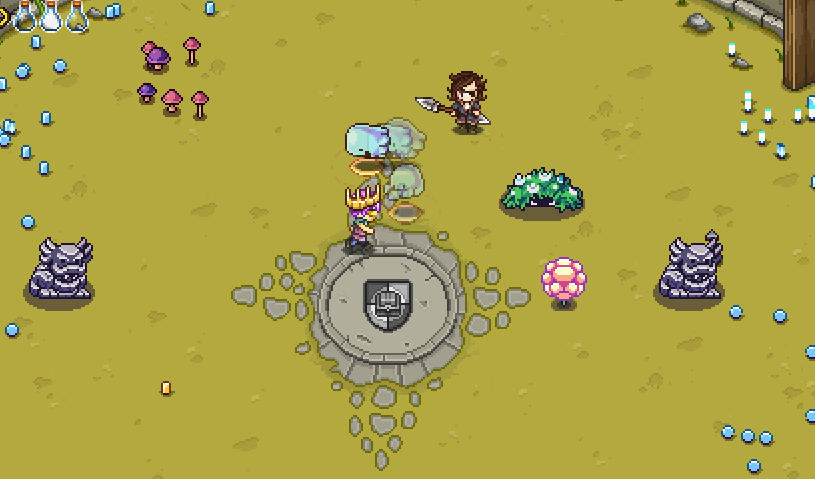
Meanwhile, Fred’s been working on a bunch of Bishop animations, but what we’re going to show today is something a bit more exciting(?), the sprite for Maracas, the guy who will transform your silver point into talent orbs, or the other way around! Behold:

For the sixth final dungeon floor, we’re doing a mashup of the festival and Mount Bloom, which means you’ll be going to a festival in the mountains! And who better to host such an event than a score of Cavelings…. :)

Our idea is that you’ll be in a rather open cave system where you’ll trick phase between various stations, each having a little mini game challenge of its own. We haven’t yet decided whether you’ll need to do them in a specific order or if you can trick phase your way around the area freely.

Either way, our current idea is that it’ll be the same mini games as you had in the Evergrind festival after you finished the Temple of Seasons, only with a caveling twist for each event. So for instance, you might not win the fishing contest based on the best or most fishes, and the cavelings might use some other cheating tactics to make sure they win themselves in the running challenge, and so on. I won’t go into too much detail here but you get the idea – basically you’ll most likely end up getting swindled one way or another – what else to expect from the cavelings, huh?

This week we’ll be discussing the Tai Ming floor, and after that there’s only two more floors to go! Drawing ever closer to the end :)

So, another thing we’ve been working on recently has been a bunch of new gauntlets for the arena! Now there’s a total of four of them, each a bit more difficult than the last.

First we have the good old classic one featuring Pillar Mountains, Evergrind City and Pumpkin Wood enemies. The second one has enemies from Flying Fortress and Seasonne, as well as a guest appearanec from Phase Man and a couple puzzle block enemies. The third has enemies from the Temple of Seasons and Mount Bloom, and also features the Summer and Autumn Elder Fae and Black Ferrets! Finally there’s the final Gauntlet, which has enemies from across the entire world, as well as some giant thorn worms, Vilya AND Marino! Quite intense.

After having made these, we’ve of course spent a bunch of time testing them. I also decided to remake the icon for the original gauntlet (which was a single slime against a yellow background) now that I had to make icons for the new challenges anyway:

Meanwhile, the Bishop battle is turning more and more from a prototype into an actual badass battle!

We’ve added a bunch of attacks and cleaned up the graphics on some. After some initial testing of this version of the battle, I’d like to be bold enough to say it’s one of my favourite boss battles in the game this far:

Hopefully you guys will like it as well! It’s pretty intense, let me tell you that much! :D

Next up we have a new NPC we’ve been talking about adding for a long time! This guy will be ‘unlocked’ by finishing a quest in the Collector’s HQ, and will grant you the ability to turn your silver skillpoints into talent orbs (and the other way around!)

Of course, as such he needed a portrait:

Meanwhile, Fred’s been continuing on with refining the Bishop animations, making sure the battle against him looks as good as possible! Here’s some more of his animations:

This week we’ve been talking about the fifth floor on your journey to the top of the tower! This floor will be all about the Temple of Seasons, and will begin in a wintery area in the woods, where you’ll walk through a corridor of trees that part and walk off to the sides to reveal a path before you, all while fae dart back and forth (just to set the tone a bit). This path will eventually lead you to the Temple of Seasons entrance, where the actual floor will begin.

You’ll enter a Temple of Seasons room that’s currently winter, but thankfully, Naniva appears and helps you by turning the room into spring, allowing you to enter one of three doors. This door leads to a fight or puzzle room yet to be decided, where you end up rescuing Autumn. Once you return to the first room, she will then turn it into autumn, revealing a second door leading to another fight/puzzle room where your goal is to rescue Summer. If you succeed in this and return to the first room he will turn the room into its summer version, allowing you to pass through the final door.

In this final room, you’ll battle an enraged version of the Hydra, summoned by the mirror guardian of the tower. This version of the Hydra has one more head, representing spring, thus you’ll have to battle the four seasons all at once! We haven’t decided exactly what the spring head will do yet, but one suggestion is that it’ll cause loads of bushes to grow in the area, serving either as an obstacle for you or something that will deal damage as well (by the addition of thorns). Another suggestion for a super move the hydra can make here is to turn the room into all seasons at once, using all of their powers for a short while… >:)

As for the puzzle/battle rooms, we haven’t made any fixed plans, but we’re playing around with the idea of having a special enemy in the shape of a rainbow orb, that will appear and turn the room into all seasons – only once you defeat the orb it’ll go back to normal, so until you do the rest of the enemies will be in their elite versions. We don’t want these rooms to be too complex, seeing as there’s still a ton of rooms to go through, but I think so far we have a good balance. Let’s see where the next floors take us :)

In Arcade Mode, we need a room you’ll get to once you finish the Ghost Ship, where you’ll get some sort of reward – and, if you’re powerful enough, you’ll get the chance to transcend into one final floor where an epic final boss battle awaits!

So, I’ve been making a couple of suggestions for what this room could look like, and this first one is inspired by what I’d like the final floor to look like – otherworldly, up in the sky, on floating isles with other floating isles in the distance having statues or parts of statues of Grindea on them:

The second idea is a throwback to Bishop’s realm where you’ll be battling him in Story Mode, a grim and dark realm.. In this version, the doors of the temple will open either to an intense glowing light or straight up to the sky, if you should have enough power to get there… :)

While I was sketching that room, I also went ahead and made some suggestions for the average room design in case we’d end up making regular rooms in that final floor you’ll only get to with the right power level, looking something like this:

We’ve also been talking a lot about what the final tower dungeon would look like for those that aren’t under the mirror’s influence, so I’ve been playing around with ideas for that as well. Here’s one such suggestion, featuring a lot of mirrors on an otherwise gray tower setting:

There’s a big possibility we’ll redesign or at least change the colours of the tower exterior now that we have a better idea of what the inside involves, but we’ll figure that out once we’ve completely decided on a design for the interior :)

Now, one of the many things Teddy has been working on recently has been adding a bunch of smaller cutscenes and fixes for the various new quests. One such thing is having Bishop appear during the Ghost Ship quest for a short while, and to make his appearance look as good as possible we went through a bunch of iterations. Here you can see our progress, going from pretty crude, to working our way to a more polished version:

Most things we implement go through a bunch of iterations like these, which goes to show implementing the first idea you have just the way you imagine it isn’t always the best bet :)

Meanwhile, Fred has been working on not only Bishop but Grindea herself as well:

The next thing we’ve been discussing and designing for the final dungeon is the Flying Fortress floor. In the beginning we wanted this to be quite phase shift heavy, but as we though more about it we felt the essence of Flying Fortress is more about bullet hells, so we started leaning more towards that. However, we’ve had a ton a random ideas, among others a phase shift puzzle where you need to collect items within a certain time and a bullet hell with guardians that block parts of the room with their laser beams…

In the end however, we settled for three rooms (for now, this might change), first one of those corridor where a number of orbs pass through and you have to run left and right so you pass through the orbs in the slot where one of the orbs is missing – I’m not great at explaining this in words, but you’ve already passed through such a corridor in Flying Fortress already, and this one will be pretty much the same – although we have some ideas for beams and such to make it a bit more difficult and high paced.

The second room will have a number of small platforms, 4 or more, which will get hit by a ton of missiles. The goal in this room is to phase shift to the one platform that won’t get hit by missiles and as such avoid damage. Once the timer runs out you’ll be able to proceed to the final room…

…which is all about bosses, namely Phase man – and not only one, but two of them(!), ending with a little burst of Gun-D4m. We’re pretty excited about this combo and hope you will be too!

For Seasonne, we all felt like the core of the area is the Toy Factory, but we also wanted a little dash of the regular snow area, and an appearance of Marino, since he’s a pretty big character and having Amalet stolen from you after Flying Fortress is a pretty important part of the game, after all.

As such, you’ll begin this floor by appearing in a small Seasonne-esque area with the usual Seasonne enemies minding their own business. At the end of the area is the Toy Factory building, which you enter, and find yourself in a room with a locked door, a blocked path and a chest. In the chest is a key for the locked door, but before you have a chance to unlock it Marino appears and steals it from you, dashing through the blocked path, breaking the things that blocked your path before.

The next room will be one of two challenge rooms, but we haven’t yet decided which one of these it’ll be! In one, you think you’ll have to solve a block puzzle, only for each and every block and piece of it to come alive so you have to defeat it literally by force. The second would be a lot more like the room where you battle a ton of gift boxes, only with more kinds of gift boxes with new abilities!

After that, you’ll end up in a room with a conveyor belt where you’ll chase Marino for a bit before ending up in a room where you’ll battle him along with having to dodge falling bombs and trains, much like in the later rooms of the Toy Factory!

Next, time for some mixed stuff! Your mother’s grave in Startington, some new items made for an additional part of the ghost remembrance quest in the Ghost Ship, as well as an expression for the newly added ghost you’ll find there soon:

And here’s some more new stuff, featuring bigger versions of the catalysts, new backgrounds for the temple of seasons character and enemy codex, a new set of stairs in the Port Monnaie church, and a slight edit of the Startington grave:

Meanwhile, Fred’s been working on more Bishop stuff and some new player animations, one which can be seen here: