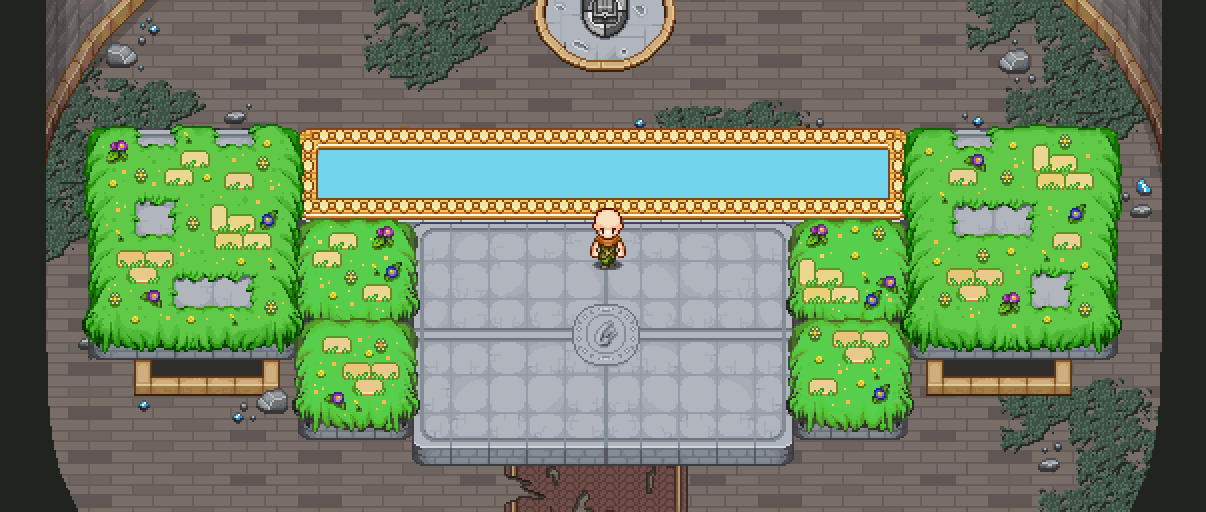
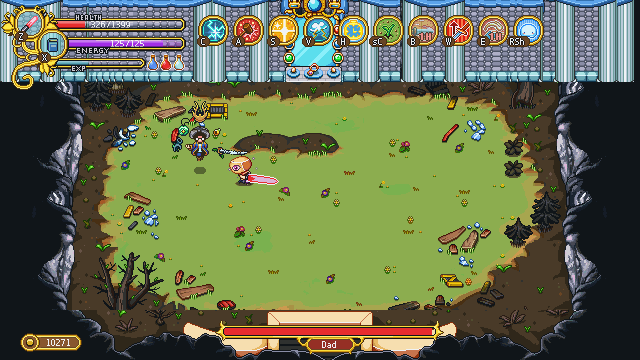
We’re back guys! Seriously, having a couple weeks off has been great and we’re now super excited to get back to work and finish this game up! Thank you for being so understanding and supporting us throughout these years – what a journey it’s been, and still is. Now as we’re drawing closer and closer to the end, it’s time to start taking a look at one of the final battles – the one with your own dad. We’ve been working on a bunch of attacks for him, so let’s have a peek:

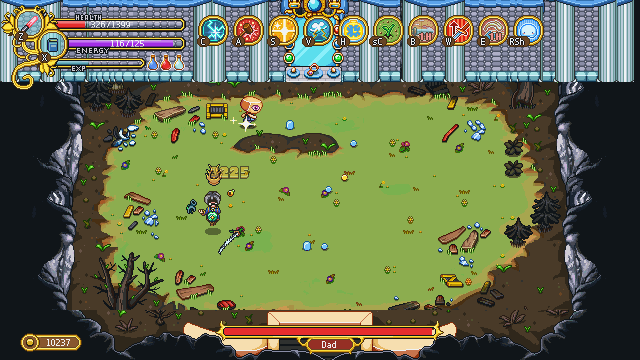
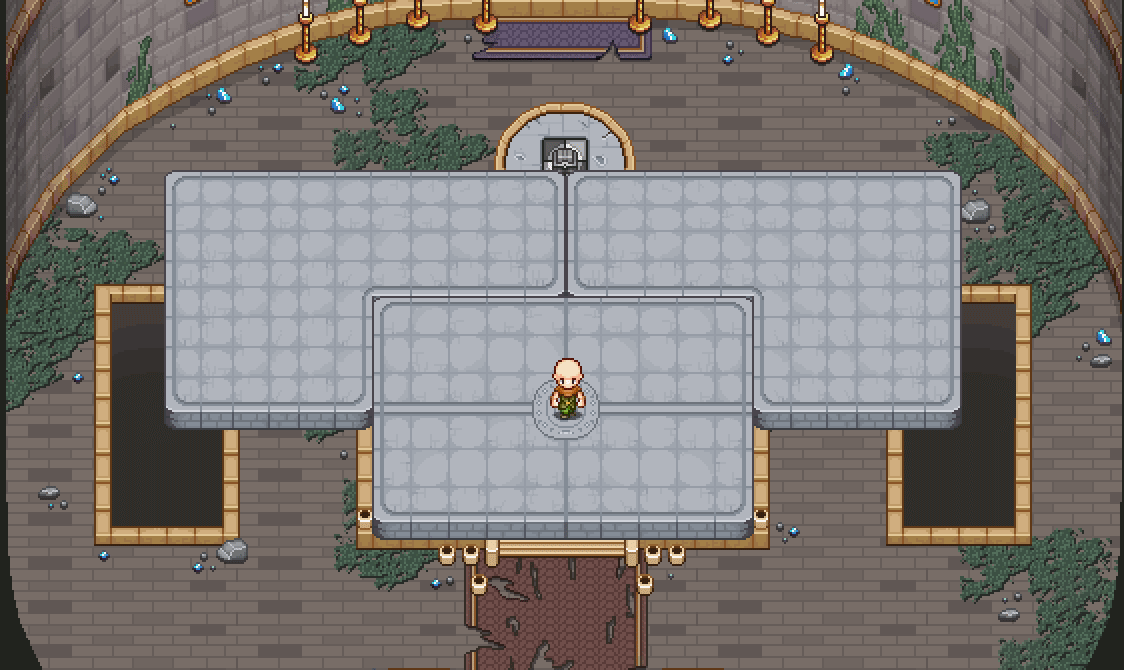
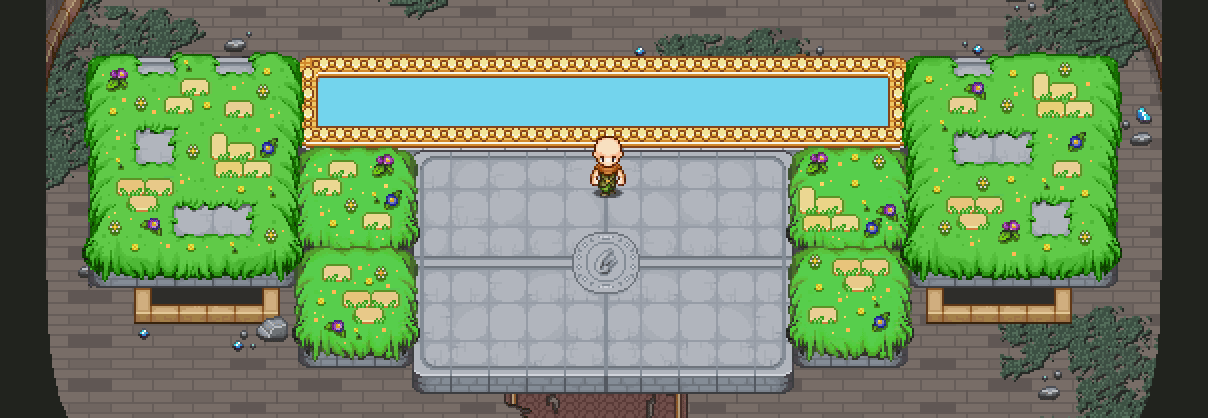
No Grindea boss is ever really complete without having to dodge a bunch of stuff, am I right? So to start off, he’ll have one attack featuring Amalet and his annoying energy orbs, while you also have to dodge that annoying sword you just found out about.

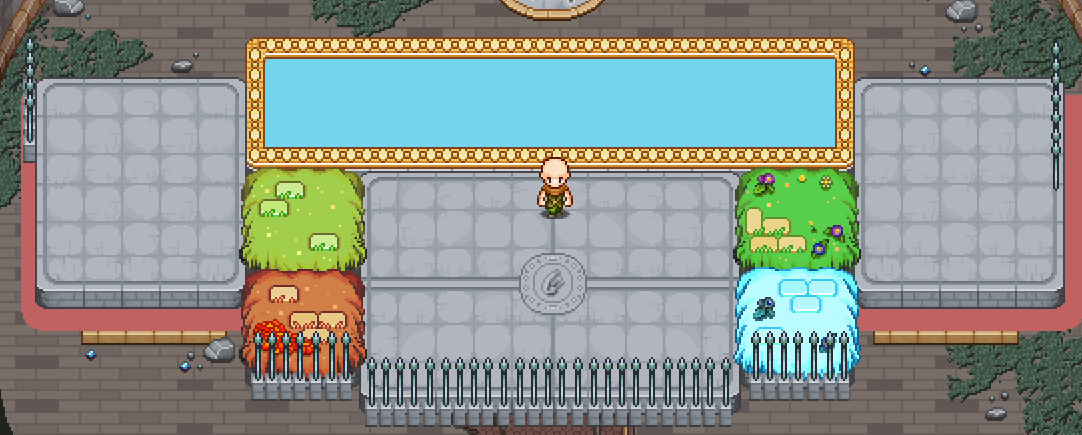
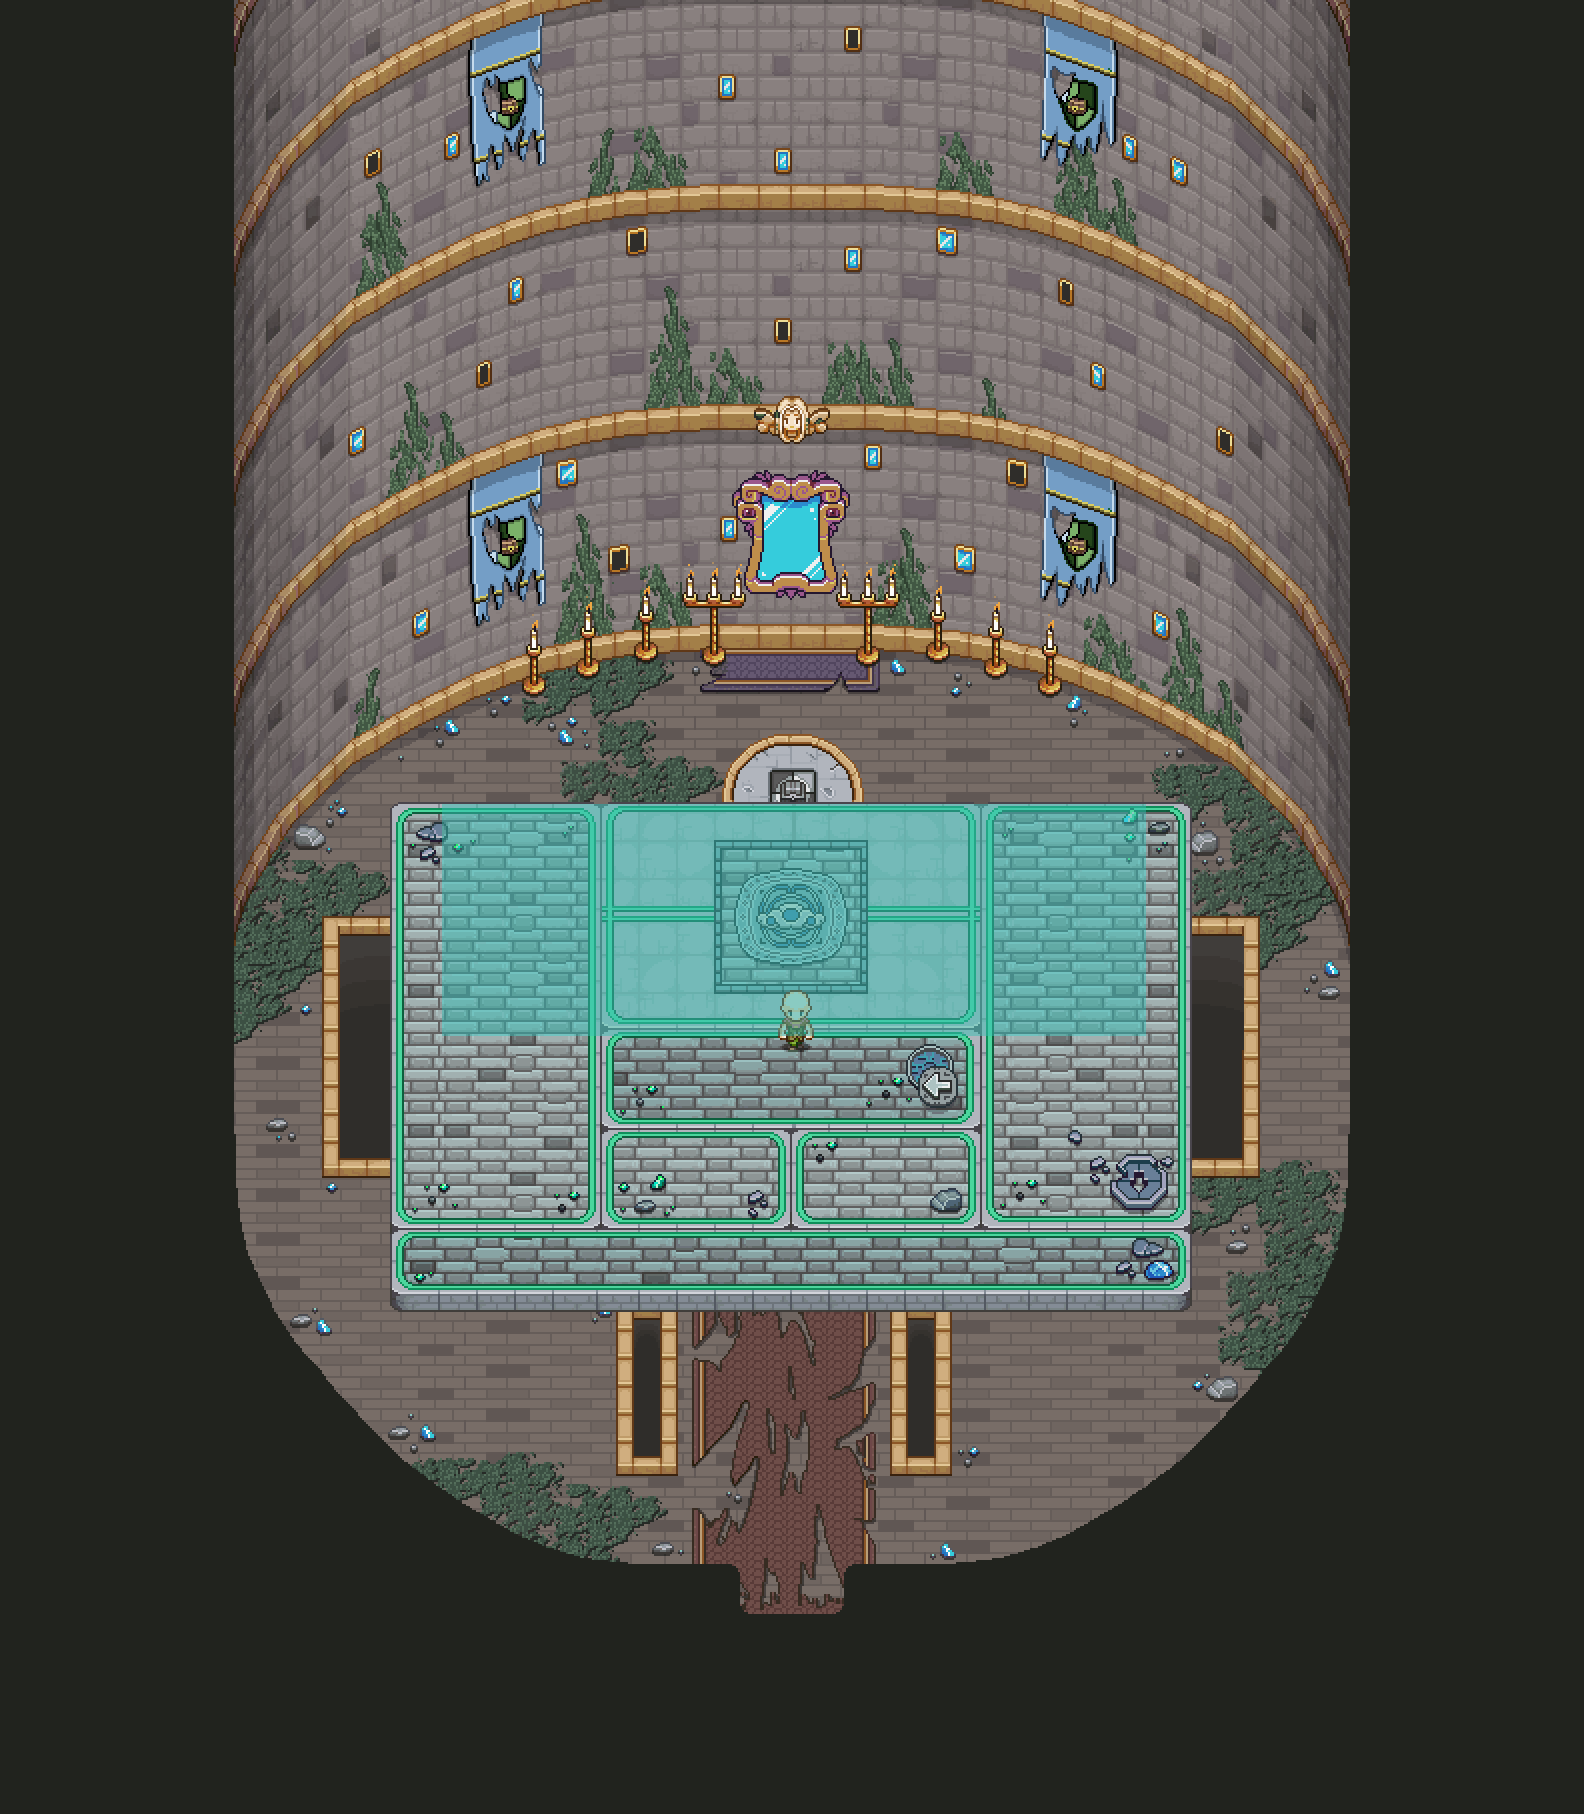
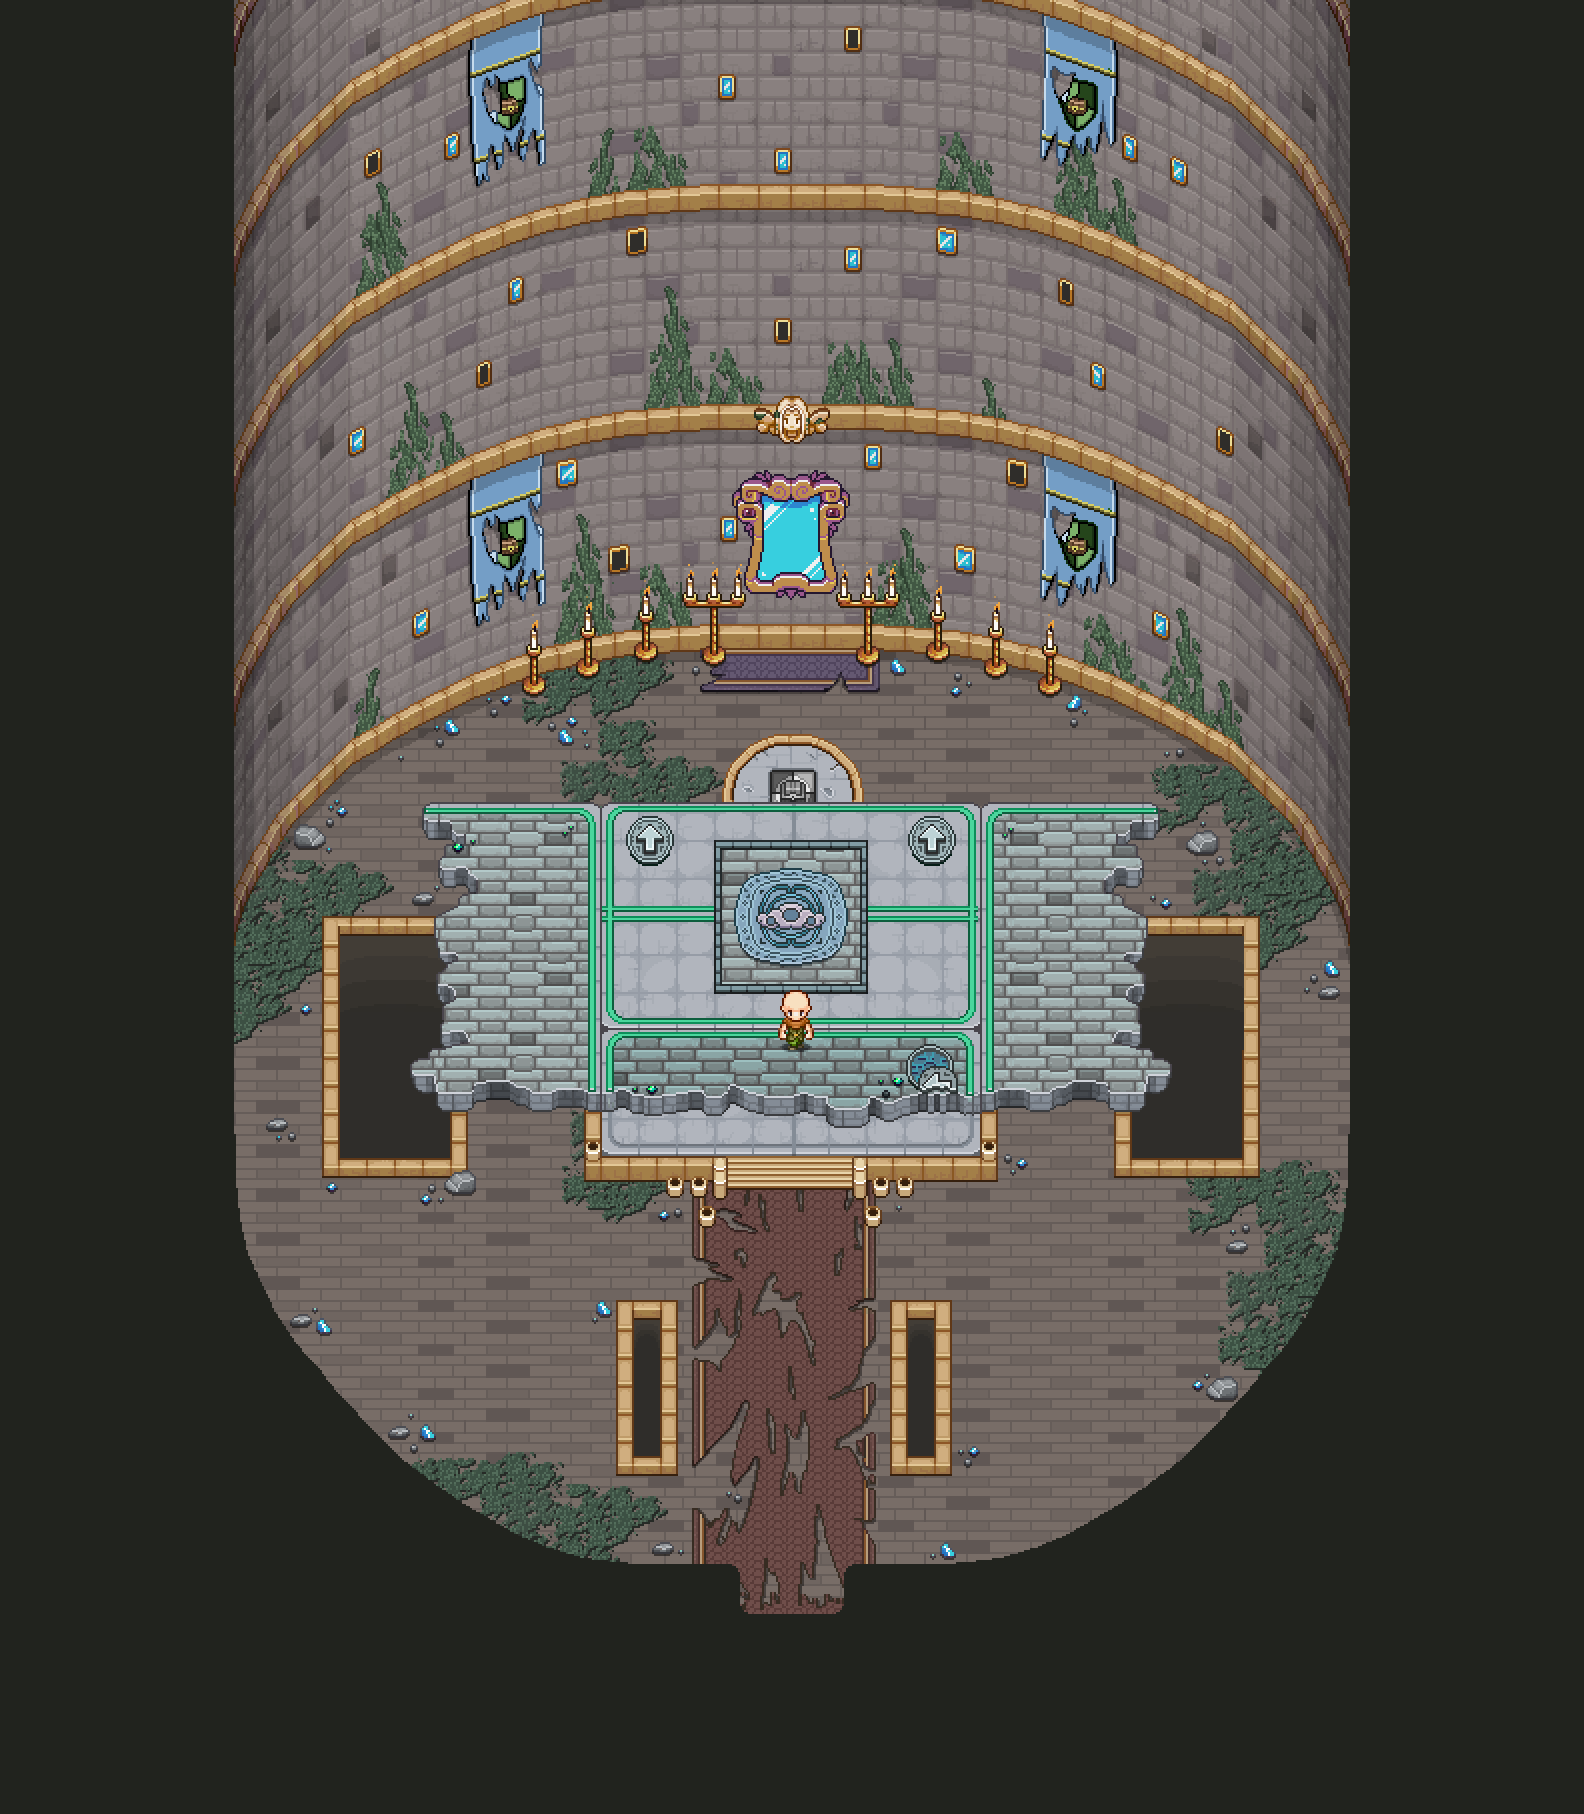
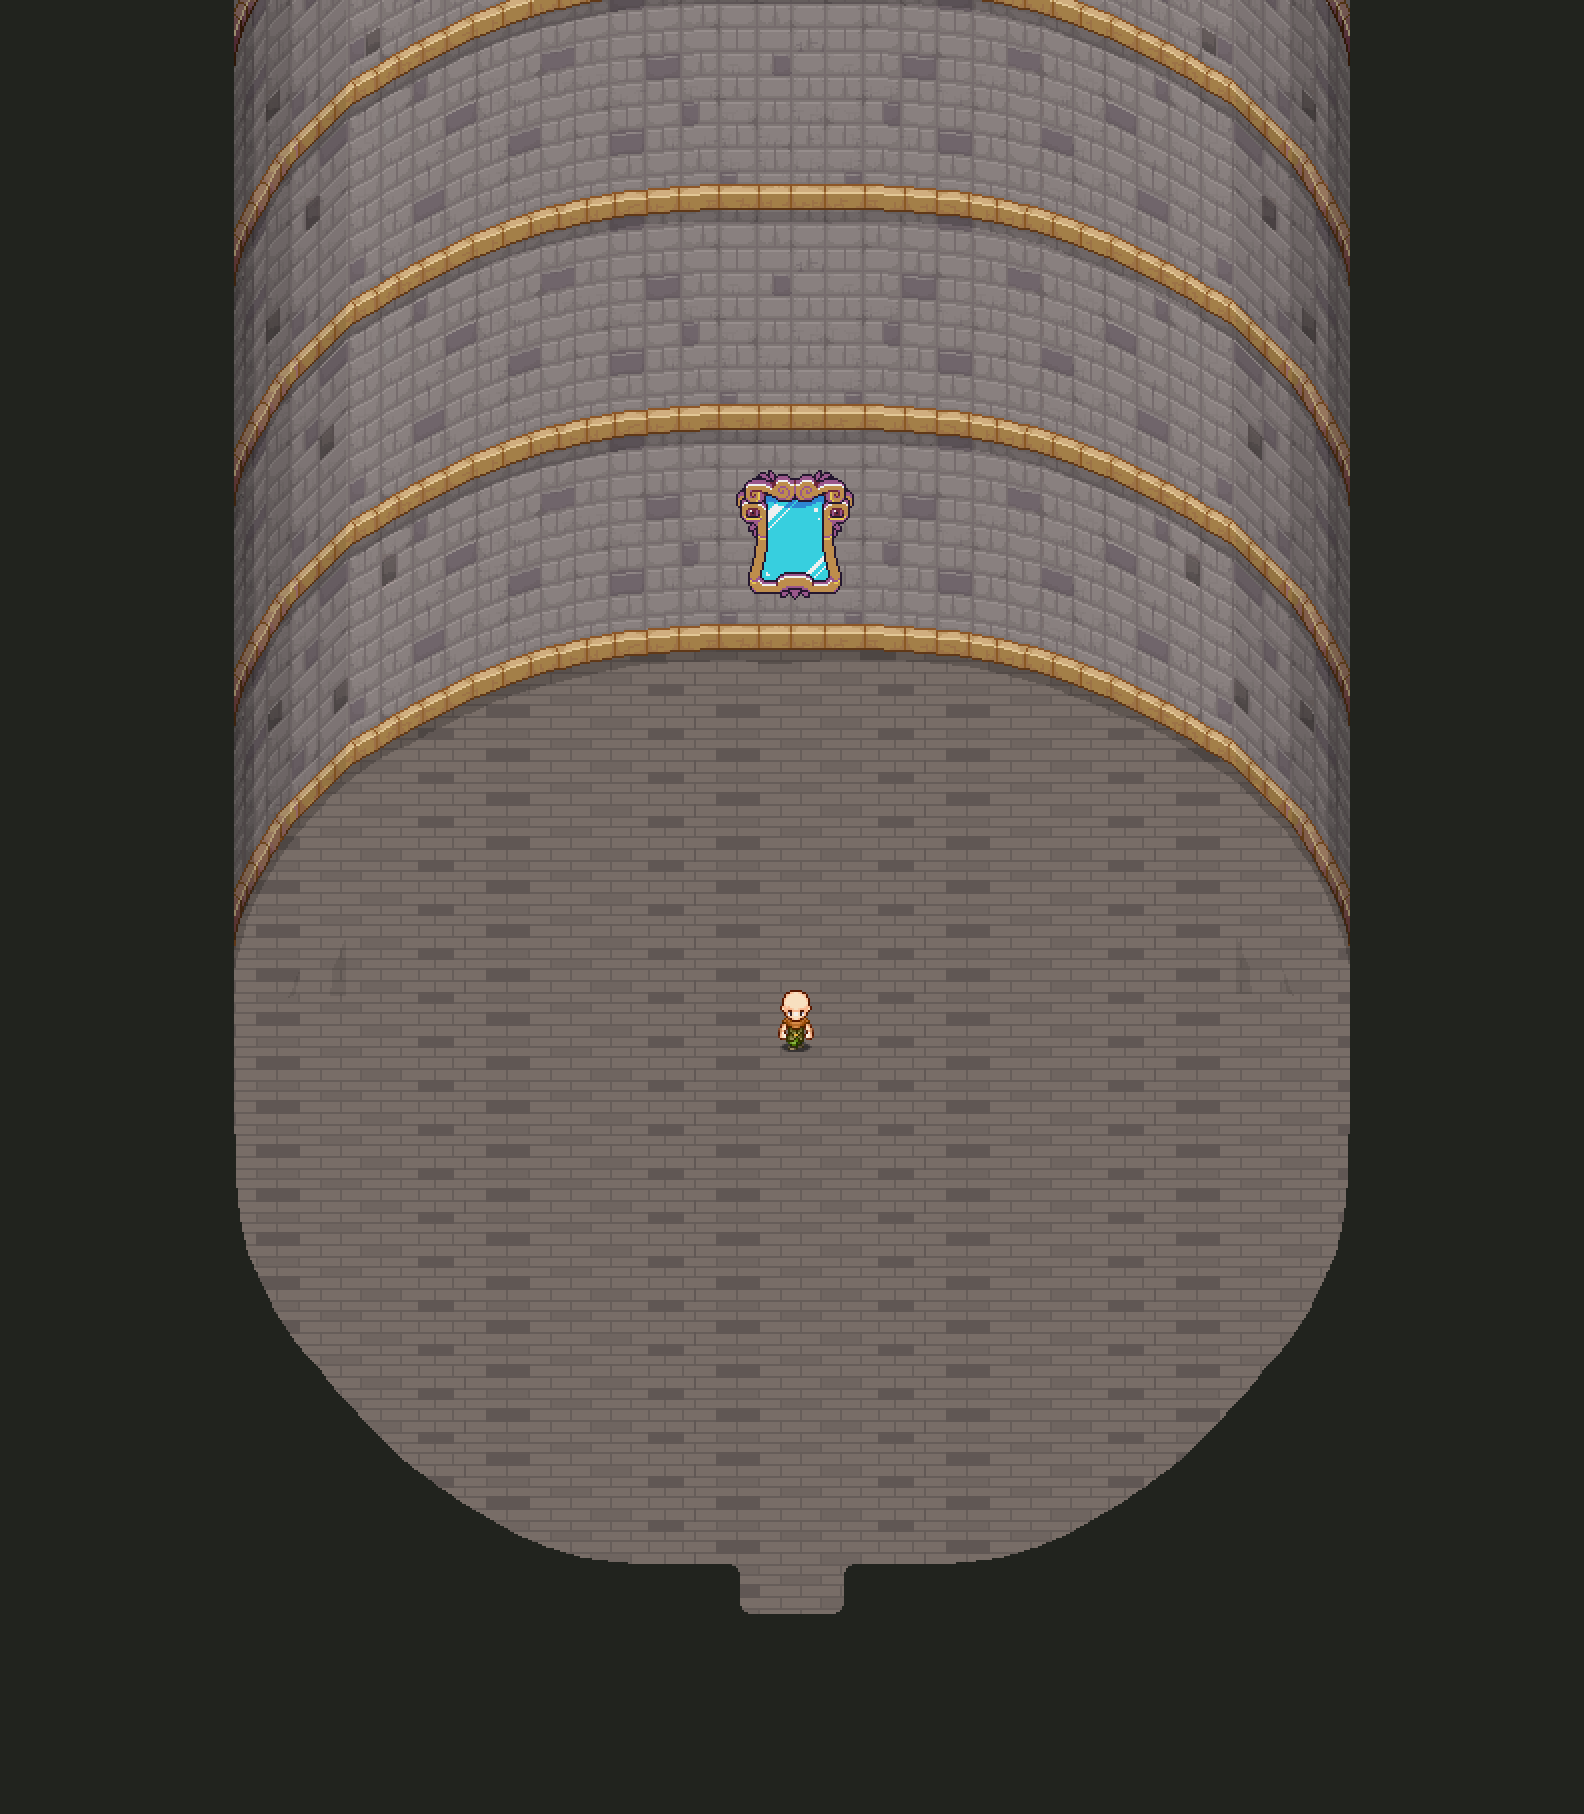
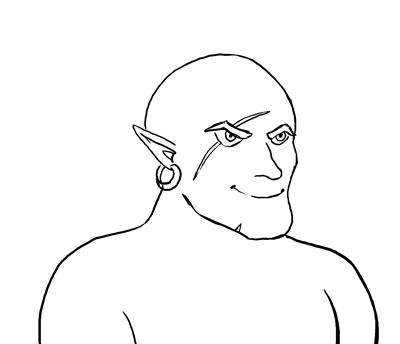
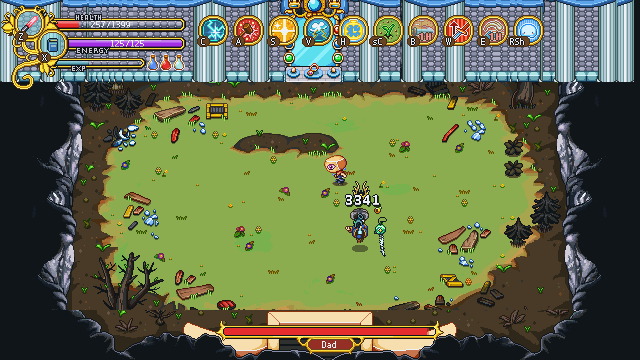
Speaking of said sword, it’s sure out to get you, and has a bunch of attacks of it’s own – here with the aid of a Gaantlet teleport:

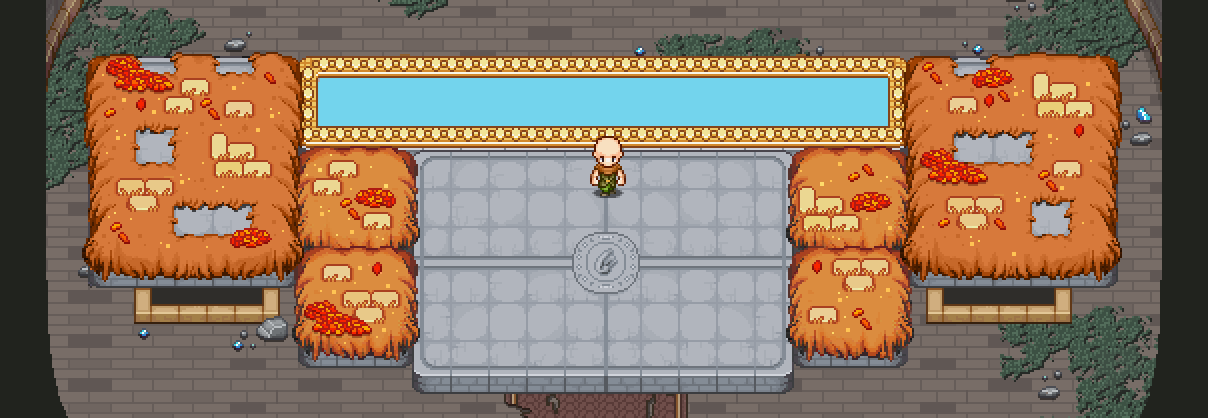
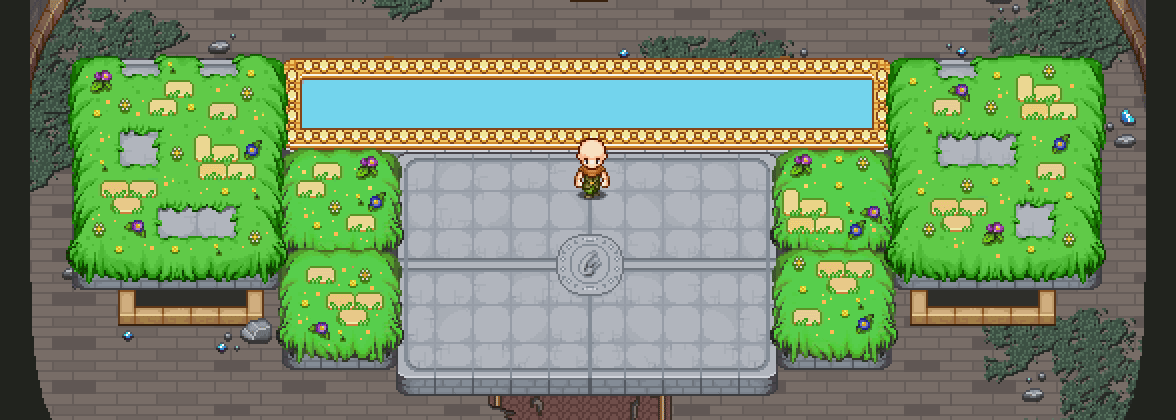
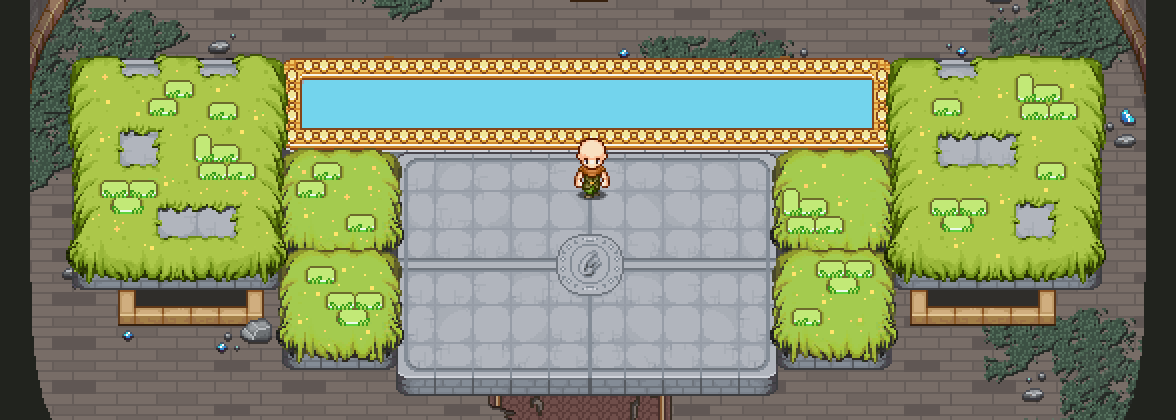
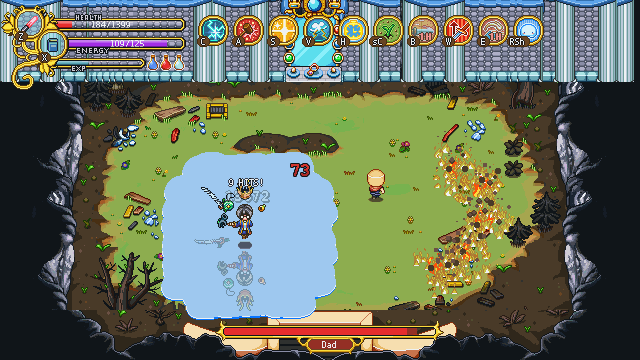
Some more dodging action:

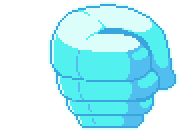
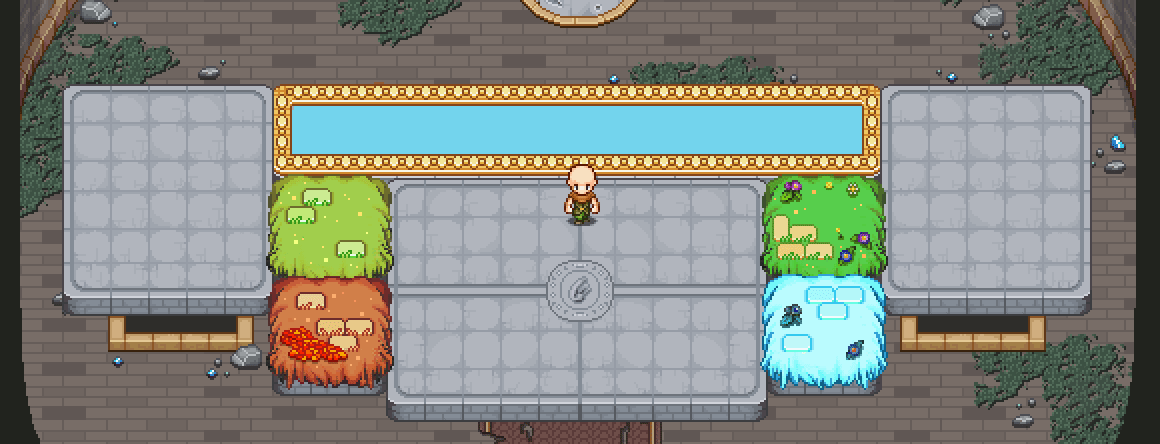
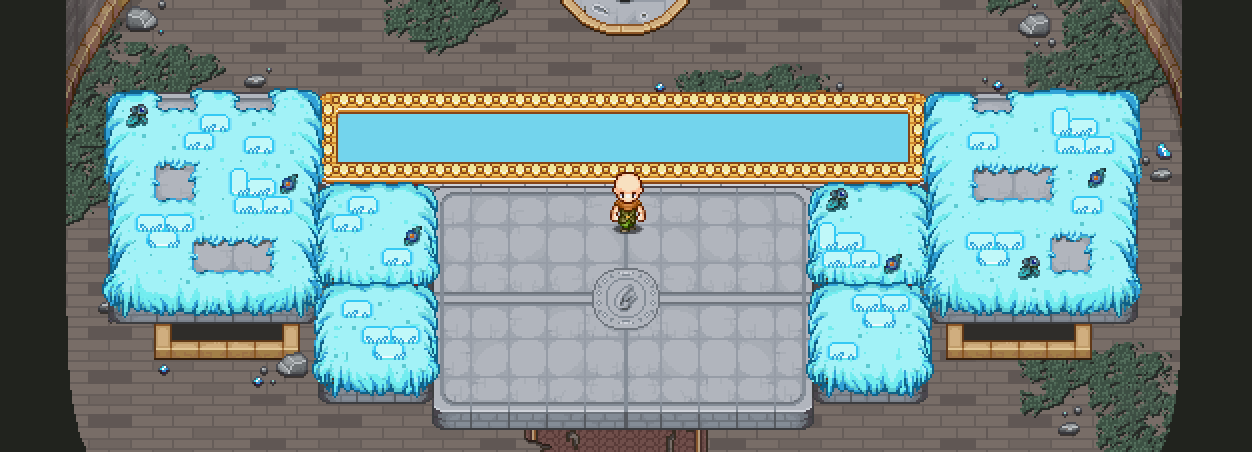
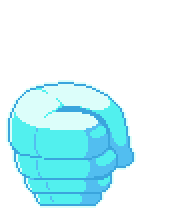
And Gaantlet creating ice fields to make this battle even more difficult, oof:

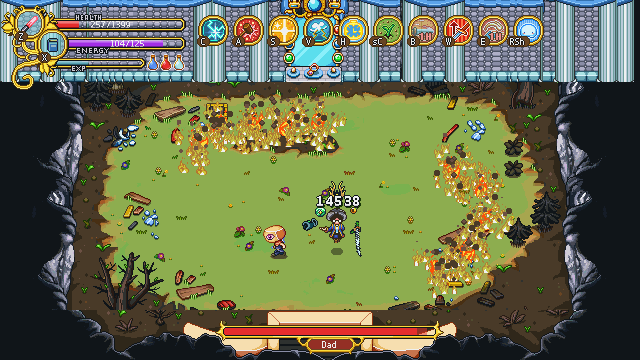
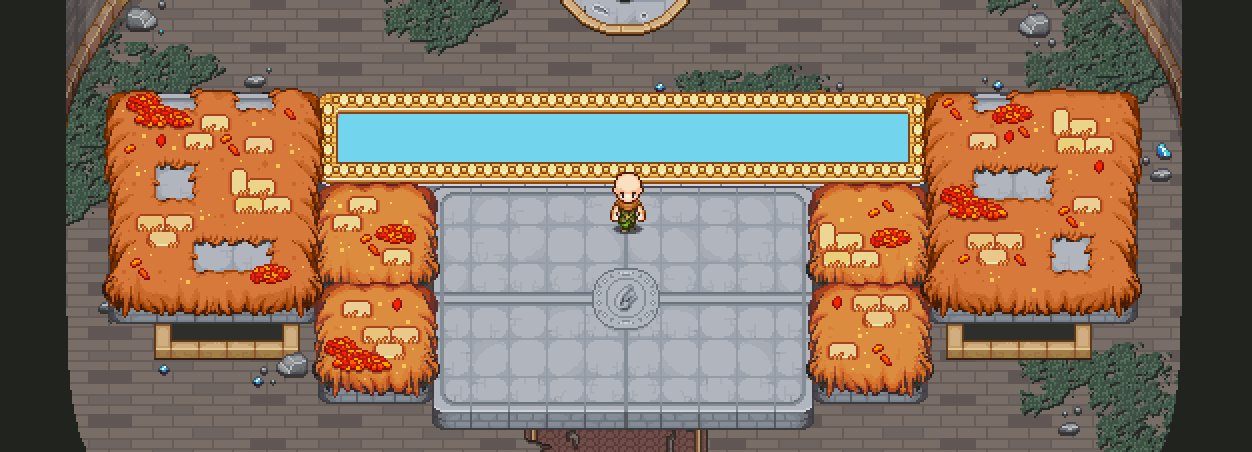
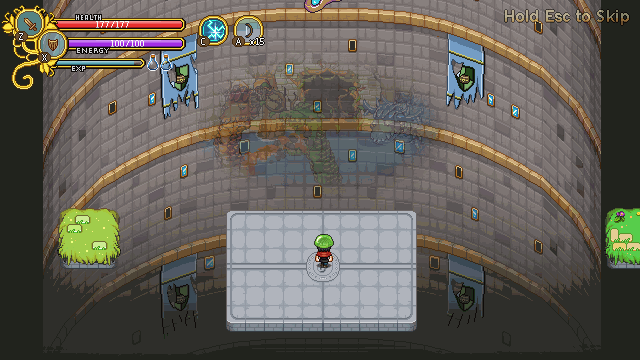
The attack above looks a little wonky as it’s been recorded in 30 fps – don’t worry, it’s gonna look a lot better in the actual game with the actual graphics.

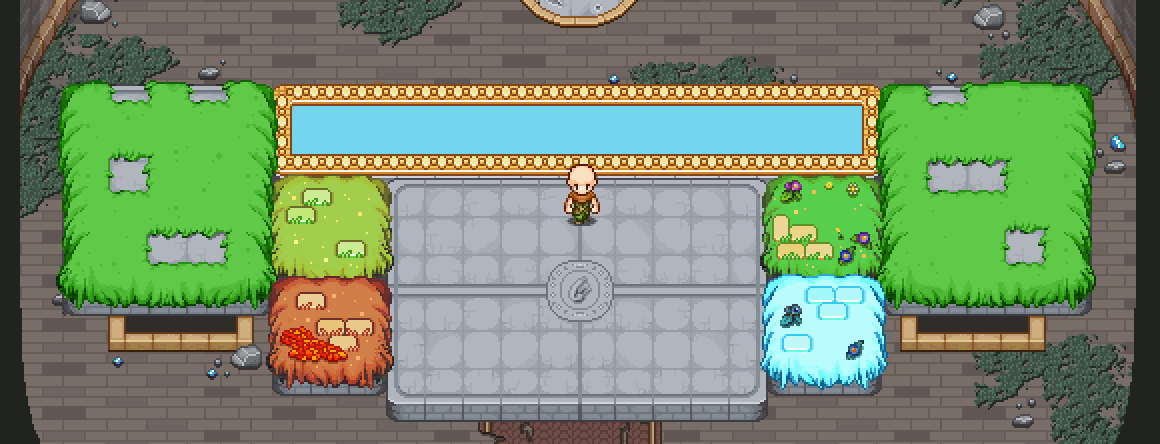
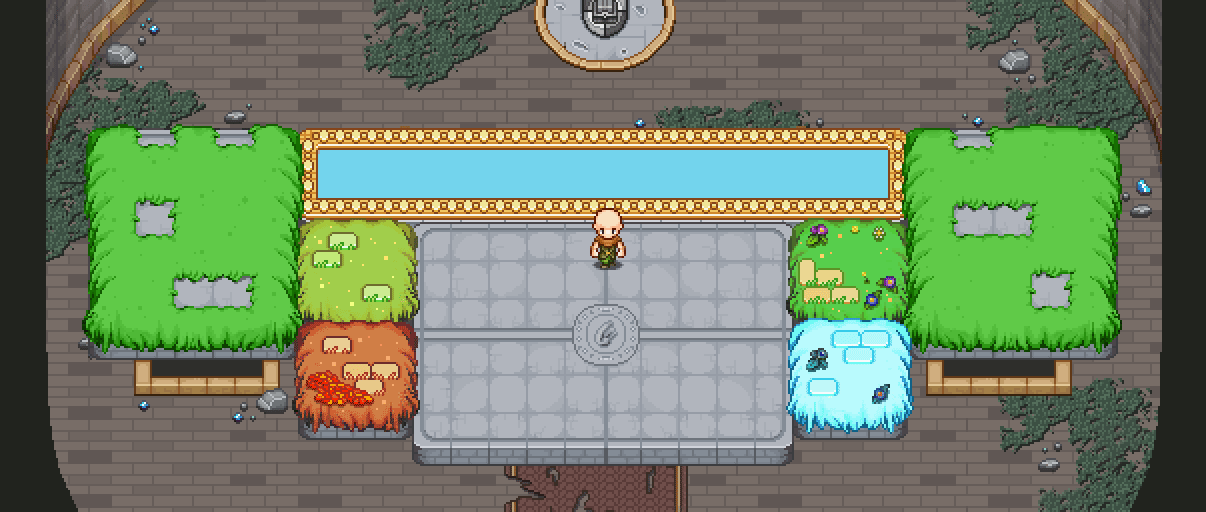
And here’s a little sequence featuring the attacks we have so far in various patterns, giving you a little preview of what parts of this fight might look like:

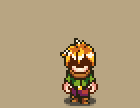
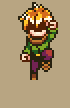
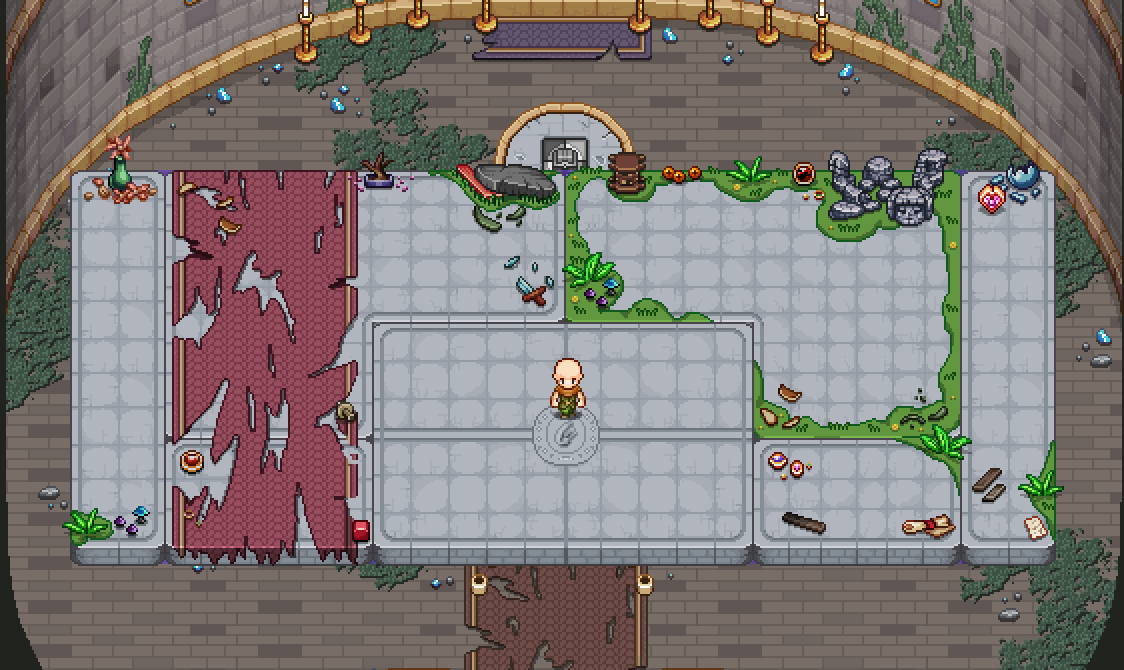
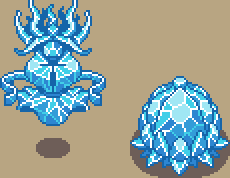
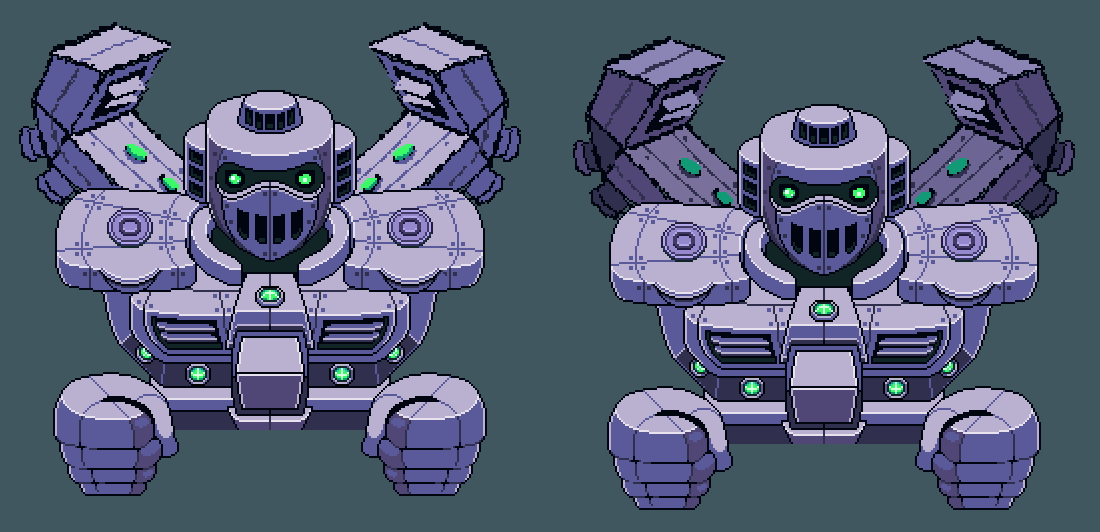
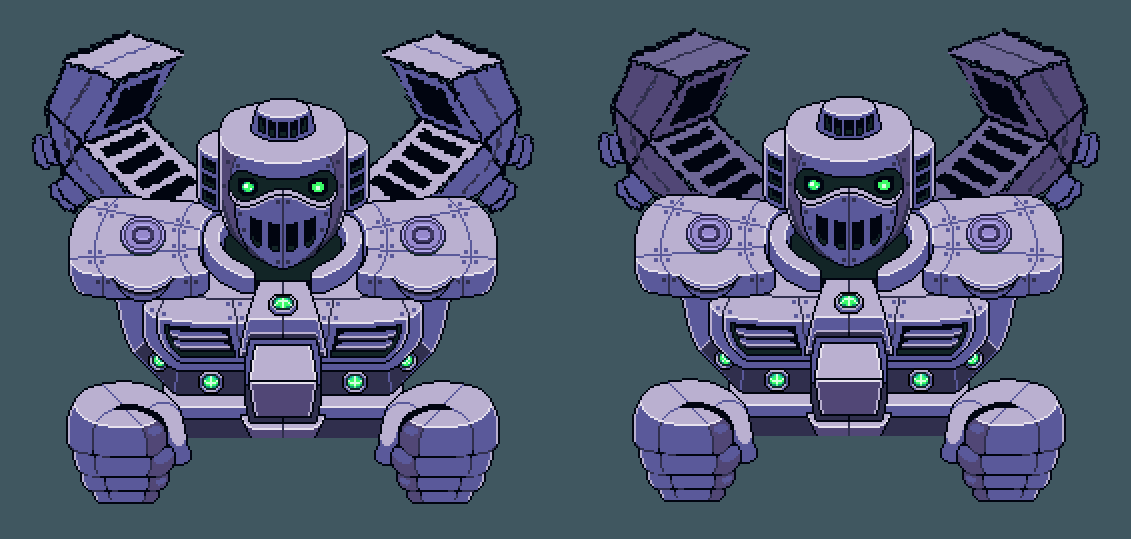
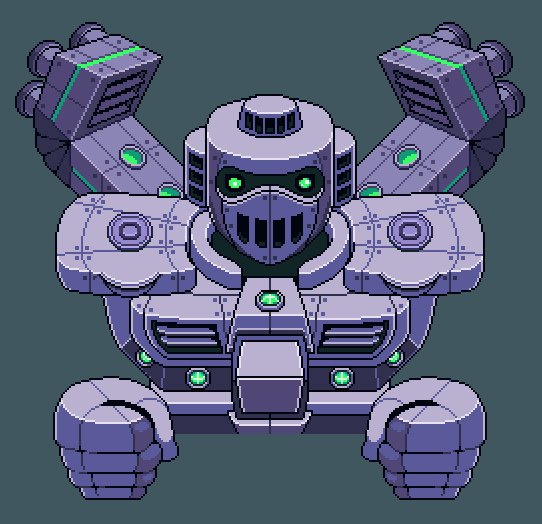
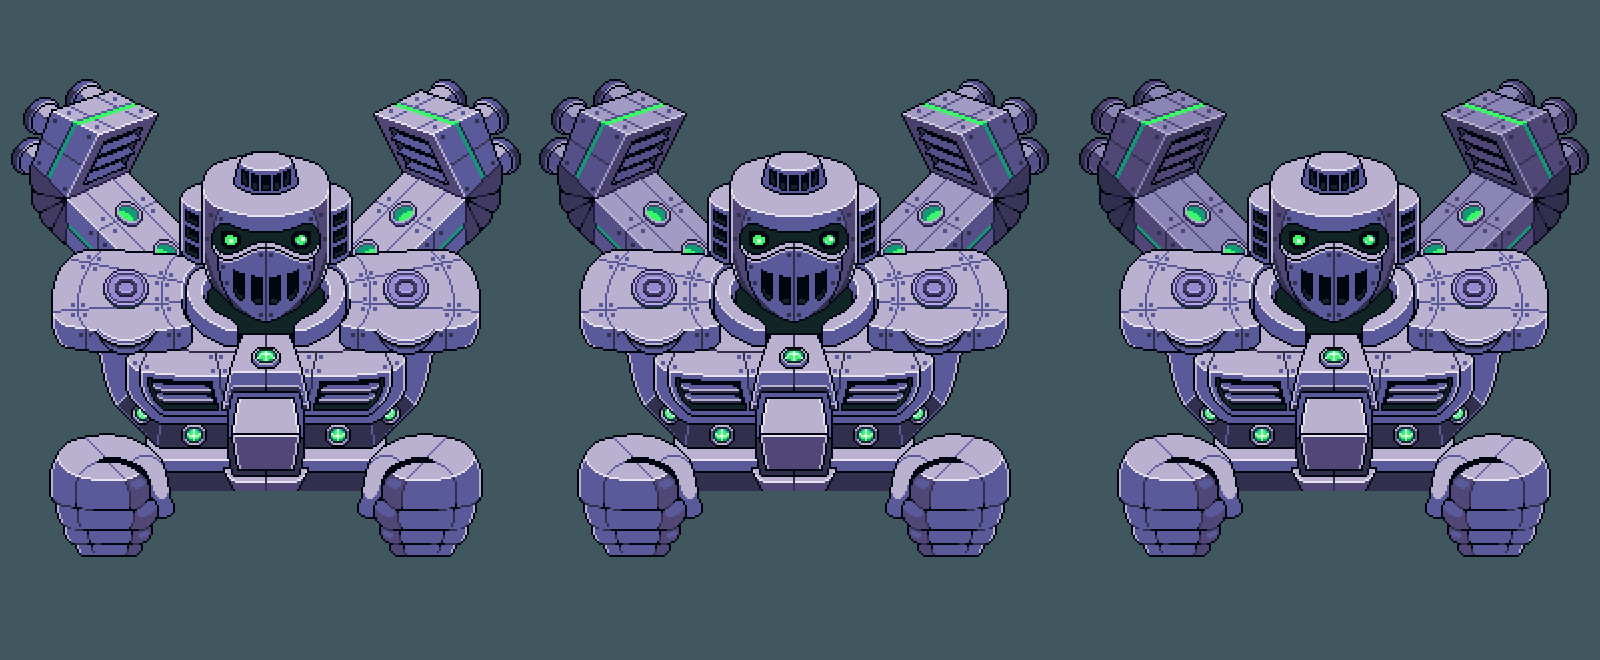
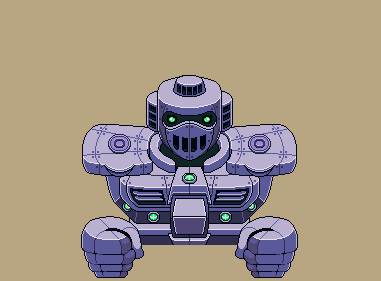
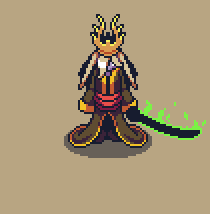
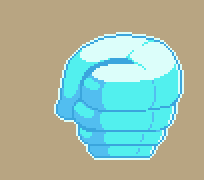
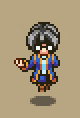
All WIP still, of course! In Fred’s department, he’s been busy making the proper animations for the attacks we’ve come up with this far, so here we have a couple of them:

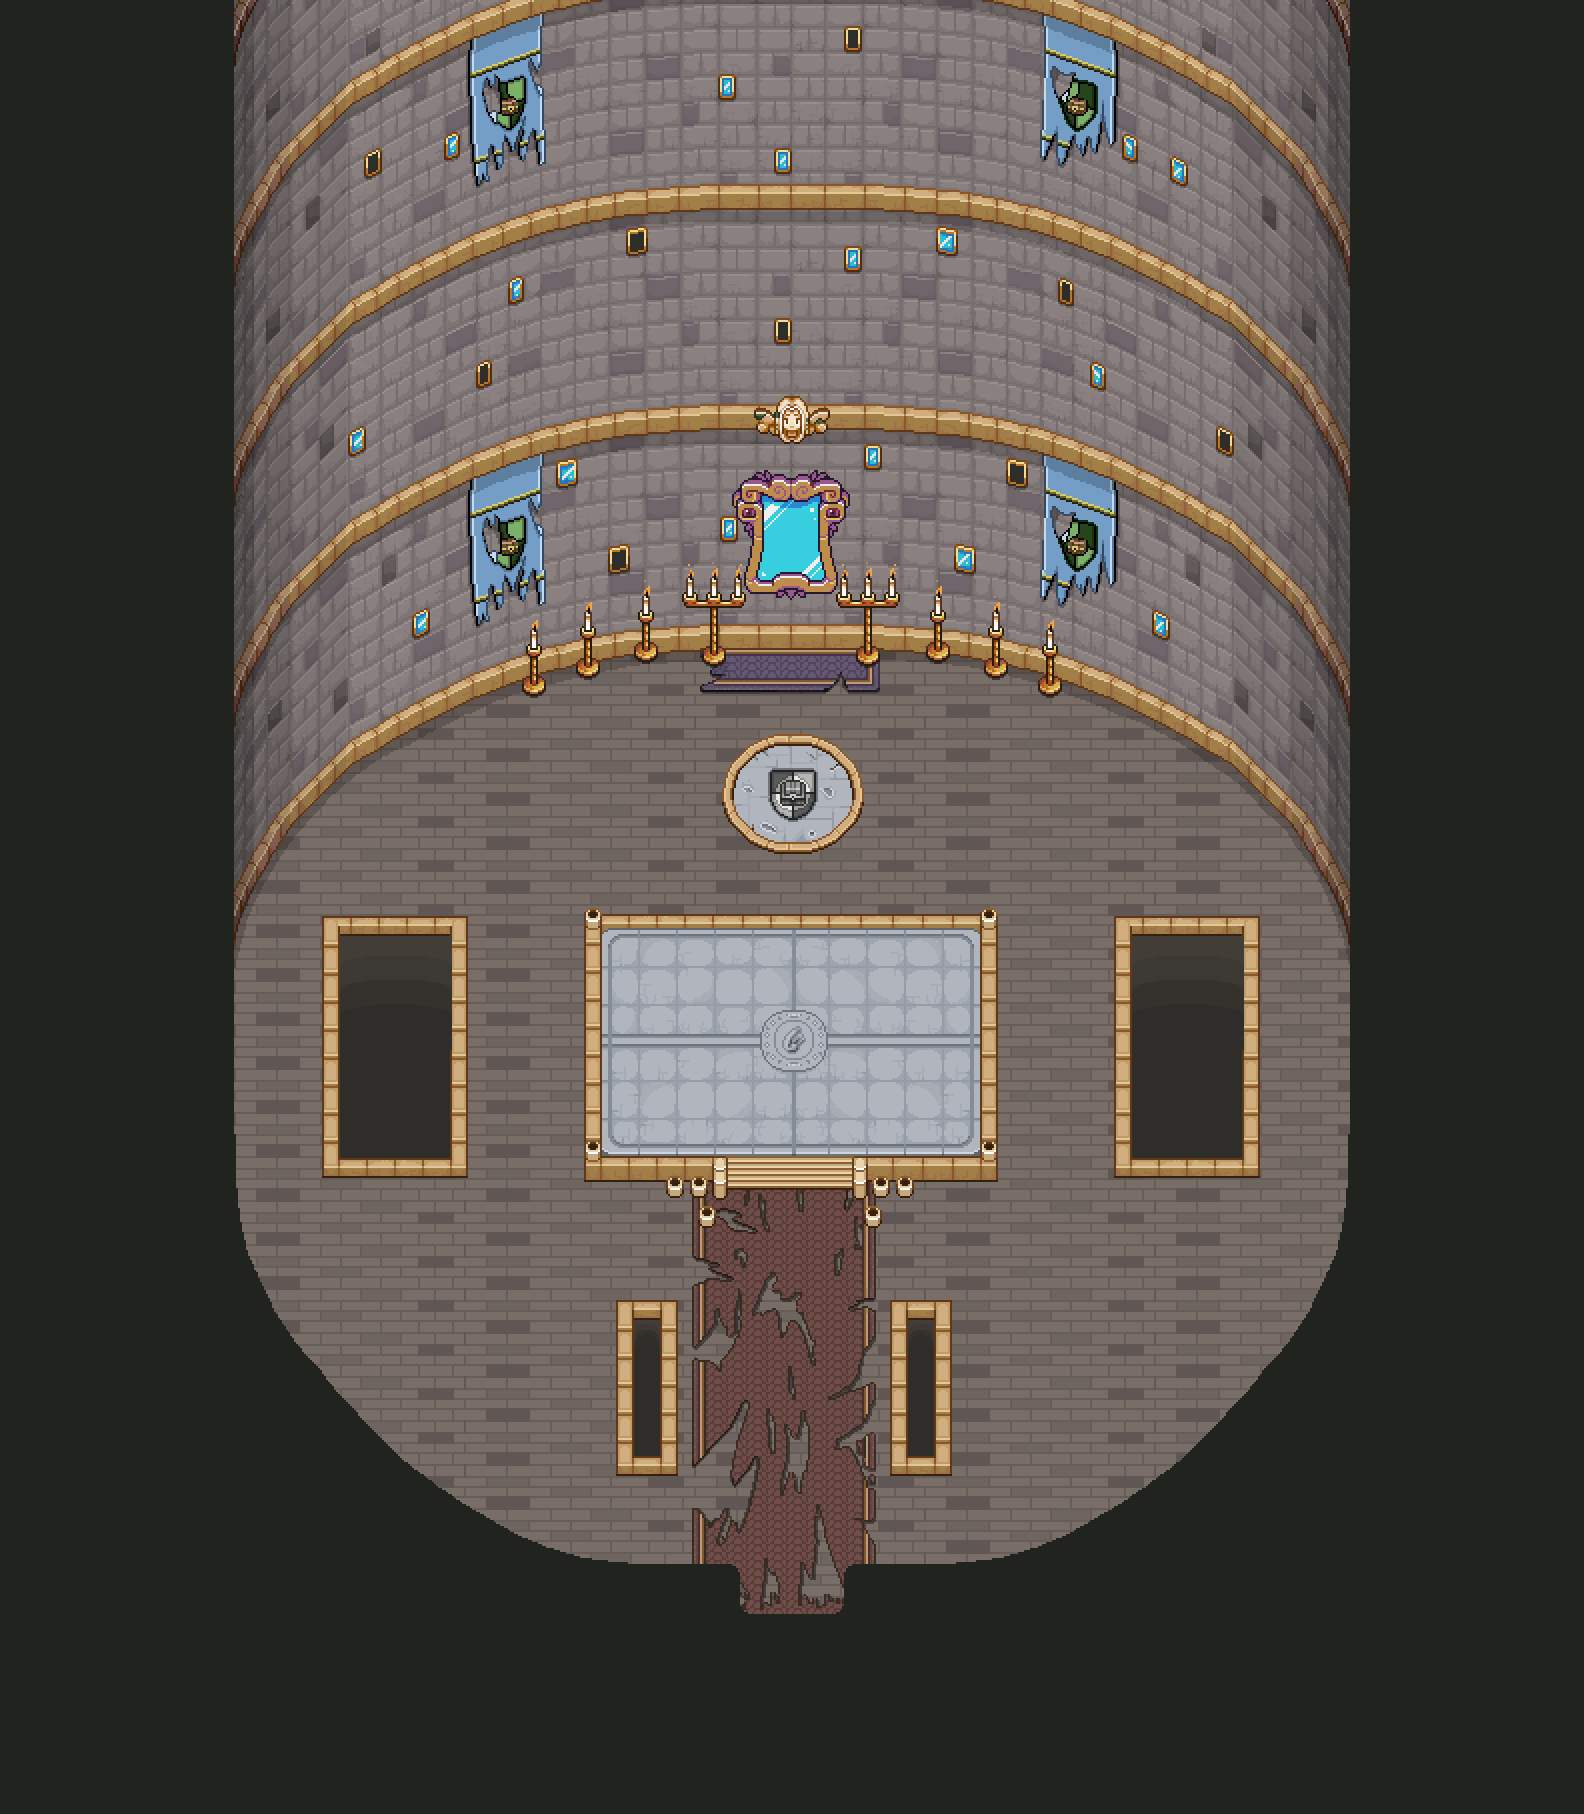
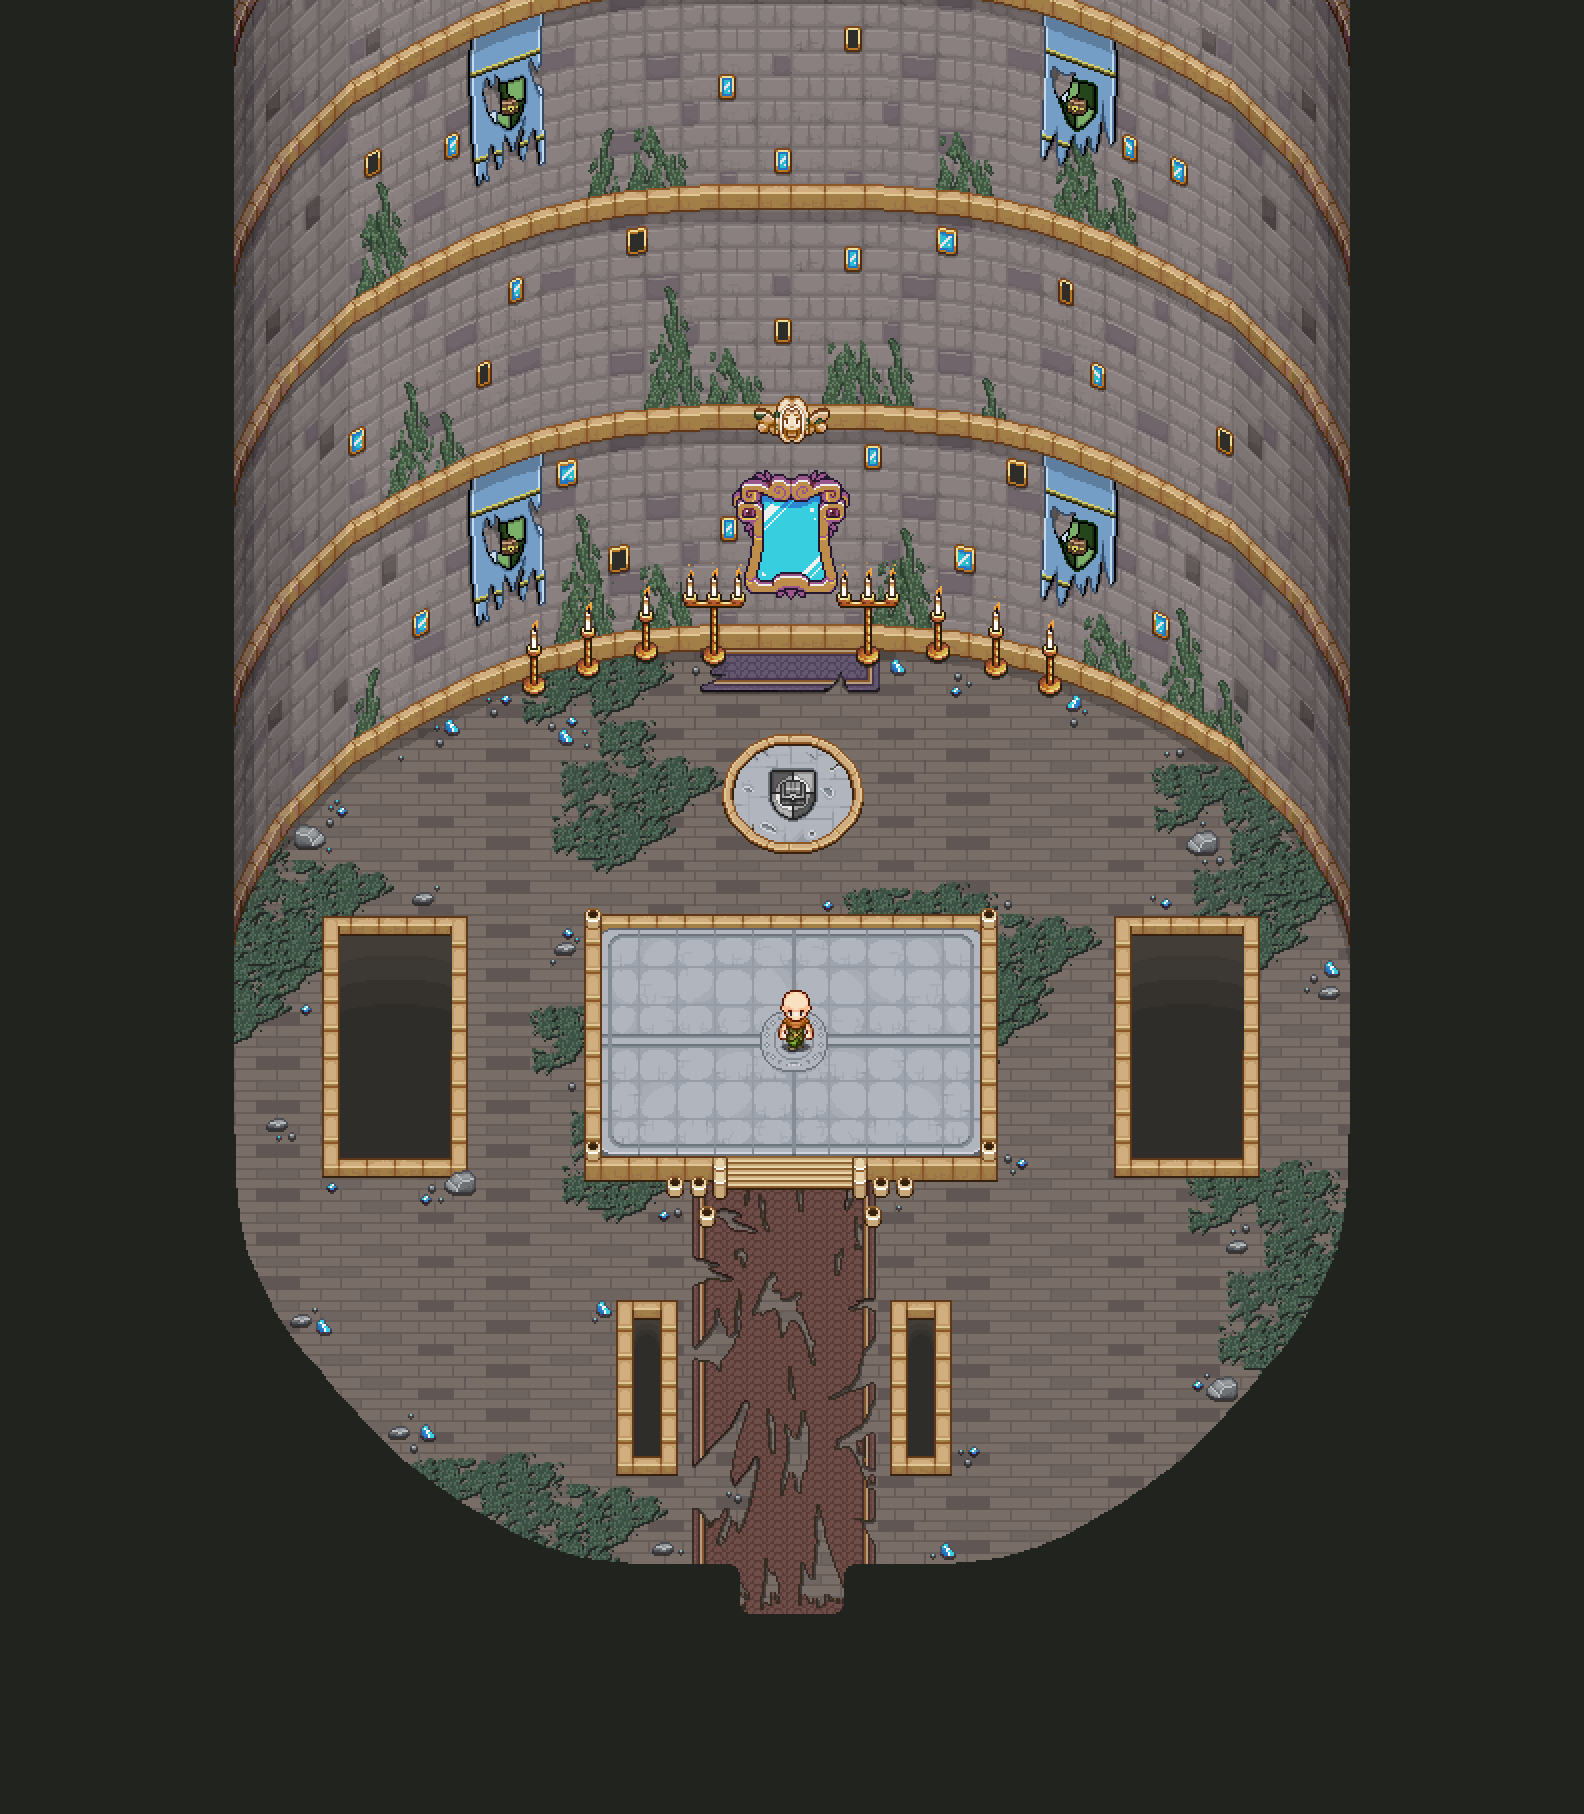
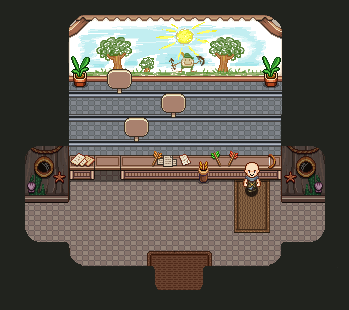
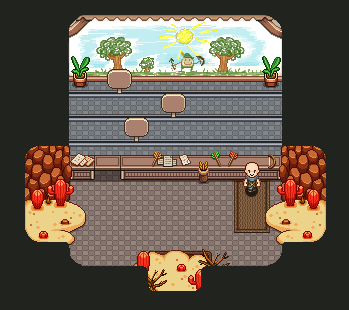
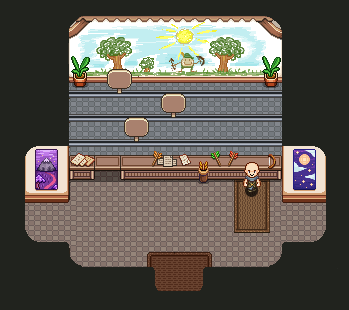
Next up, I’ll be working on the final backgrounds, the last few puzzles and the last couple boss portraits! So close now :)

This week it’s all about our old favourite Luke. As part of the Mirror’s boss summoning game, he’ll of course need properly themed elevators:

Fred’s been busy making a ton of animations for him as well, so here’s a look at them:

And here’s the summoning sequence:

Luke will be the final boss summoned by the mirror, so drawing ever closer to the end of this dungeon. Phew!

A new week, and new design decisions! After more discussions surrounding the final part of the final dungeon, we’ve decided to give the final boss(es) a proper area of their own, away from the tower. This is for a number of reasons, one of the key ones being that it’ll be a lot more epic. As such, the layout of things will look like this going forward:

You’ll start off by getting to the “top floor” of the tower, were a door leads out to a “balcony” of sorts:

In this balcony, a path will appear before you, leading you to the building where you’ll face the final boss(es) once and for all. We’d like this path to build a bit like the elevators in the tower, with bits and pieces molding together as you walk across, but we’ll have to do some testing to see how it’ll work out:

Next, you’ll reach Zhamla’s resting grounds, which in this sketch would remind the player of both Tai Ming and the Flying Fortress:

Inside, there will be giant windows that will shatter once the real battle begins, revealing the sky outside:

Meanwhile in Fred’s department, there’s a lot of different things going on. For instance, there’s a giant Grindea hand being animated for a special sequence:


Luke is getting some new animations:

And all of the mirror bosses are getting some more graphics as well:

Speaking of the mirror bosses, one of the other things we’ve been working on recently has been the way they’ll shatter as you defeat them. Here’s a bunch of our latest tests – what do you guys think? :)

Another week and more stuff keeps happening in the tower! Last week, we took a look at the boss summonings, which looked something like this:

However, after some discussions we decided to change the timings around a bit and add the elevator parts after the Mirror’s lines as opposed to before it, making it a bit more of a surprise which boss will appear next – so here’s the updated version:

To start with, we weren’t in agreement of which one was better, but in the end I think all of us have been convinced to go with this second version. Which one do you guys prefer?

Next up, we’ve been working on a bit of a mix sequence, where you’ll basically have to survive a barrage of attacks from various bosses throughout the game, making sure even more of them show up in this final part of the game. Let’s have a look at some of what we have so far:

Of course, the graphics are will a work in progress, the proper elevators, particularly for the Black Ferrets, will be added soon.

Speaking of new graphics though, there’s still a couple backgrounds left to make, so let’s have a look for the one that will feature in the Mimic battle:

Brings back old memories of Tai Ming, hopefully!

Fred’s busy making the proper glass-like graphics for each of the bosses and characters, so here’s a little sneak peek of two more:

And meanwhile, Teddy’s been busy with some programming that’s not exactly related to the game per se. As we may have mentioned ages ago, the game will not only release on Steam but will feature on GOG as well – so as we’re drawing ever close to completion, it’s time to start looking into implementing their stuff, making highscores and the like work on their platform as well. So, not much game progress – but still progress towards the release!

This week we’ll take a closer look at the next boss in the boss rush, the Season Hydra! As you may remember, I made a part of the background for it a while ago, but today it’s time to take a look at what the elevator will look like with each of the different seasons. First though, we decided to add grass to the remaining two platforms as well, so let’s have a peek at that first:

With that in order, let’s continue transforming this background into each of the four seasons! Starting with Summer:

Next, Autumn:

In the cold days of winter:

And finally, pleasant spring:

Of course, the Hydras will need some kind of wall for them to bang their heads into, otherwise how are you gonna be able to best them?! At first, we considered using the spears you’ve seen from across the game:

A basic WIP, of course, but we thought we might come up with something slightly cooler. Enter the force field:

A little bit more hitech perhaps, but also a lot visually cooler. Especially with Fred’s startup animation of it! Let’s have a look:

And before we go, have a GIF of what the spawn sequence looks like right now (without the proper summer background added yet):

With the Hydra fight well under way, this dungeon is coming together more and more :) We hope you’ll enjoy it!

Another week, and this one’s main focus will be all about GUN-D4M, or rather the upgraded more epic version you’ll face in the dungeon! First up, a slight redesign was in order, to properly differentiate him from the previous version! For this, we made a couple sketches to determine which one we liked the best:

We felt like the one with the lights were the cooler version, so we ended up going with that:

Some colour variations to get it all just right:

And after that, time to start animating that badass! Let’s have a look at one of his animations:

His fingers will feature a new weapon as well… Ooof!

And here’s a bunch of videos from our prototyping of this part of the battle, starting with the two Phasemen, going into the GUN-D4M portion of the game, and then finally a bit of how the boss fight itself will play out:


What do you think so far? We’re all very excited for where this is heading anyway, hope you are too :D

This week we’ll start off with another Boss Rush floor, this time the GUN-D4M floor, which will pretty much be the Phasemen floor – but destroyed by the sheer force of the GUN-D4M starting the battle! Let’s have a look:

One of the other things we’ve spent a lot of time on lately is what it’s gonna look like actually summoning these bosses! Each boss will be summoned by the Mirror artefact who ‘governs’ the Tower, and so our idea has been that we want some kind of mirror or glass effect as they appear. The videos below will give a pretty good idea of how our iteration process works – starting off with something small and building on it and editing it here along with more details, until we have something we’re happy with.

So, first up, here’s a couple of our very early iterations:


Then, we added a glass/mirror-like colouring for the next couple iterations:


Here we begin to play around with a glass shattering effect, which in these early prototypes is still very crude, as you can see:


Here Fred has gotten his hands on the prototype and started making some graphics! The shattering effect is still pretty basic, though:

With more proper graphics it’s starting to look more and more like something that would actually appear in the game! Here the “summoning-shards” have better graphics, and we’re playing around with various sizes for the mirror shards as they shatter:


We’ve also been working on the elevator itself, adding some darkness to give a better sense of dept to the dungeon:

Pretty cool huh? It’s really exciting to see this all coming together :) Now, next week is easter here, and with the restrictions finally being out of the way for the most part, it’s time to spend some time with family!

Therefore, there won’t be an update next week, but the blog will be back as usual on Monday the 25th! See you then :)

It’s high time we return our attentions to Story Mode, and so let’s have a look at the interior of the tower this week! Here’s where that boss rush will take place, on an elevator taking you to the top. Here’s the process of the basic background:

The various colored squares in the beginning of the GIF above shows you the various sizes of the boss rooms in Story Mode, which will serve as a guide for when I start making the elevators for each boss. Next, it’s time to add some more details:

And finally, a bunch of moss and small rocks to add further detail to this first floor:

Feels great to have finally started working on this, but there’s a lot more to come in terms of elevators and the like, so stay tuned for more :)

Before ending this post though, here’s a look at some stuff Fred’s been working on as well:

Oh yes, he’s back!! Excited for the final battles to take place? We sure are! :)

This week, we’re starting off by adding a new currency!

This is golden essence, which like normal essence can be traded for rewards at Bishop’s in Arcadia. We’re also thinking you’ll be able to trade a (big) amount of regular essence for one of these. The reason we came up with this currency is because we thought it’d be a better reward to get in that final floor chest, rather than getting the rewards themselves. This way you can pick and choose whatever rewards you want in any order (except for some that you will need to unlock by completing Arcade Mode in all difficulties), and it seems a bit clearer that you always get a reward of golden essence rather than an arbitrary number of rewards only to suddenly not get any more.

This way adding new rewards is more streamlined as well – if we decide to add more rewards, Bishop will simply update his shop rather than you having to complete arcade mode once again to see what sort of item(s) we’ve added!

Next, we wanted to add something fancy for when you manage to finish off one of those new and spicy floor-wide bets, so I threw together a little background for a room in Bishop’s realm where you get sent once you’ve cleared the floor:

Next up, we wanted a wagon for the potion salesman that sells you Super Potions, so I made some tweaks to Remedi’s old thing in Arcadia to better fit the salesman we have in mind:

And here we go, the second attempt at that bad-ass fae, Badasu! This one looks a little more badass, no?

Meanwhile in Fred’s department, it’s all about hands! Grindea’s hands, to be precise! Have a look:

It’s another Monday starting with another meeting, and in this one we discussed more stuff to add to the final update of Arcade Mode. Here’s a bunch of our new suggestions in terms of events and event rooms you may come across during a run:

* First up, an event room that’s a spa where you can pick up a couple health orbs, just a nice little treat that may show up once in a while

* A potion salesman that sells “bootleg” potions that last longer than the ones you have equipped normally. These potions are usable items you can use whenever you like but will last longer and possibly be a bit stronger.

* A version of the fortune teller room in which you can change the boss of the floor, but for the next event room! In this room Astrid the fortune teller will let you know what event room is the next to spawn, and you’ll be able to let her swap it out for another one, for a fee.

* A “Boss Assistance Fae”, a fae adventurer that may show up randomly in a room and help you clear it out, only to suggest you employ his assistance in battling the boss. Of course, having his assistance will cost you! This fae may also show up occasionally in Astrid’s Fortune telling room where she predicts which boss you’ll face off against next.

* We’re also discussing having floor wide bets, where Bishop will appear at the start of a floor and give you a bet across the whole floor, such as clearing the floor within a limited time!

* Maraccas, who will show up in later floors, letting you exchange silver points for talent orbs, just like in Story Mode

* Trick & Treat buff service which will give you quite a powerful buff – but will also include quite a massive debuff. For example, in an early floor you might get a skill leveled to max, but you’re not allowed to use any other skills or your shield.

* A Trade Up Guy who will take three of your items of the same kind and exchange them for a better version of them

* A Lood room, which is an event room with a lot of loods and one big master lood who is a NPC of sorts

* The Ice Cream parlor, where you can make your own ice cream that gives you different boosts depending on which flavours you pick

* A person who shows up at the beginning of the last floor you died, or possibly after you’ve died at the same floor a number of times, selling buffs that will last until the end of the floor

If you have any other ideas for event rooms or fun things to happen throughout a run, be sure to make a comment! :)

Finally when it comes to Arcade Mode event room entrances, we have the Ghost Ship, the Desert, Tai Ming and Mount Bloom:


Another couple upgrades we’ve been working on is a proper preview window for Shadier Merchant, which compared your items to the ones on display as you approach:

As well as a nice blue warning for the main menu when your save is incompatible (previously it was brown, as can be seen below):


Next, it’s time for another one of those Grindea battle updates! Here, let’s take a look at two more of her moves, still a bit WIP but it’s looking better and better for sure: