Have you all have a nice easter break (for those of you celebrating or taking time off during the holiday)? :) We’ve had a lovely time with family, but now it’s time to get back to work! This week we’ll start off by showing a couple more backgrounds for the boss rush:

This first one is the floor for the Hydra boss, which I believe we’ve mentioned a little bit earlier. It will include a spring Hydra, so all four seasons are involved, hence the four different platform, each representing a season as well :)

Next up we have a truly terror-filled floor featuring the Power Flower AND BEES! Don’t worry, if it turns out in prototyping that this was a terrible idea, we may still cut this part of the boss fight (or will we? mwahaha):

Teddy, meanwhile, has started playing around with transitions between floors, and here’s a little sneak peek of that:

And Fred continues on with the actual boss fight of the dungeon – Zhamla! Here’s another animation from his department:

It’s high time we return our attentions to Story Mode, and so let’s have a look at the interior of the tower this week! Here’s where that boss rush will take place, on an elevator taking you to the top. Here’s the process of the basic background:

The various colored squares in the beginning of the GIF above shows you the various sizes of the boss rooms in Story Mode, which will serve as a guide for when I start making the elevators for each boss. Next, it’s time to add some more details:

And finally, a bunch of moss and small rocks to add further detail to this first floor:

Feels great to have finally started working on this, but there’s a lot more to come in terms of elevators and the like, so stay tuned for more :)

Before ending this post though, here’s a look at some stuff Fred’s been working on as well:

Oh yes, he’s back!! Excited for the final battles to take place? We sure are! :)

Now, time to showcase the second casino, which will feature a different kind of gamble than the first:

The Pin Collector will make an appearance as well, in a house that seems to follow its own physics (you will be able to see a background filled with stars through the darkness in the floor and walls – quite spacey! ;))

Next, with a battle against Grindea being imminent very soon, it’s high time to give her a proper boss portrait! Let’s have a look:

Next up we needed to make some adjustments to master Ji’s challenge rooms to remove the scrolling from it, so let’s resize that thing a bit!

Some more things some of you may or may not have already seen, the transition between Grindeas health bars and her cool space wings:

Have you reached the Grindea battle yet? If so, what do you think? :D

This week, we’re starting off by adding a new currency!

This is golden essence, which like normal essence can be traded for rewards at Bishop’s in Arcadia. We’re also thinking you’ll be able to trade a (big) amount of regular essence for one of these. The reason we came up with this currency is because we thought it’d be a better reward to get in that final floor chest, rather than getting the rewards themselves. This way you can pick and choose whatever rewards you want in any order (except for some that you will need to unlock by completing Arcade Mode in all difficulties), and it seems a bit clearer that you always get a reward of golden essence rather than an arbitrary number of rewards only to suddenly not get any more.

This way adding new rewards is more streamlined as well – if we decide to add more rewards, Bishop will simply update his shop rather than you having to complete arcade mode once again to see what sort of item(s) we’ve added!

Next, we wanted to add something fancy for when you manage to finish off one of those new and spicy floor-wide bets, so I threw together a little background for a room in Bishop’s realm where you get sent once you’ve cleared the floor:

Next up, we wanted a wagon for the potion salesman that sells you Super Potions, so I made some tweaks to Remedi’s old thing in Arcadia to better fit the salesman we have in mind:

And here we go, the second attempt at that bad-ass fae, Badasu! This one looks a little more badass, no?

Meanwhile in Fred’s department, it’s all about hands! Grindea’s hands, to be precise! Have a look:

And this week, it’s time to start taking care of the second floor of that final dungeon! Let’s start with the first room, which will throw you into the cursed floor:

Next up, a couple of the horizontal floors:

And some vertical ones:

And finally, the lobby room that will lead you to each of those rooms:

This room will also have a bunch of statues and a portal, but we’ll take care of that in next week’s post!

Meanwhile in Fred’s department, it’s still all about Grindea! Check this out:

On to the next mission, making drop appearances for each of the potted plants! First batch here:


And here’s the second batch:


And now it’s time to take a look at the new interface where you’ll be able to choose which of your seeds to plant! Going for a pretty minimalistic and streamlined design here, this interface will only show the seed, how much it costs to pot it, what sort of pot and plant it’ll result in and how much money you have!

I made two versions of this interface, one with static colours which you can see above, and one where the colours are different for each seed, seen here below:

And here’s the rest of the colours, in case we decide to go for the second version:

Which one do you prefer?

Next we have another portrait, of another of the veteran collectors we’re adding:


As for Fred, he’s been busy potting a lot of plants! Here you can see a whole bunch of them in their housing forms, including a jumpkin for which I haven’t made a proper pot yet:

For the sixth final dungeon floor, we’re doing a mashup of the festival and Mount Bloom, which means you’ll be going to a festival in the mountains! And who better to host such an event than a score of Cavelings…. :)

Our idea is that you’ll be in a rather open cave system where you’ll trick phase between various stations, each having a little mini game challenge of its own. We haven’t yet decided whether you’ll need to do them in a specific order or if you can trick phase your way around the area freely.

Either way, our current idea is that it’ll be the same mini games as you had in the Evergrind festival after you finished the Temple of Seasons, only with a caveling twist for each event. So for instance, you might not win the fishing contest based on the best or most fishes, and the cavelings might use some other cheating tactics to make sure they win themselves in the running challenge, and so on. I won’t go into too much detail here but you get the idea – basically you’ll most likely end up getting swindled one way or another – what else to expect from the cavelings, huh?

This week we’ll be discussing the Tai Ming floor, and after that there’s only two more floors to go! Drawing ever closer to the end :)

So, another thing we’ve been working on recently has been a bunch of new gauntlets for the arena! Now there’s a total of four of them, each a bit more difficult than the last.

First we have the good old classic one featuring Pillar Mountains, Evergrind City and Pumpkin Wood enemies. The second one has enemies from Flying Fortress and Seasonne, as well as a guest appearanec from Phase Man and a couple puzzle block enemies. The third has enemies from the Temple of Seasons and Mount Bloom, and also features the Summer and Autumn Elder Fae and Black Ferrets! Finally there’s the final Gauntlet, which has enemies from across the entire world, as well as some giant thorn worms, Vilya AND Marino! Quite intense.

After having made these, we’ve of course spent a bunch of time testing them. I also decided to remake the icon for the original gauntlet (which was a single slime against a yellow background) now that I had to make icons for the new challenges anyway:

Meanwhile, the Bishop battle is turning more and more from a prototype into an actual badass battle!

We’ve added a bunch of attacks and cleaned up the graphics on some. After some initial testing of this version of the battle, I’d like to be bold enough to say it’s one of my favourite boss battles in the game this far:

Hopefully you guys will like it as well! It’s pretty intense, let me tell you that much! :D

Next up we have a new NPC we’ve been talking about adding for a long time! This guy will be ‘unlocked’ by finishing a quest in the Collector’s HQ, and will grant you the ability to turn your silver skillpoints into talent orbs (and the other way around!)

Of course, as such he needed a portrait:

Meanwhile, Fred’s been continuing on with refining the Bishop animations, making sure the battle against him looks as good as possible! Here’s some more of his animations:

So last week our goal was to each come up with one or a few design ideas for the first floor in the final dungeon, after which we’d go through each of our suggestions and pick our favourites, building our dungeon one floor at a time.

As we mentioned, our guidelines were to remind people of the journey they’ve made throughout the game, bringing back “old classic” events and mechanics. Some of our ideas for the first floor, representing the very beginning of the game, ranged from battling your own sword and shield, a bullet hell with wooden swords, bees circulating around you and attacking you one by one, or an arena where you battle a block puzzle that comes alive.

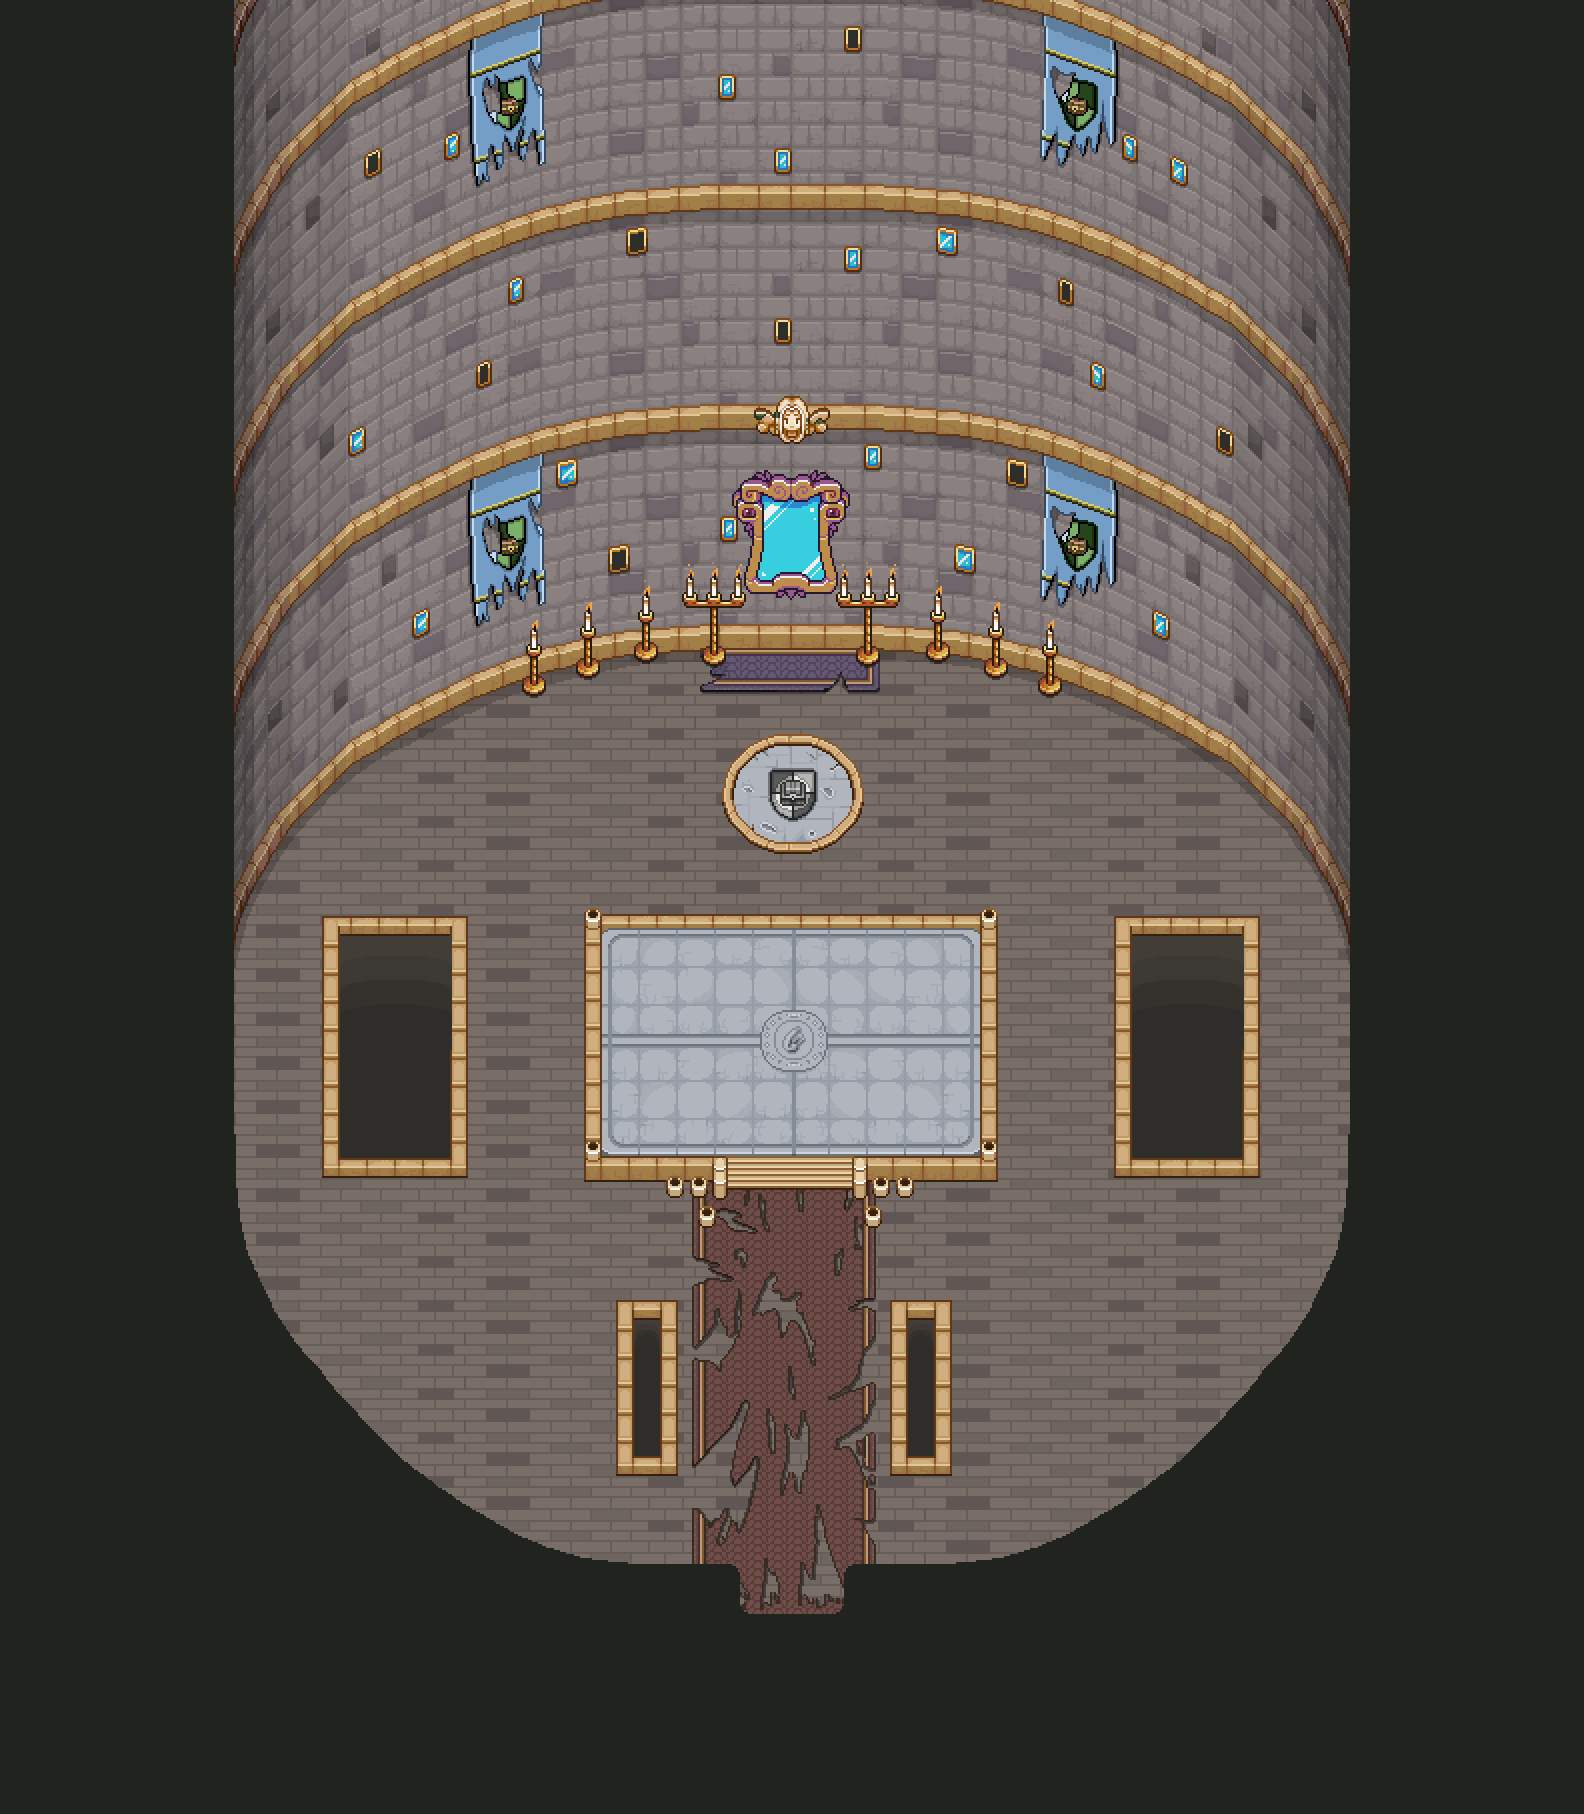
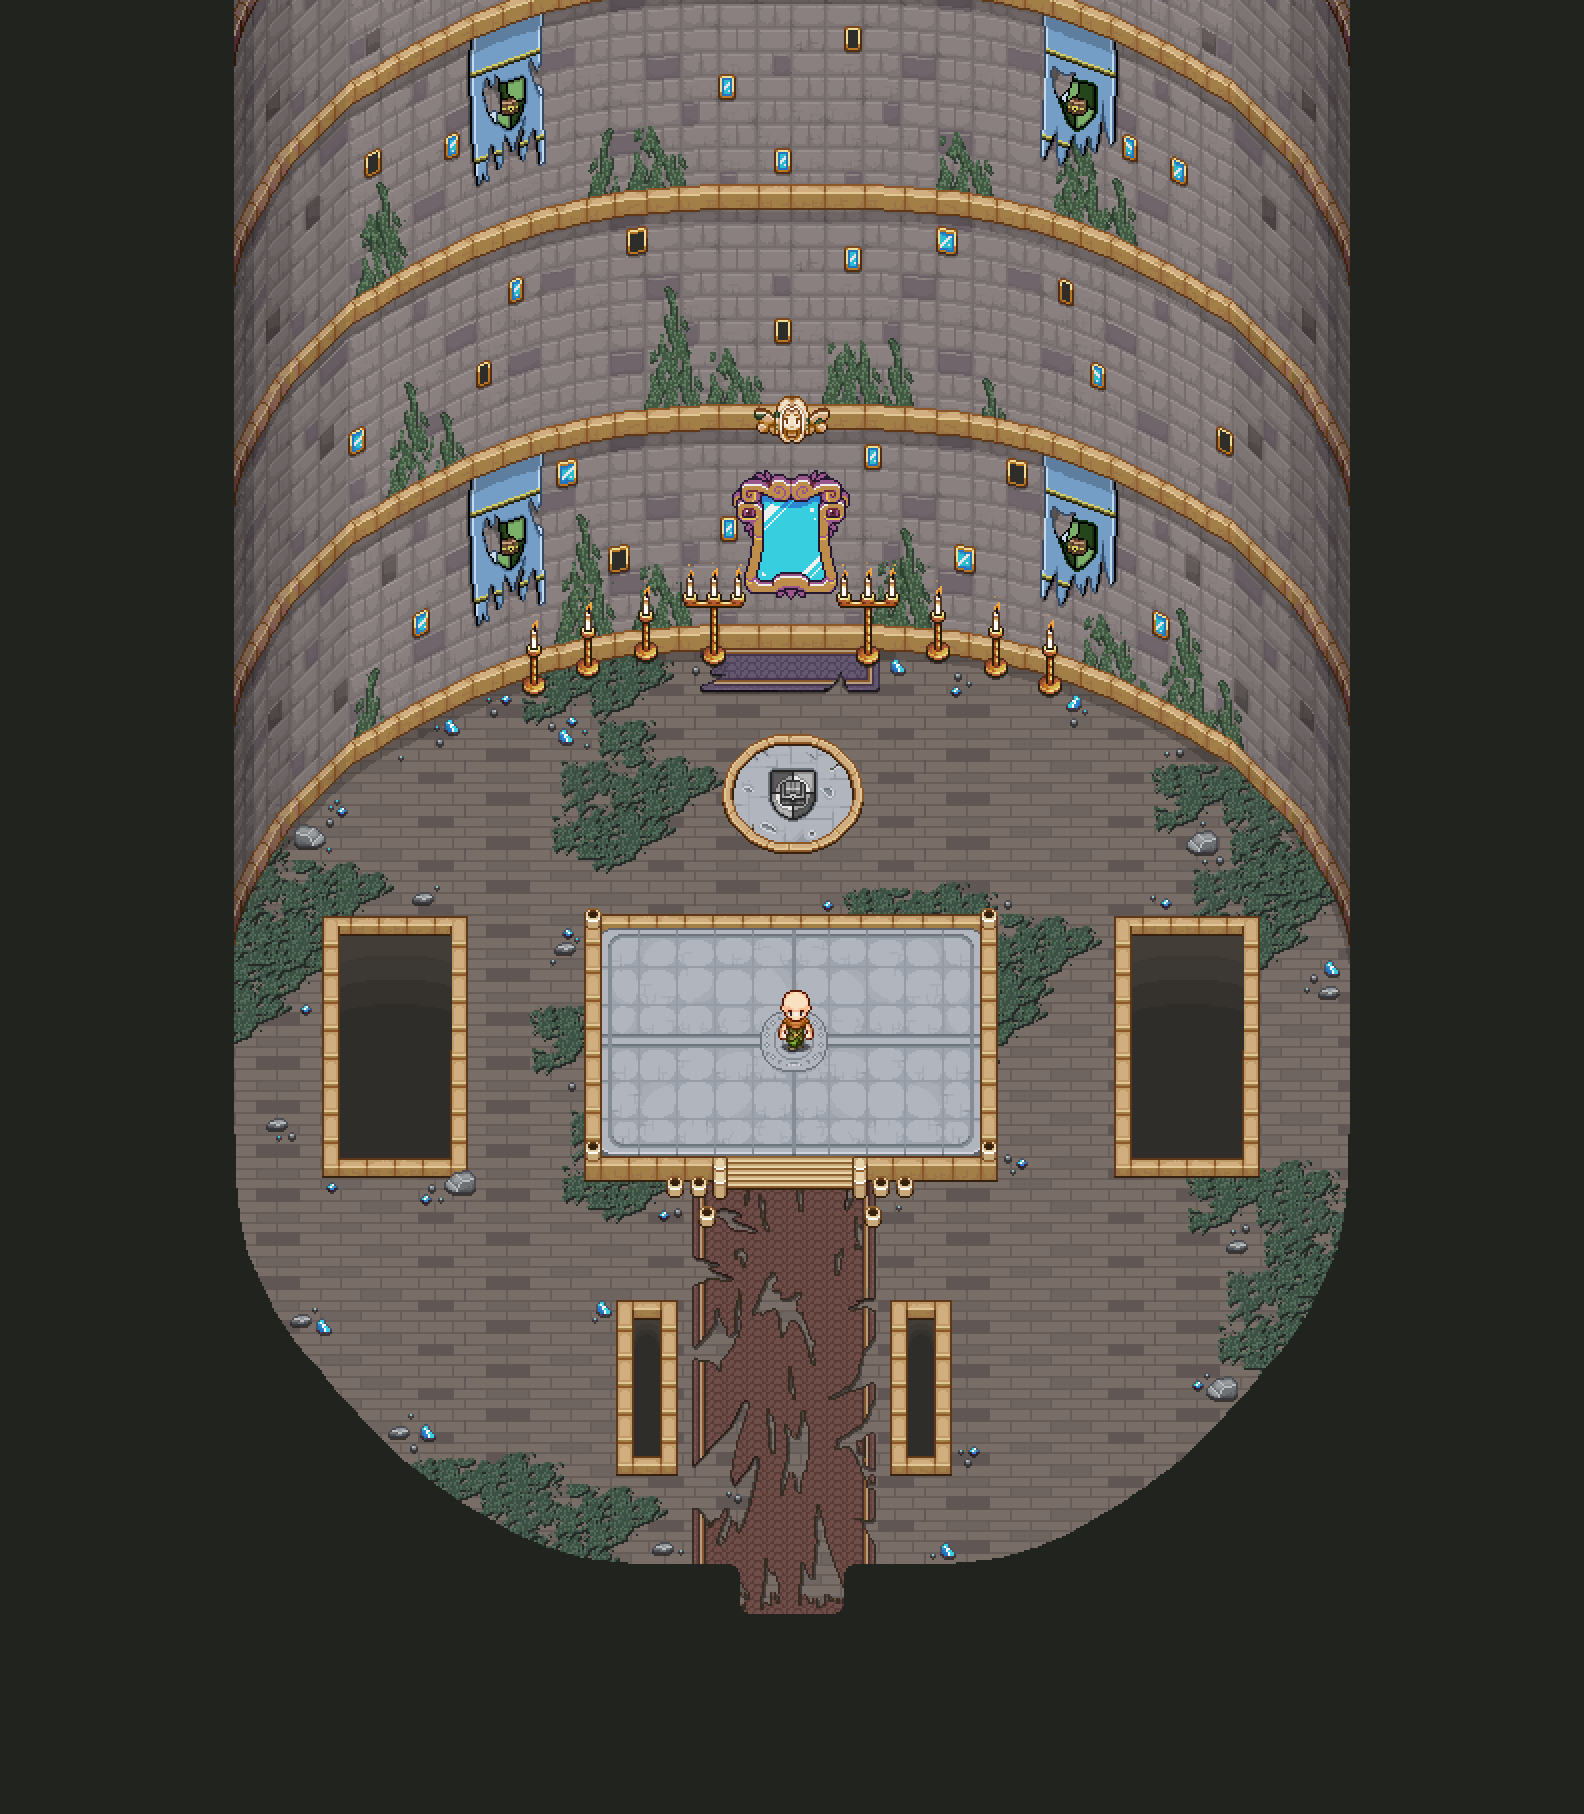
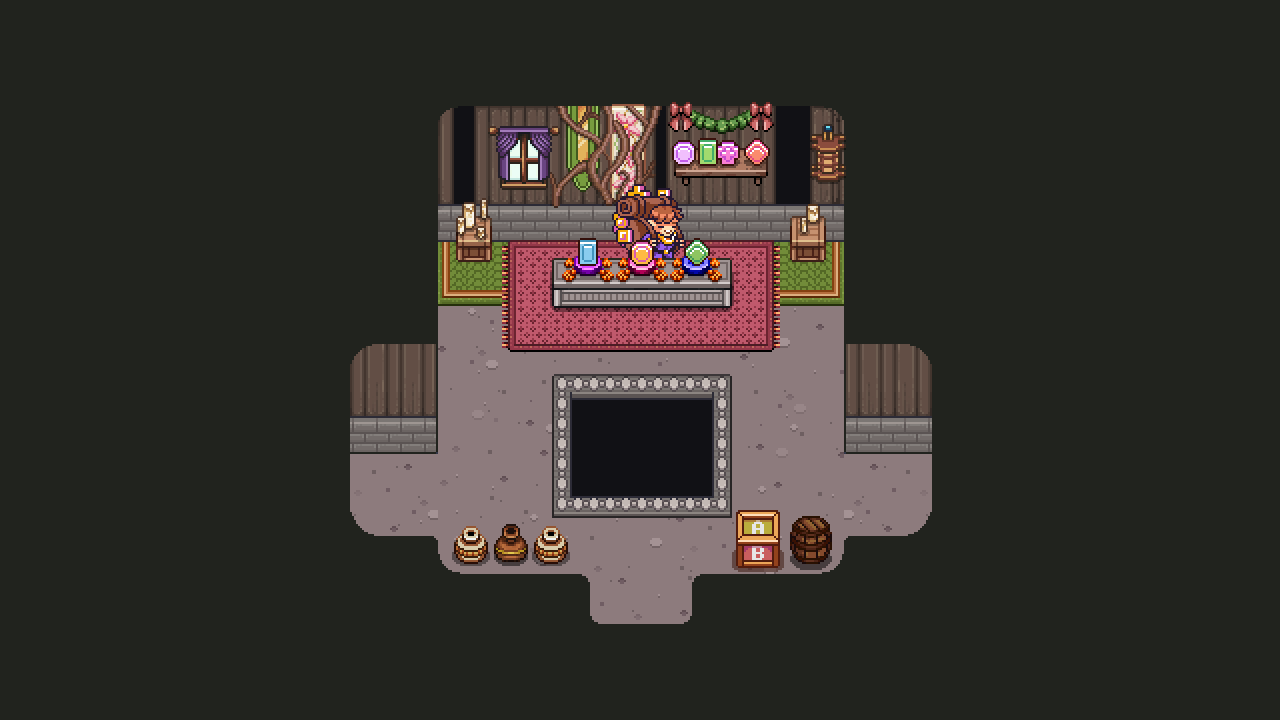
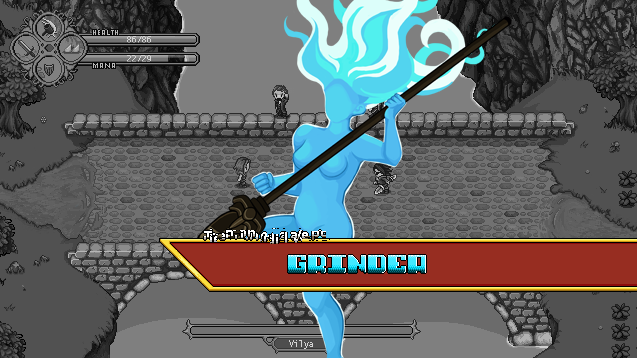
In the end we decided to combine a few elements of the early parts of the game, namely the arena trials, finding your shield and sword to proceed and battling the Black Ferrets on the bridge. Our main idea is that you’ll start on a Pillar Mountains looking area (perhaps even a pillar), where you have to find your sword and shield by fishing and solving a block puzzle while the Arena commentator Mr Plott comments on what you’re doing, and you’ll only be able to proceed after handing your items to Grandpa Joe who blocks a bridge over which you’ll battle an ever increasing amount of Teddy & Freddy, culminating in a battle against Vilya herself before you’ll be able to progress to the second floor, a floor which will be centered around the Pumpkin Woods.

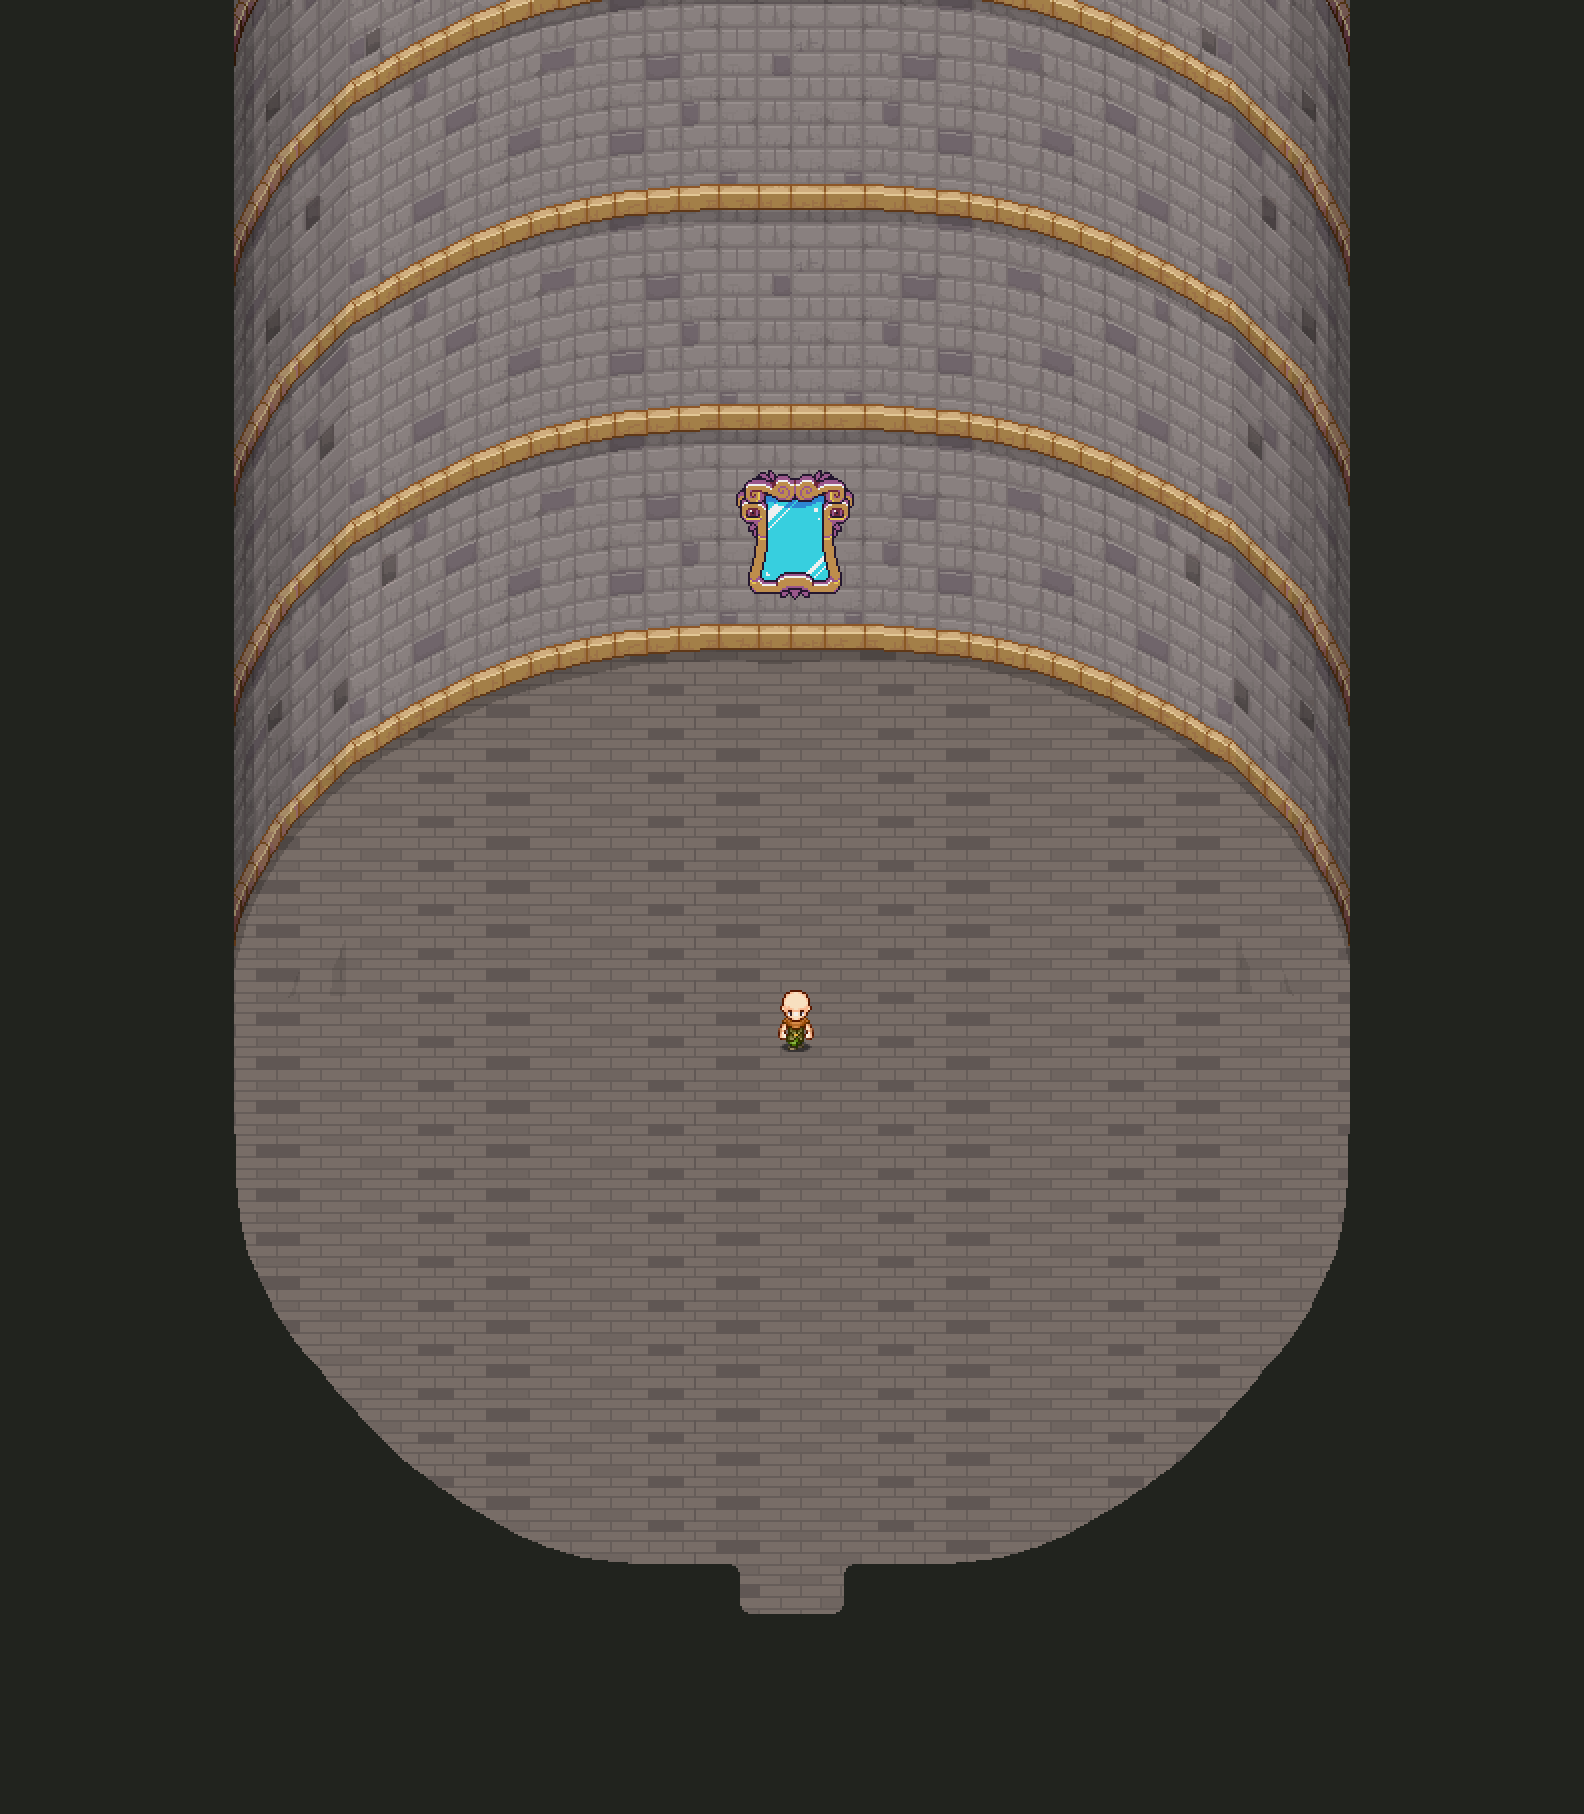
We also decided on some details around the dungeon. Previously, we’ve decided that the thing that turns the dungeon into what it is is an ancient artefact mirror, which transforms the tower into challenges to stop you from reaching the top. As such, we want to incorporate various mirror effects here and there (like for instance, Grandpa Joe shattering into glass pieces when you show him your sword and shield, enemies spawning by appearing through mirror glass and such). We also reiterated that we want the main focus for each floor to be something iconic to each part of the game, focusing on the story beats and ‘feel’ of certain areas.

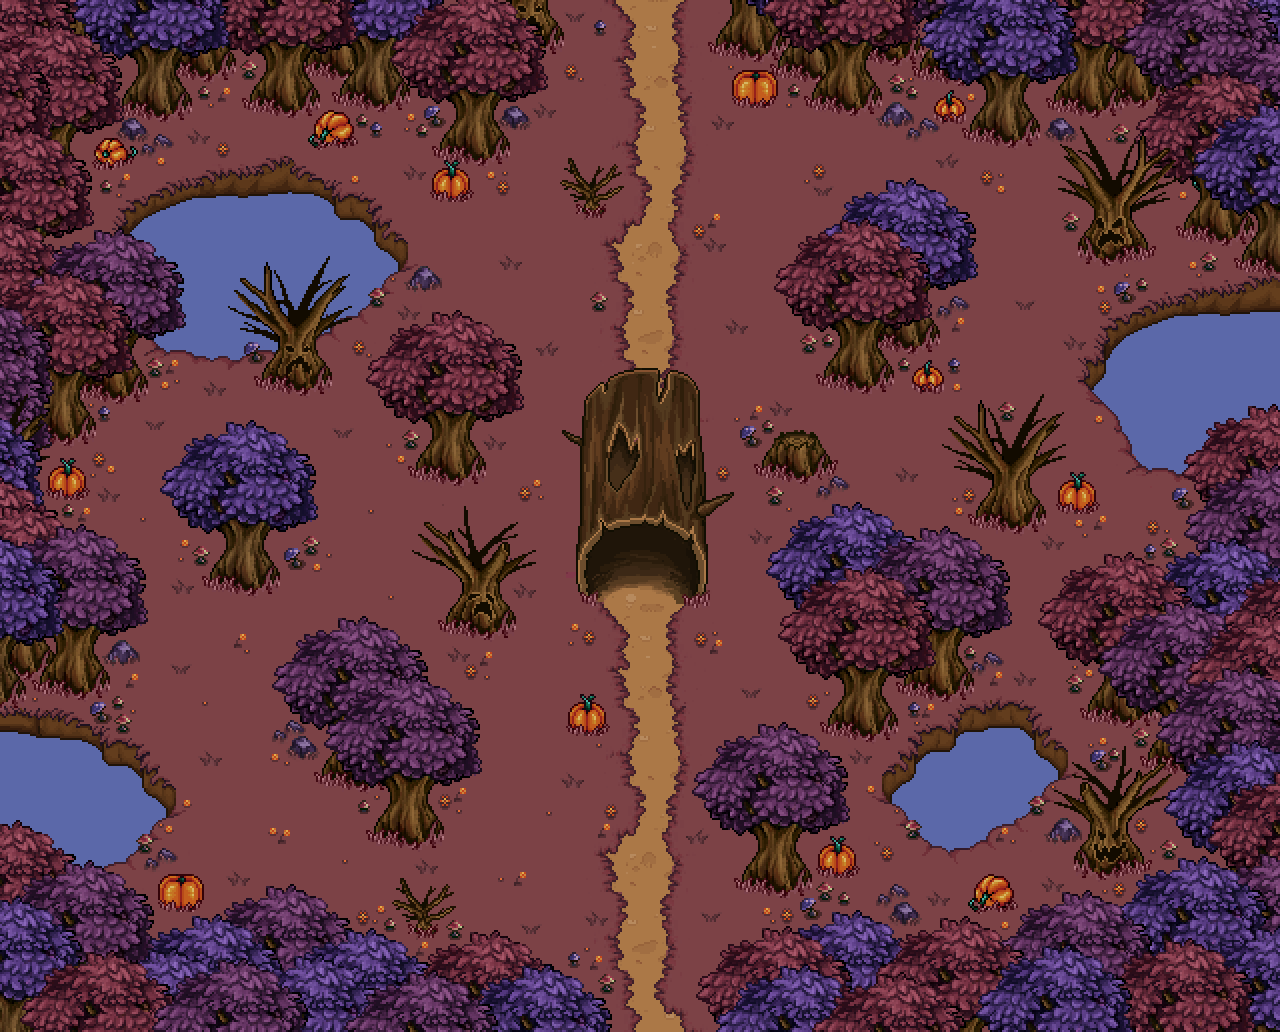
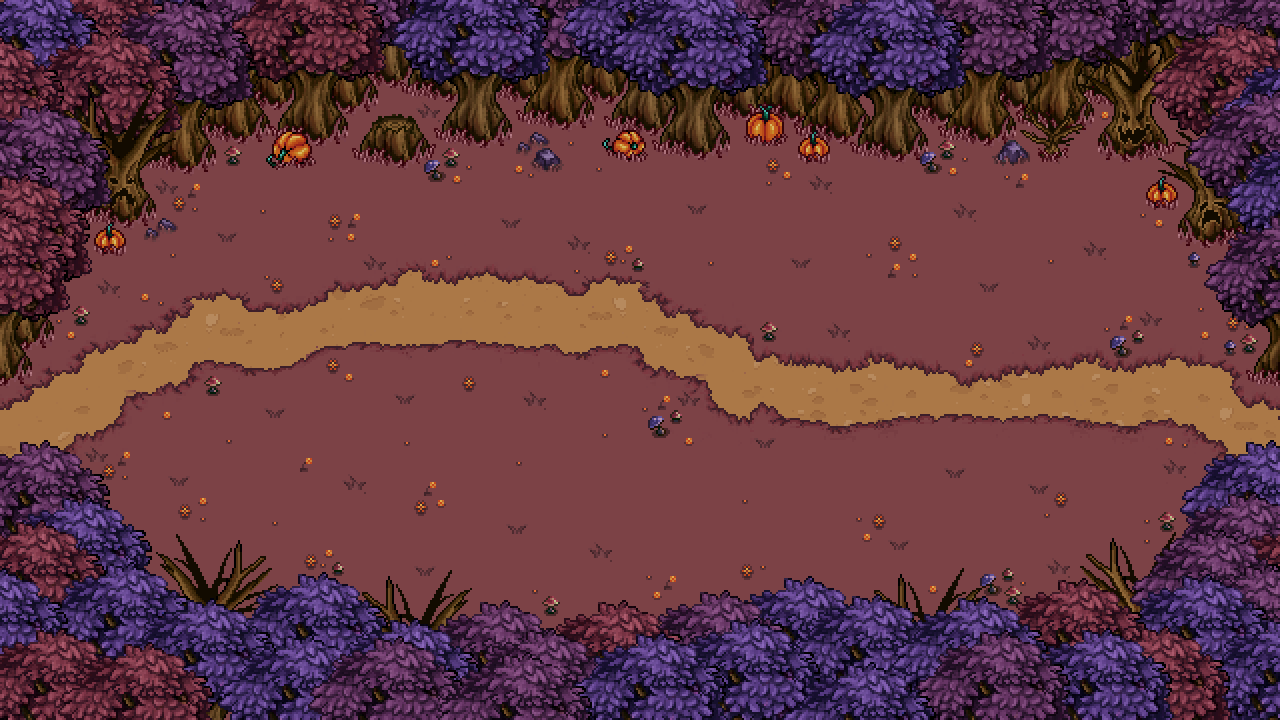
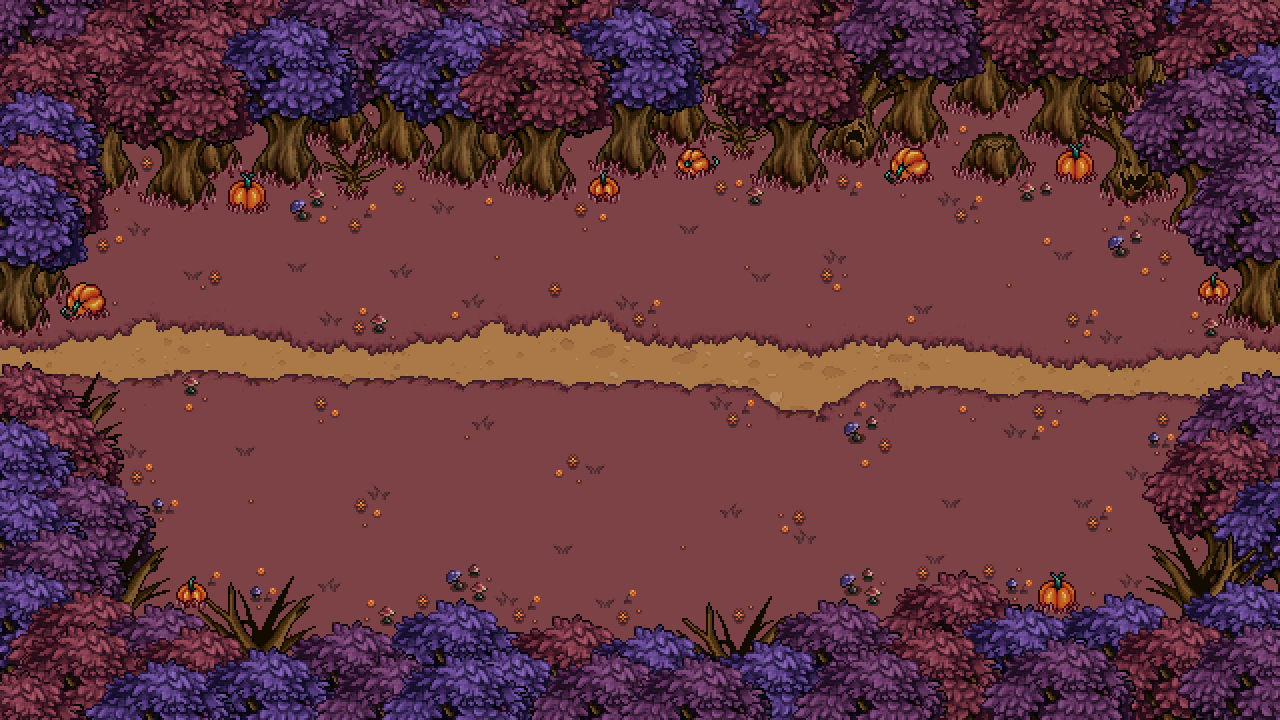
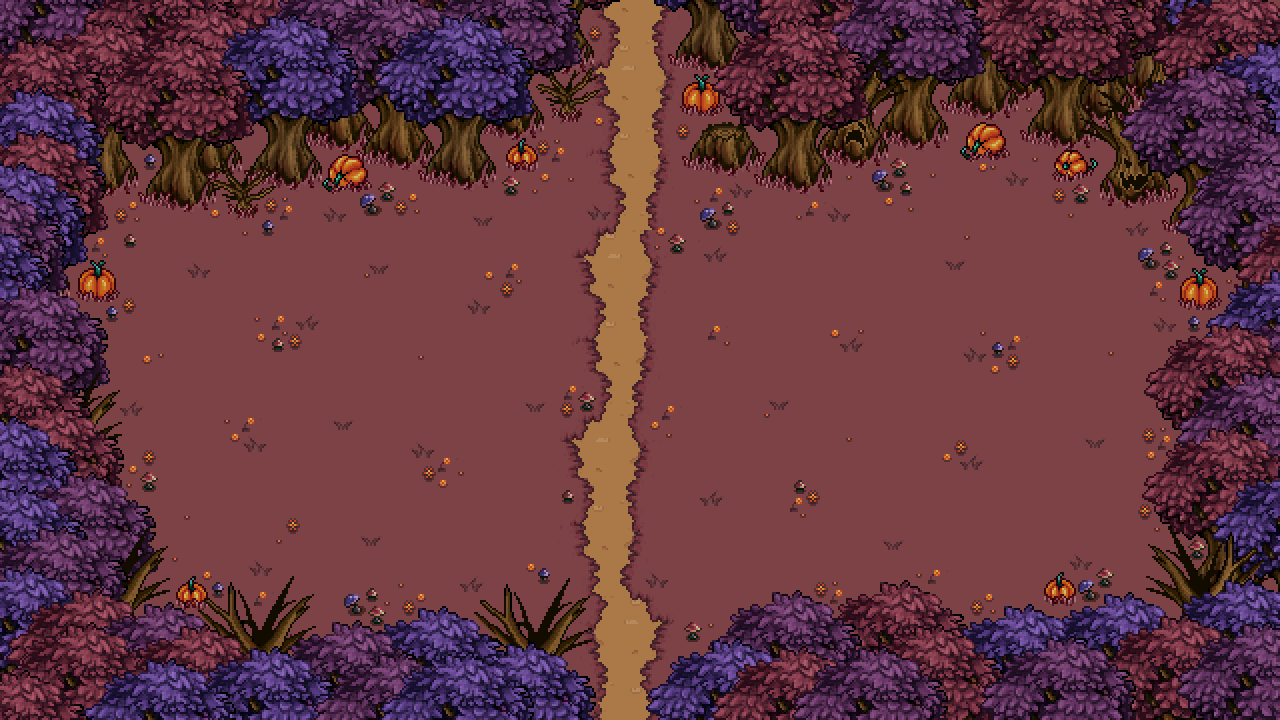
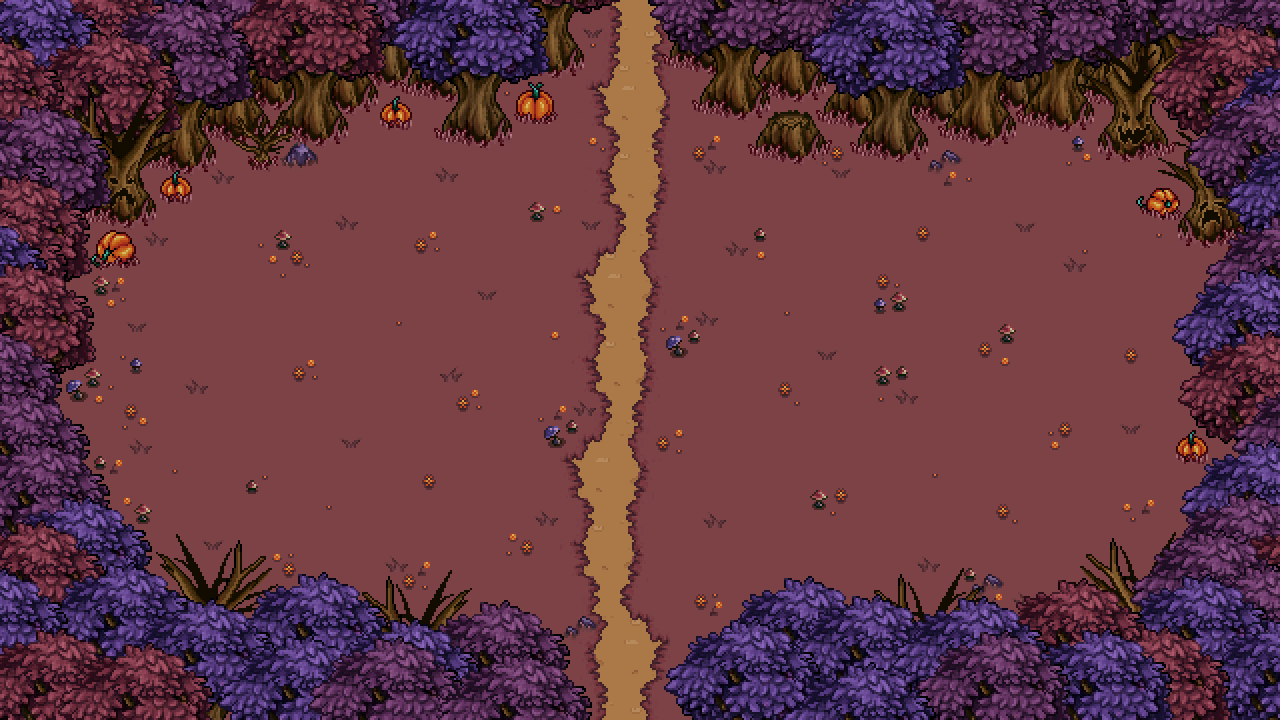
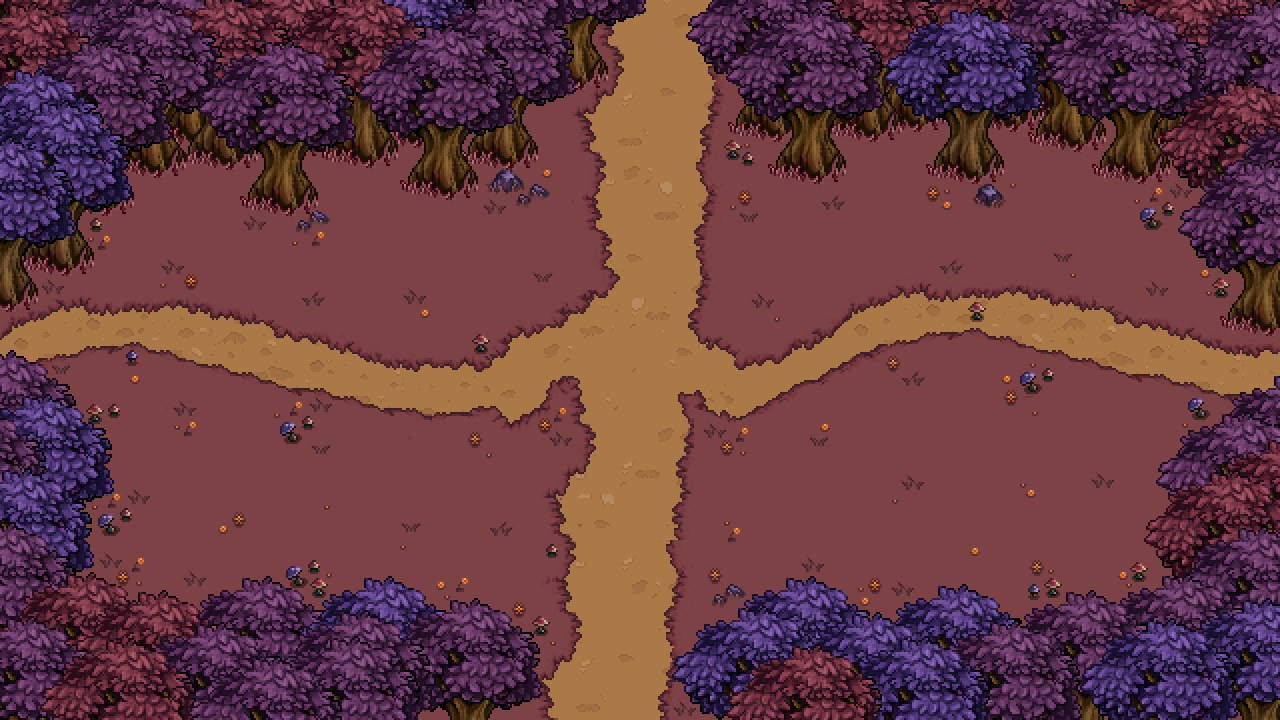
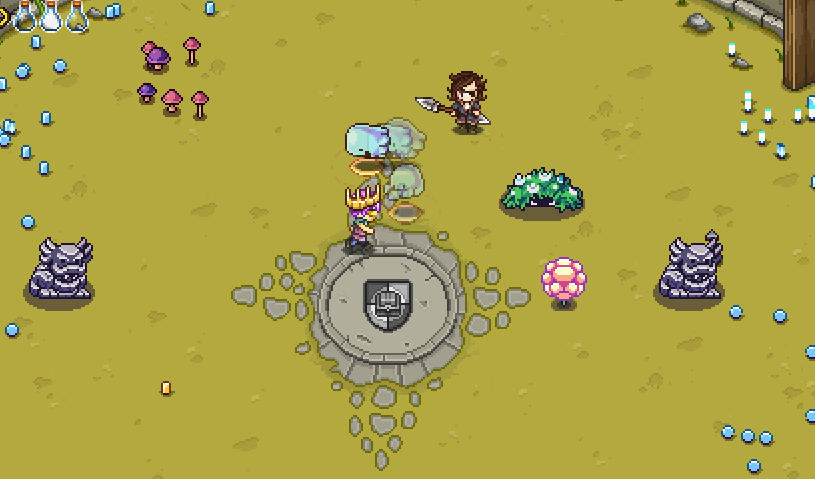
Next up, the Pumpkin Woods floor! For the this we felt the key component was the curse of the woods, making you unable to progress, and the hunt for each of the items needed to clear the curse. To capture this, our idea is to create a set of rooms with a ‘lost woods’ feel where you’ll end up back in the first room by taking the ‘wrong’ exit, and having you battle five mini bosses in a room each.

The mini bosses we have in mind here are Pumpking and Helloweed from Arcade Mode, plus a similarly difficult mini boss based around Jack o’ Lantern which will also appear as an Arcade Mode floor boss later on! We’ll also design a challenge based around the Jumpkins and Ghostys.

For the Jumpkins this will most likely involve a living-vegetable like mayhem room with loads of jumpkins, while the Ghosty challenge idea we have so far is more about finding and defeating the correct one out of a bunch that will surround you – though our ideas here are still very much up in the air. For now, our main focus around this floor is the feel of having to cleanse the wood once more, this time by collecting the items from more difficult enemies than simple elites like you had to the first time around. We’ll dice into more specific design details once we get to this floor, our overall idea holds regardless of how we design the challenges.

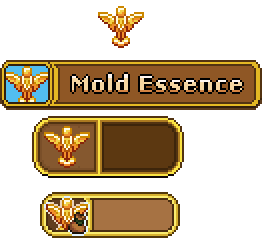
Once you’ve defeated all of these mini bosses and collected their key item, you’ll be able to cleanse the curse with the aid of a Grindea statue, just like in the original Pumpkin Woods, complete with a minor appearance from Bishop; after that, it’s onto the next floor, featuring the Flying Fortress! :)

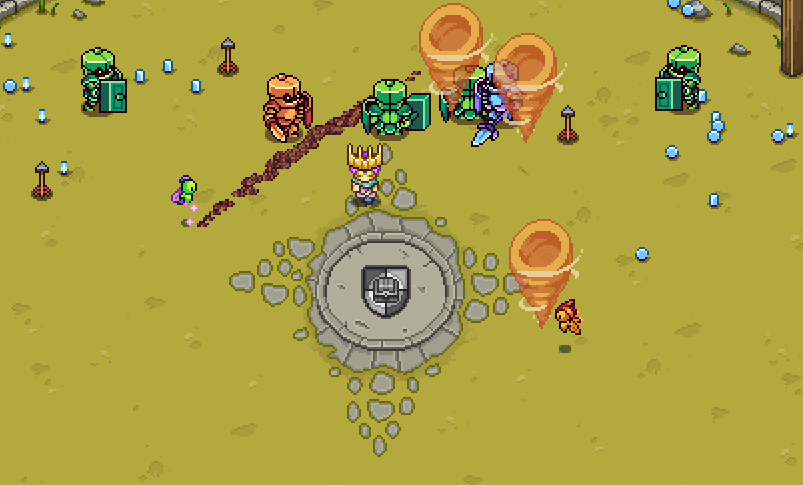
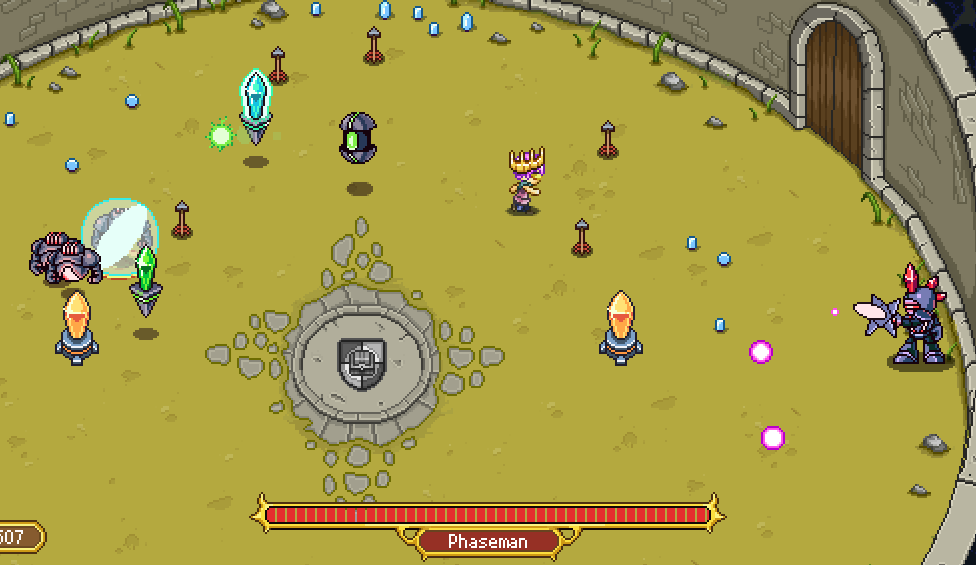
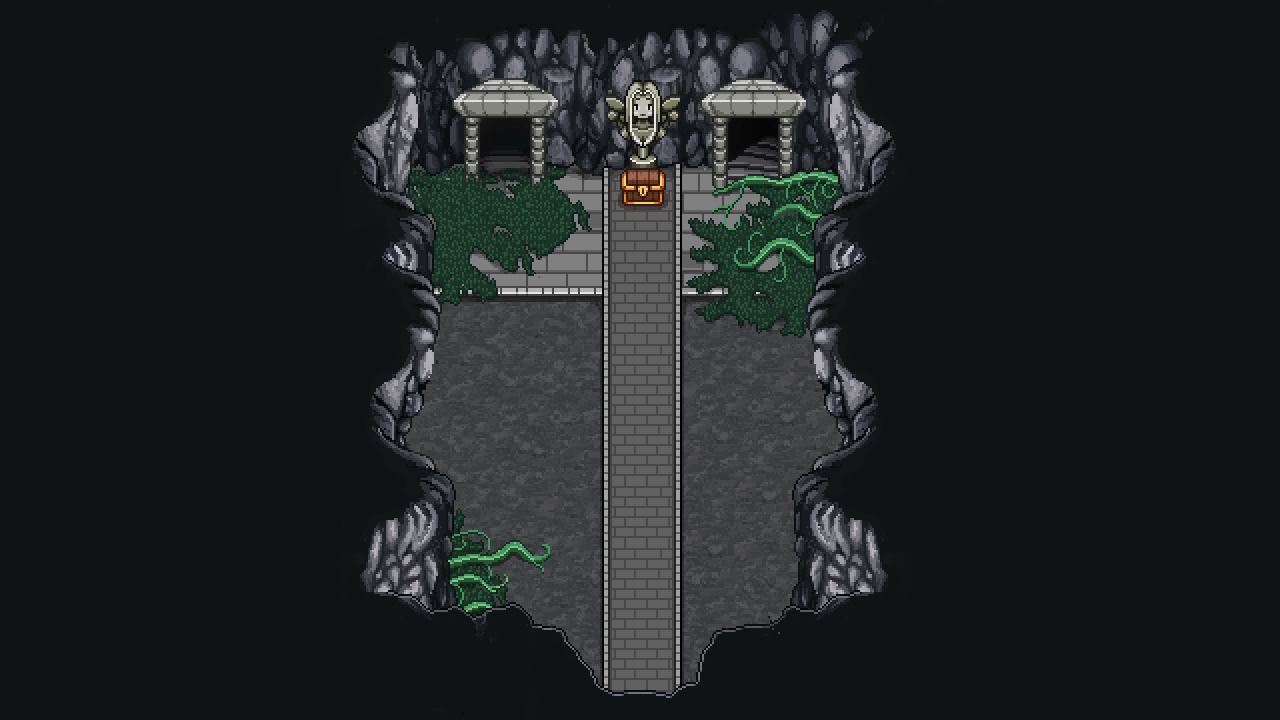
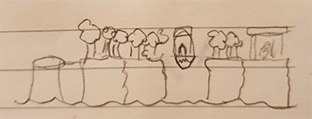
Now, you’ve seen a bunch of Bishop’s attack animations made by Fred, but now that we have a basic sketch for the arena, it’s time to start some prototyping of the fight!

At the moment, Bishop has three distinct attacks/patterns, but we have plans to add more as we go along. For now it’s a sword-throwing attack, a giant scythe attack and an attack where a bunch of Bishops emerge from the ground with spears:

We know Bishop disappears a bit into the dark background when he’s towards the top of the fight area, but we have plans on making him more visible by adding a shader that makes a subtle aura or outline around him when he’s against the dark parts. Other than that, what do you guys think so far?

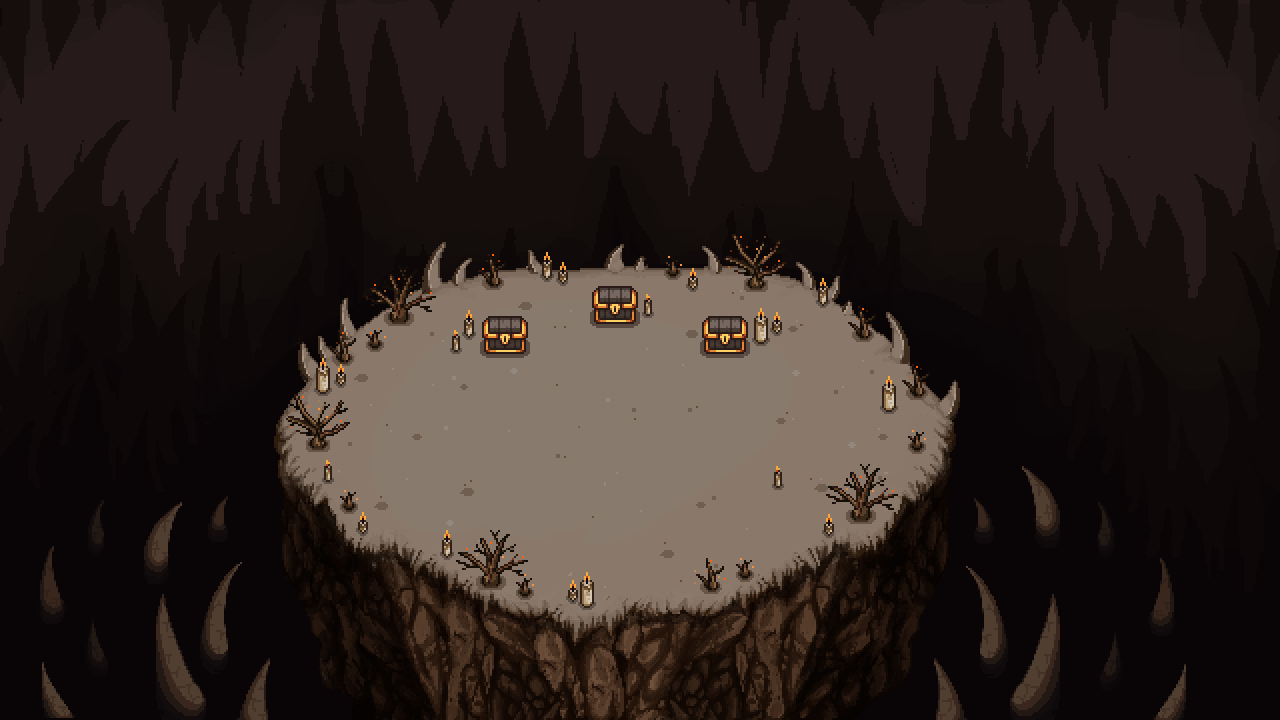
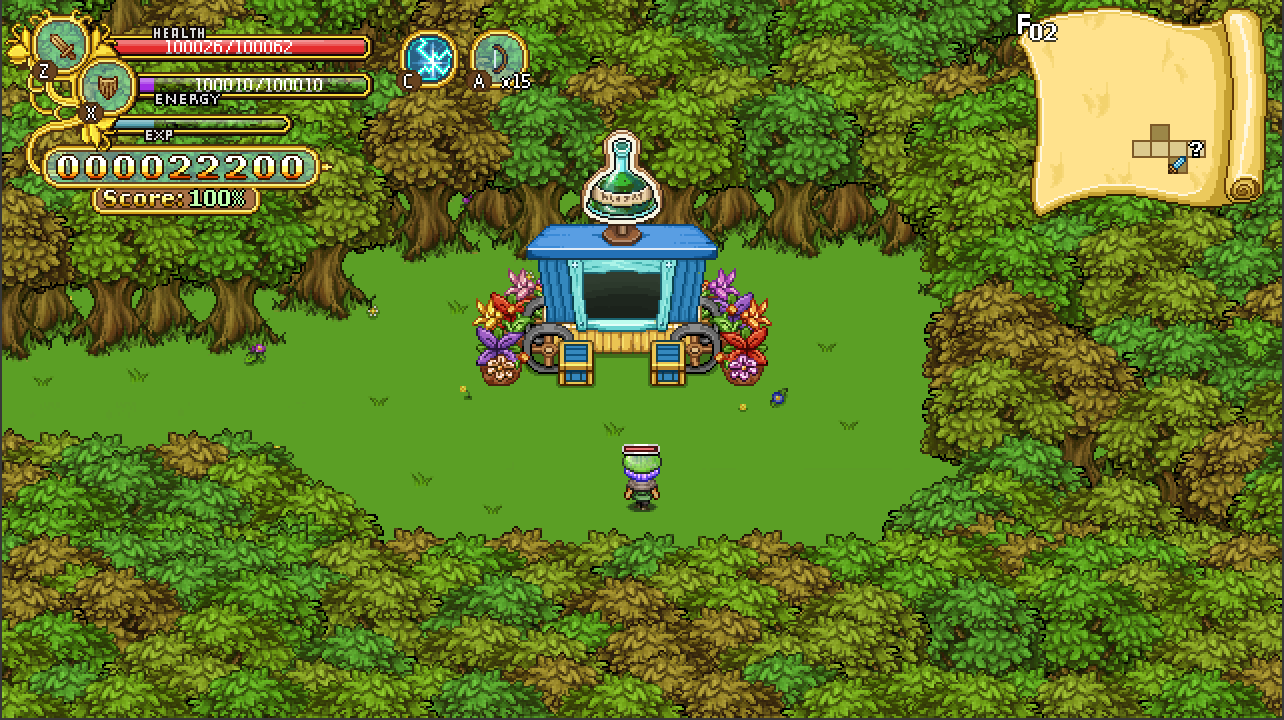
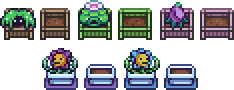
In Arcade Mode, it’s high time we get a proper map through which you can track your progress! As such we’ve been talking about various ways to illustrate this, ending up with illustrating them as isles:

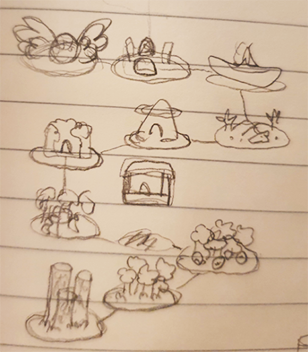
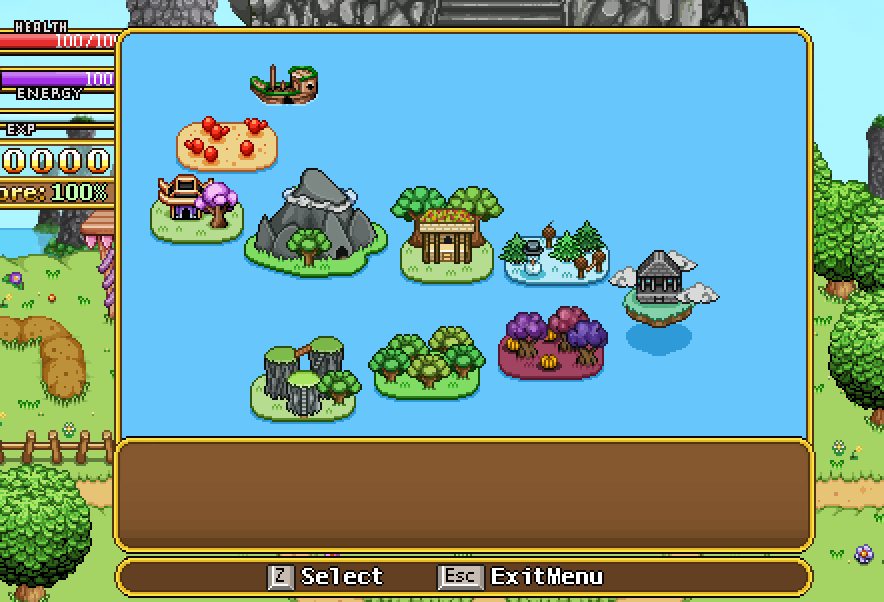
Now, the layout of these isles isn’t in it’s finished version here, the idea is that we want to illustrate how you move upwards a bit more, so we’ll play around with how we place the isles as we move on; and as such might change the design of these isles a bit as well.

On top of that, there are two more isles missing – that of the room where you get your reward for finishing Arcade Mode, and the bonus floor you get to only if you’re strong enough! These will only be added once they’ve been made in their proper forms in the game, though, so I know exactly how to design their isles.

In Fred’s department meanwhile, it’s all about Bishop and giving him more animations! Let’s have a look:

Another week starting with a portrait! This time it’s the mother of a whole lot of guards, chilling in her cottage north of Pumpkin Woods:

Next up, the final room of the mansion, and the room you’ve all been waiting for… Marino’s own! Here it is:

As we may have mentioned before, the tree guy in the tree stump in Seasonne will sell you furniture items for you house, and to be specific, he’ll be selling… Yeah, you guessed it. Trees! So, here’s a bunch of the trees from around the game, converted into housing items:

Now for something completely different, the portrait of a toaster! This was one of our backer items, which we decided to make into a talking toaster. Soon in a treasure chest near you ;)

Finally, Fred’s been finishing up the animations for the two boss battles you’ll be dealing with! You’ve seen a bit of the troll before, but here’s also a new face, that of a strange giant plant creature:

This week we’ll start off with a couple portraits! For starters, a new version of Remedi, this time in a female form (we just really can’t get that potion right, can we?)

And then we have the face of Spierre, the spear wielded by James Fawke, the guy you replaced for the arena challenge… :)

Next we have a bunch of expressions for James and his fanclub, which will be playing a pretty big role in the upcoming arena quest:

And then, the long awaited cave system you’ll reach by climbing up the little sapling in Pillar Mountains! This is the first of a whole set of rooms, more of which will be posted later on:

Now, time for a sneak peek of what Teddy and Fred has been up to: flying trolls! This here is a prototype of the battle against Remedi in his troll form. Looks pretty cool, right?!


More to come soon! :)