Hi guys!

Unfortunately there will be no weekly recap this week as I’ve been sick all week with a bad cold! However, I’m all better now so work has resumed and the next weekly recap will be available next week on Monday as usual :)

Thanks for understanding!
– Vilya

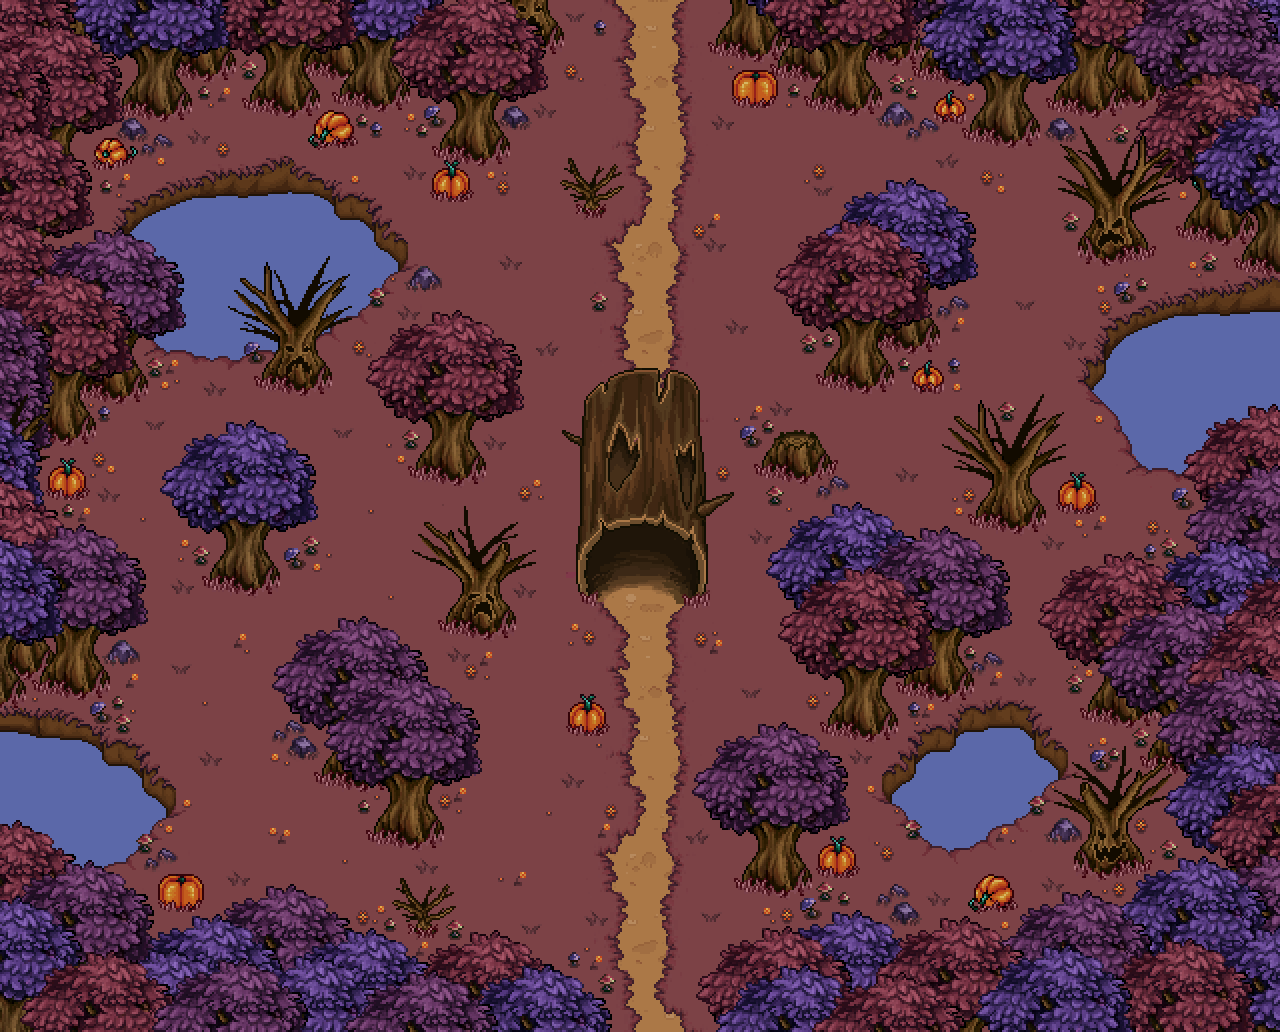
Alright then, we had one final floor to properly design for the final dungeon, and it’s the Dragonbone Dunes floor! As such, we had a little meeting, discussing where we want to take it, seeing as there’s a ton of stuff going on in the desert that we could use.

In the end, we came up with a plan that’s pretty much as follows:

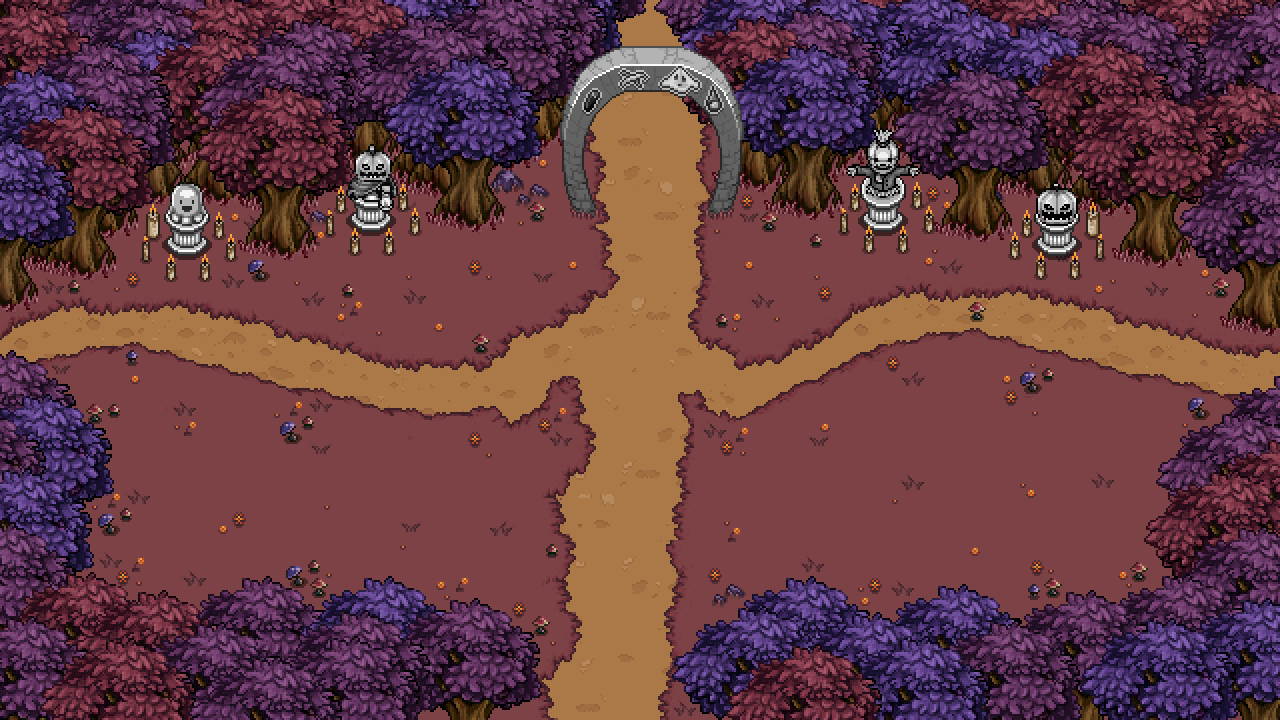
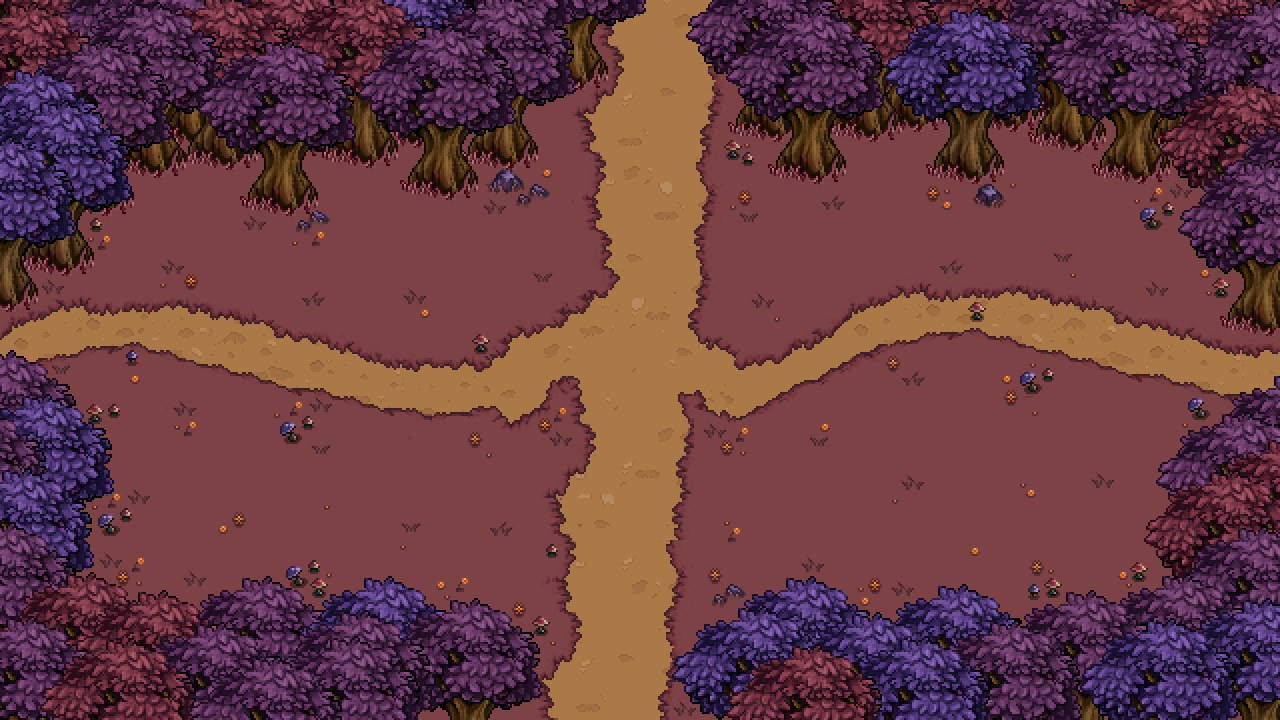
You’ll start off by following a little pathway to the side from where you entered, after which you’ll reach a door that seems to lead to the next floor. However, once you’re about to exit, that massive boulder from your encounter with the Solgem boss appears, forcing you to run down for quite a bit. Now super far away from the exit, you need to find your way back by entering a series of caves where you’ll come across several different challenges:

* One battle challenge where a ruby similar to the one that cursed the Solgem, only it curses each of the other enemy types found in the desert in turn

* One story puzzle where you have to push around statues featuring Bishop, Grindea, Cards and Adventurers… Whatever could it mean?

* One or several math puzzles (not too difficult, since you need to solve them in order to complete Story Mode…)

* A digging challenge where you need to dig up something to allow you to pass through the next door

Not sure we’ll include all of these, but we’re fairly certain on the first two, and we’ll probably want to add at least one of the other two as well! As you can tell, this floor will be a bit longer than the others probably, but seeing as it’s towards the end of the dungeon and each of these challenges won’t take too long, we think that’s alright!


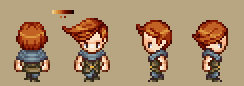
In other news, here are the game’s final four haircut! These will be the last ones needed to finally fill out each slot available! Phew! Let’s have a look at the new styles you can choose from:

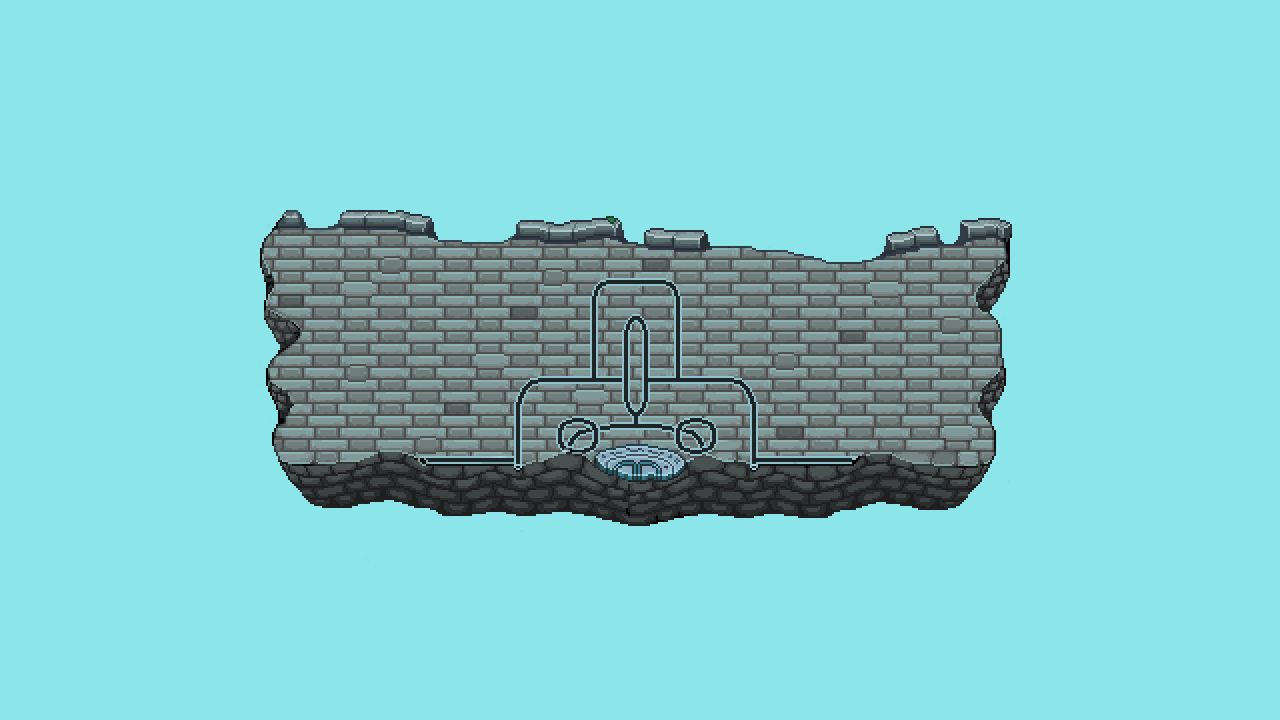
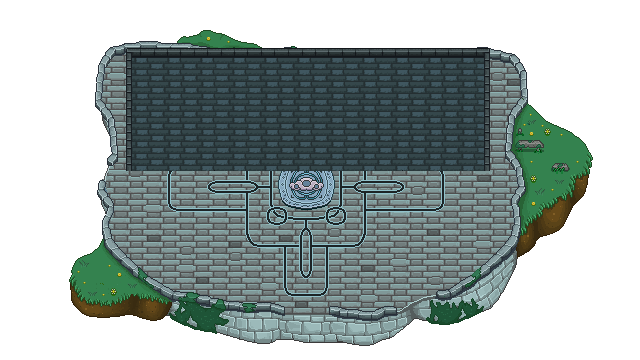
While it’s true we’ve been designing on floors as far up as the Desert, it’s not the same as making art for them! Now it’s time for the first part of making that final dungeon Flying Fortress floor!

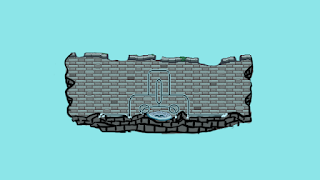
In this part, I’m gonna clean up the island after it’s been adjusted to its GUN-D4M size, giving it some proper art rather than the temporary sketch version:

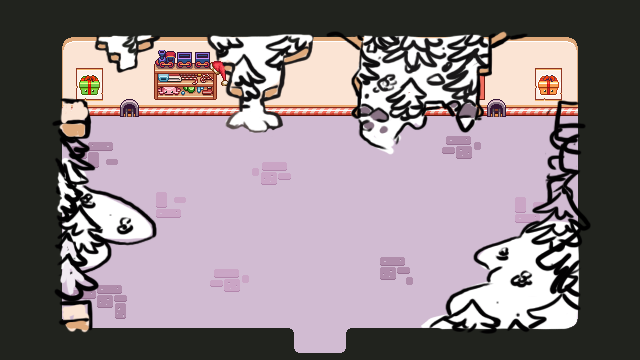
 Meanwhile, the Grindea battle continues on evolving, so here’s another bunch of new moves:

Pretty intense stuff! You gotta watch where you put those feet!

And here’s a few more of Fred’s animations for this boss! A lot of Grindea stuff right now, but it’s also one of the most important battles of the game, so it makes sense :)

Now, let’s continue working on that second floor of the final dungeon. In the main lobby room, we need a bunch of statues with candles that will light up once you defeat each boss. Let’s start off with making those:

We also want a portal that will start working only after you’ve defeated all of the bosses! So time to make that as well:

The idea here is that you’ll pass through the portal without anything happening (you just continue on through/beneath it) until it’s fully activated, after which a staircase leading upwards will appear within.

Now, for the next couple of floors, we need a bit of sketching going on here as well. To start off, for the flying fortress floor, we wanted the player first to battle two phasemen, and then GUN-D4M. However, as you may remember, the sizes for these battles are very different. Below you can see a comparison, showing the Phaseman battle area beneath the Gun-D4M battle area which appears in a darker colour:

To solve this, and make what we believe will be a pretty cool transition between two differently sized battle areas, once you’ve finished your battle against the two phasemen GUN-D4M will appear and literally smash the original phasemen-area with his fists, making it crumble and leaving you with only a GUN-D4M battle sized area remaining:

In Seasonne, you’ll battle Marino while a bunch of trains try to run you down, much like in your battle against the Toy Machine in toy factory.

When sketching this battle arena, I used the Toy Machine background as base and though about ways to include more of Seasonne in it – after all, Seasonne is a lot more than just the Toy Factory. So I thought about adding some snow and trees breaking the walls here and there to let the outside of Seasonne into the factory:

Meanwhile, it’s busy days with Grindea prototyping! Let’s have a look at these new moves (and as always, keep in mind there’s a lot of placeholder art involved here):

As well as a transition between Grindea’s giant form to her medium sized version:

Trunk seems a little bit stressed out! Looking forward to see how you guys fare against this boss :)

And this week, it’s time to start taking care of the second floor of that final dungeon! Let’s start with the first room, which will throw you into the cursed floor:

Next up, a couple of the horizontal floors:

And some vertical ones:

And finally, the lobby room that will lead you to each of those rooms:

This room will also have a bunch of statues and a portal, but we’ll take care of that in next week’s post!

Meanwhile in Fred’s department, it’s still all about Grindea! Check this out: