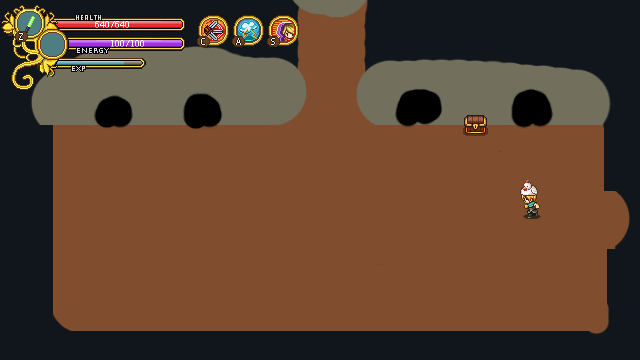
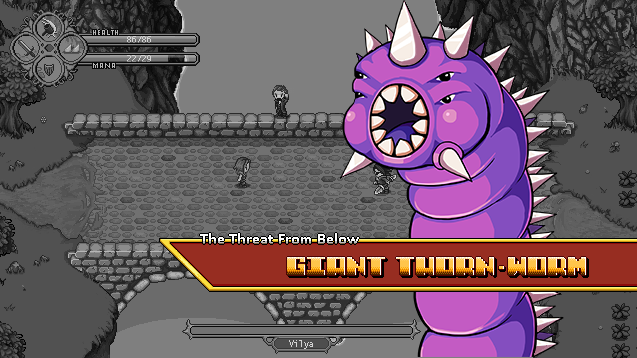
This week I (Vilya) have finally started working on Puzzle World, the small extension of Tai Ming’s second zone set in the north! It’s been a blast – but first, let’s take a look at something I forgot: the Giant Thorn-Worm boss portrait!

01-sprite

02-gif

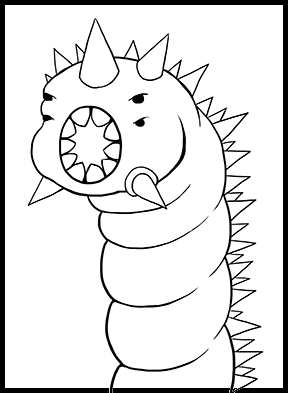
Based on Fred’s sprite, the Giant Thorn-Worm boss portrait is pretty straight forward, as it’s.. well, just a worm. Of course, it had to be adjusted in some ways: for one, it needed to be a lot longer than it is in the sprite, or it’d barely reach above the title text! I also added a few more spikes to its back.

Other than that, I tried to stay true to the sprite. Perhaps I could have added some texture to its skin, and maybe I will at a later stage – but I think it’s important that the boss portrait resembles the actual sprite as much as possible, especially when the sprite is as big as the Giant Thorn-Worm is.

As for the boss title itself, the main title will be “Giant Thorn-Worm”, with “The Threat from Below” as its sub-title. This is actually a reference to the movie Tremors, which was known as “Hotet från Underjorden” (The Threat From Below/the Underground) when it came to Sweden!

03-thorn-worm

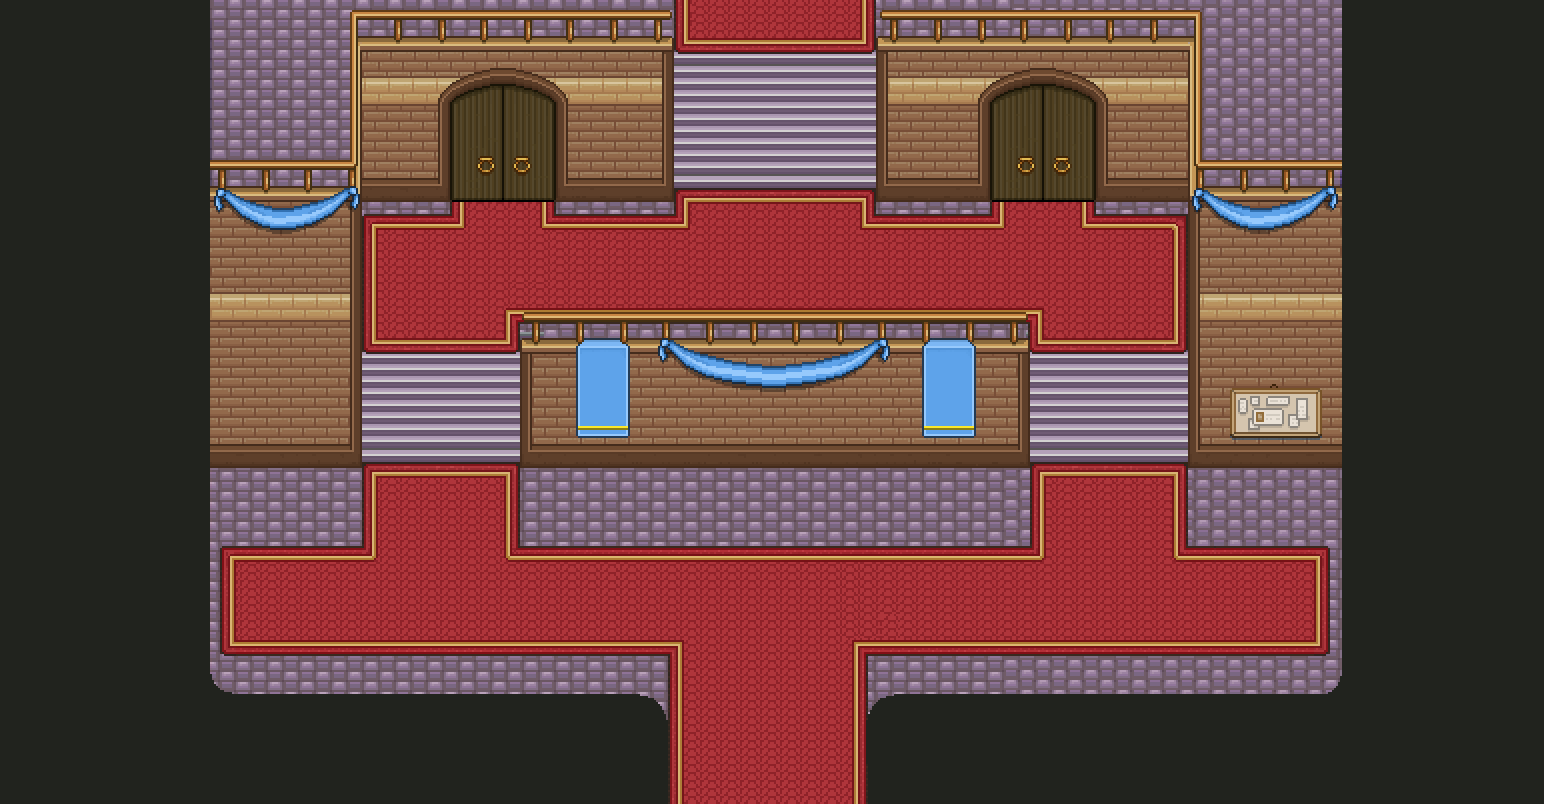
And now…. It’s time to begin! Using the sketches from last week, I’m going to create the backgrounds for each of the Puzzle World rooms. It’s gonna be a lot of fun, since this place will be totally different from everything else in Tai Ming graphics wise: bright colors and crazy color combinations everywhere! Wohoo!

To celebrate a completely new set of graphics, here’s a video showing the process of creating this room! Videos are definitely more fun to do when there are a lot of new graphics involved, so I’ll probably do one or two graphics for each new area, rather than spam a ton of videos of me recoloring and reshaping previously made objects from now on:


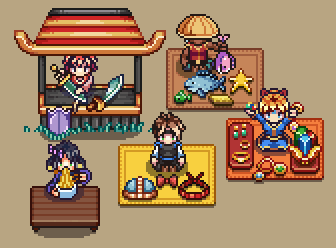
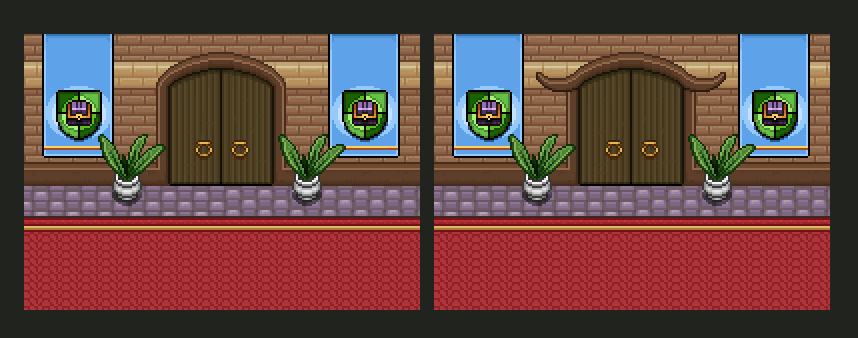
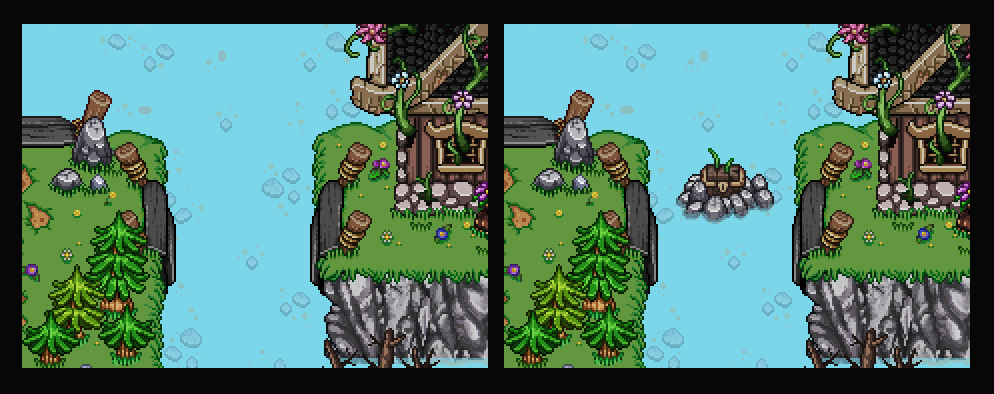
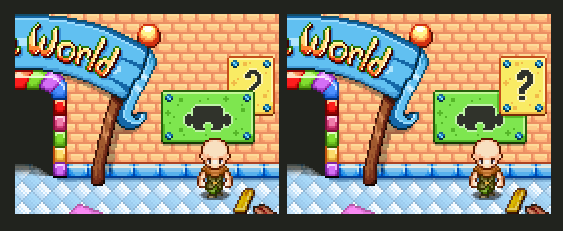
After finishing recording the video, I decided to add and change a few minor things before the finished room. First up, moving the question mark poster to the front – in the back it could be anything, and I think it’s unnecessary to confuse players about it:

01-poster

Next. adding some balloons. I mean, it’s a theme park, after all – so it’s not really complete without a few balloons. Right?

02-balloons

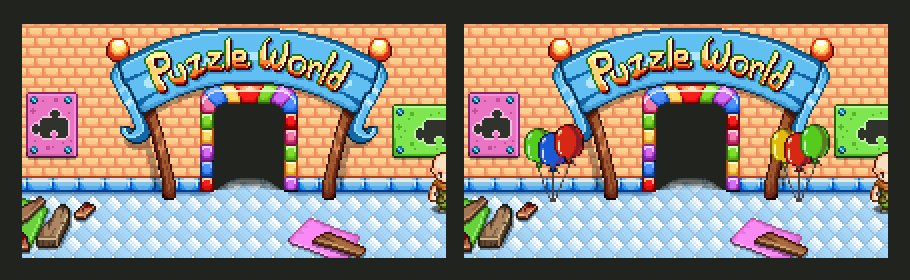
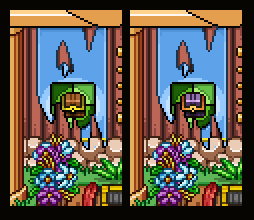
Third, in the original sketch I had a “cool effect” around the first door of the theme park, which felt a bit redundant after I completed the rest of the room. However, after giving it some thought, I wanted to try creating it after all – in the worst case we’ll simply remove the effect again, but for now I kind of like it:

03-door-effect

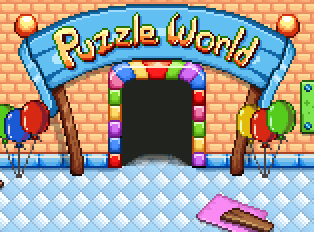
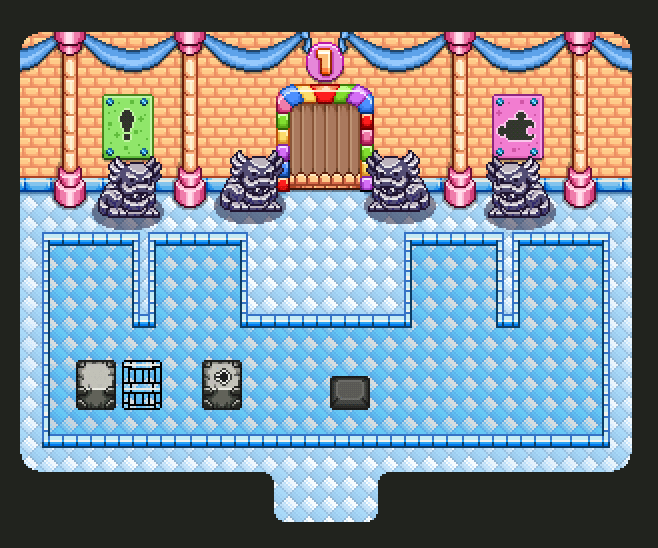
Here’s the finished first room after these changes:

04-room1

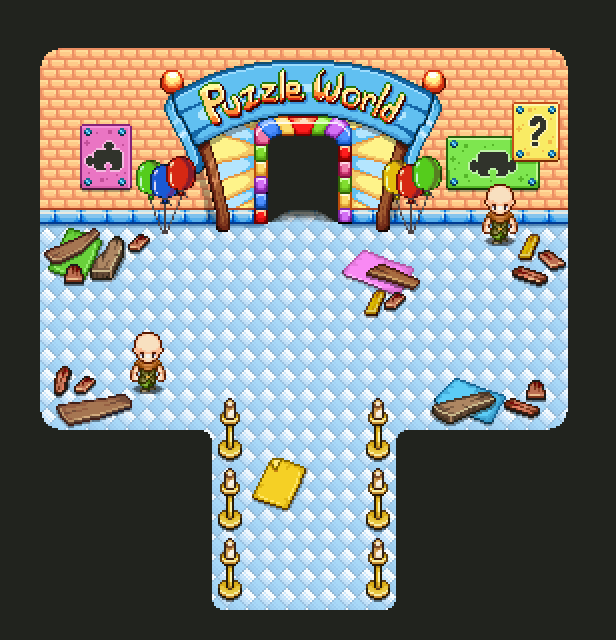
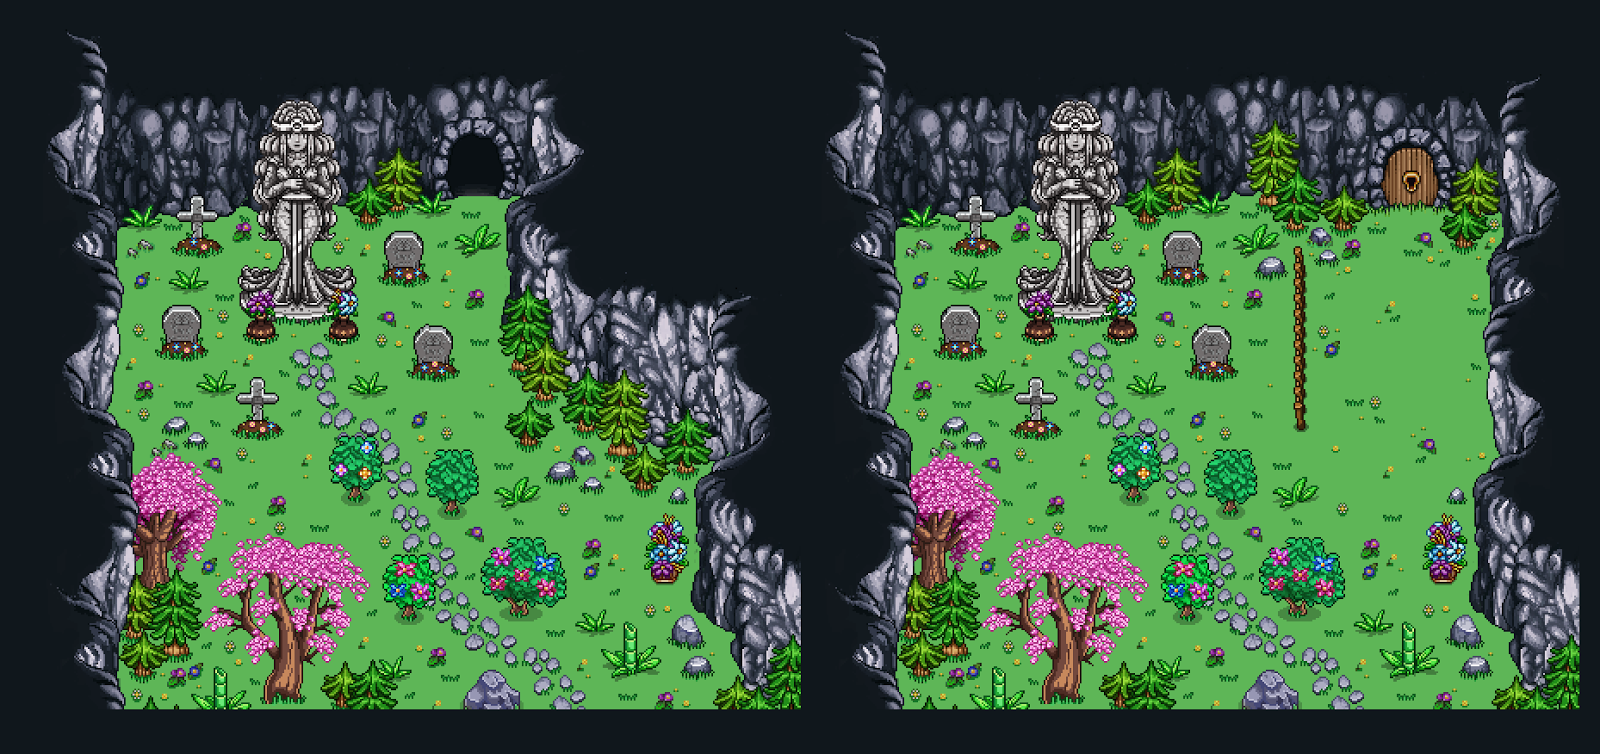
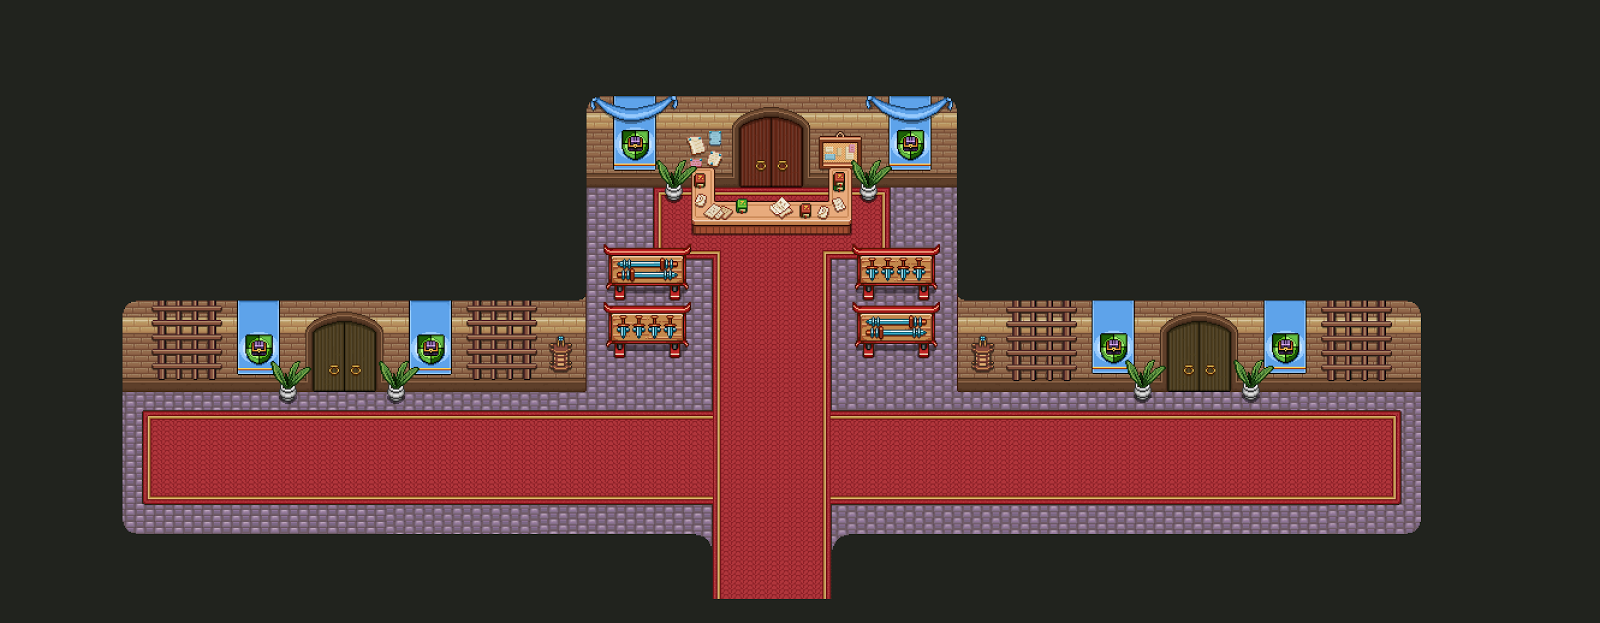
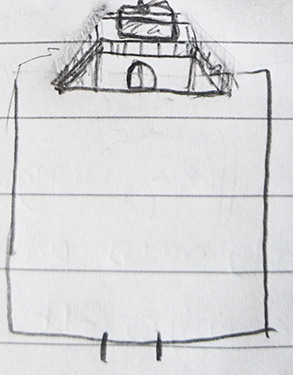
And now: the first actual puzzle room of this brand-new theme park! This one is focused on statues, but solving it won’t be as easy as you might have thought – you see, the guys building the puzzle haven’t actually finished it yet, so you’ll have to figure out another way to get out of here.. :)

02

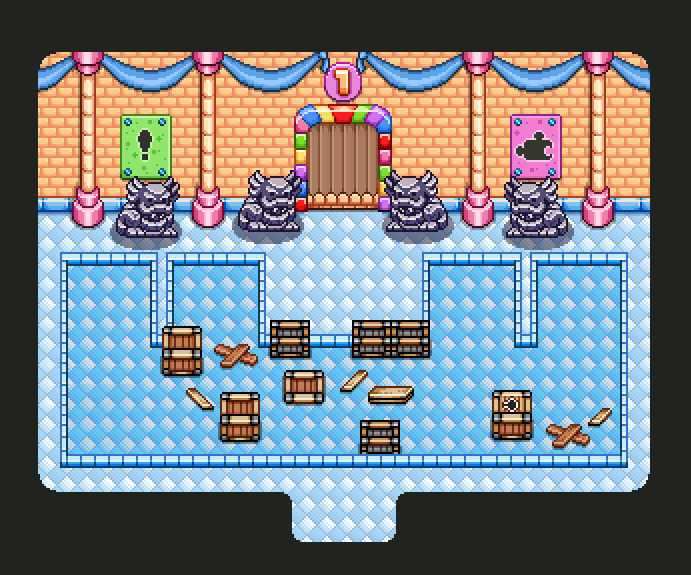
A step-by-step GIF of the design! Since most of the wall and floor stuff has been made already, there’s a lot less to do in this room. The banners are actually reused from the HQ (though resized and remade just a tiny bit), while the pillars and the puzzle parts on the floor had to be made from scratch.

Next, some half-built puzzle blocks in wood, lying around on the floor:

05-room-2-boxes

These puzzle blocks are made in wood and are supposed to be based on the ‘real’ puzzle blocks you find out and about in the world of Grindea. However, I chose to make these in wood so that when you travel to the present to fight enemies, there aren’t a bunch of puzzle blocks blocking your way as you battle – they have decayed and only planks will be left on the floor, which have no colliders.

It also serves to remind people that the guy who build this theme park is kind of cheap and would rather build the puzzle blocks in a cheap material than order the more expensive plastic- or stone versions… ;)

Finished version of the room:

06-room-2

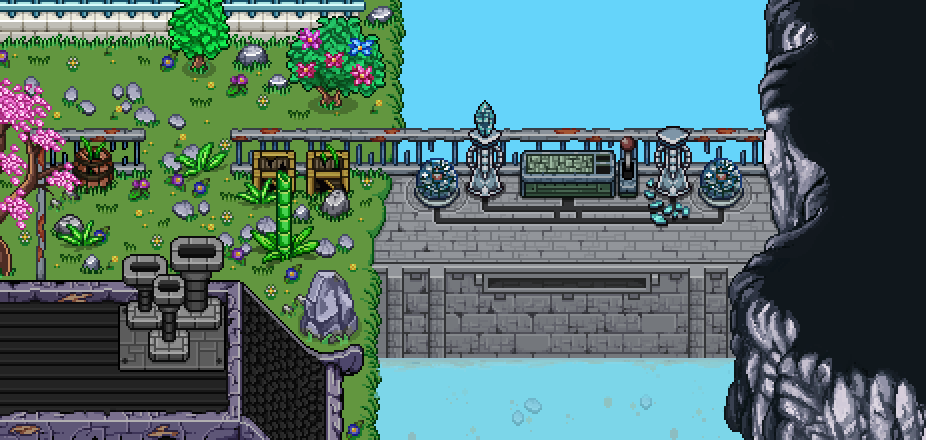
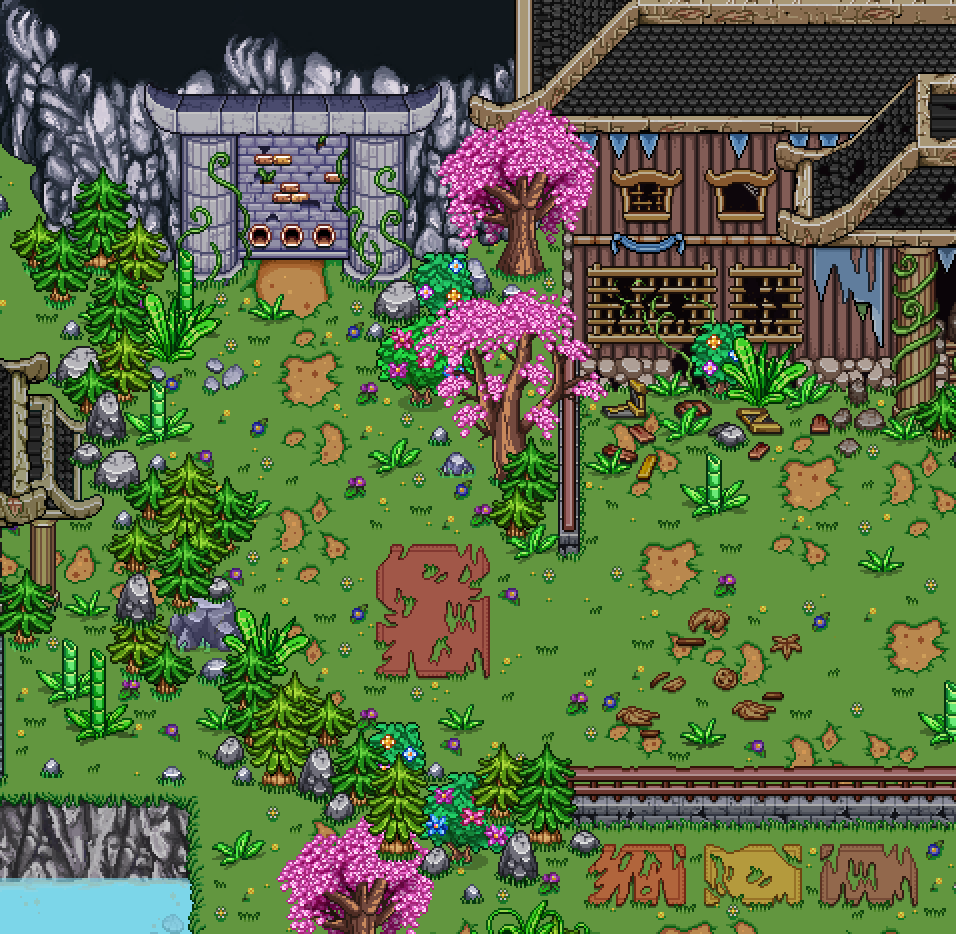
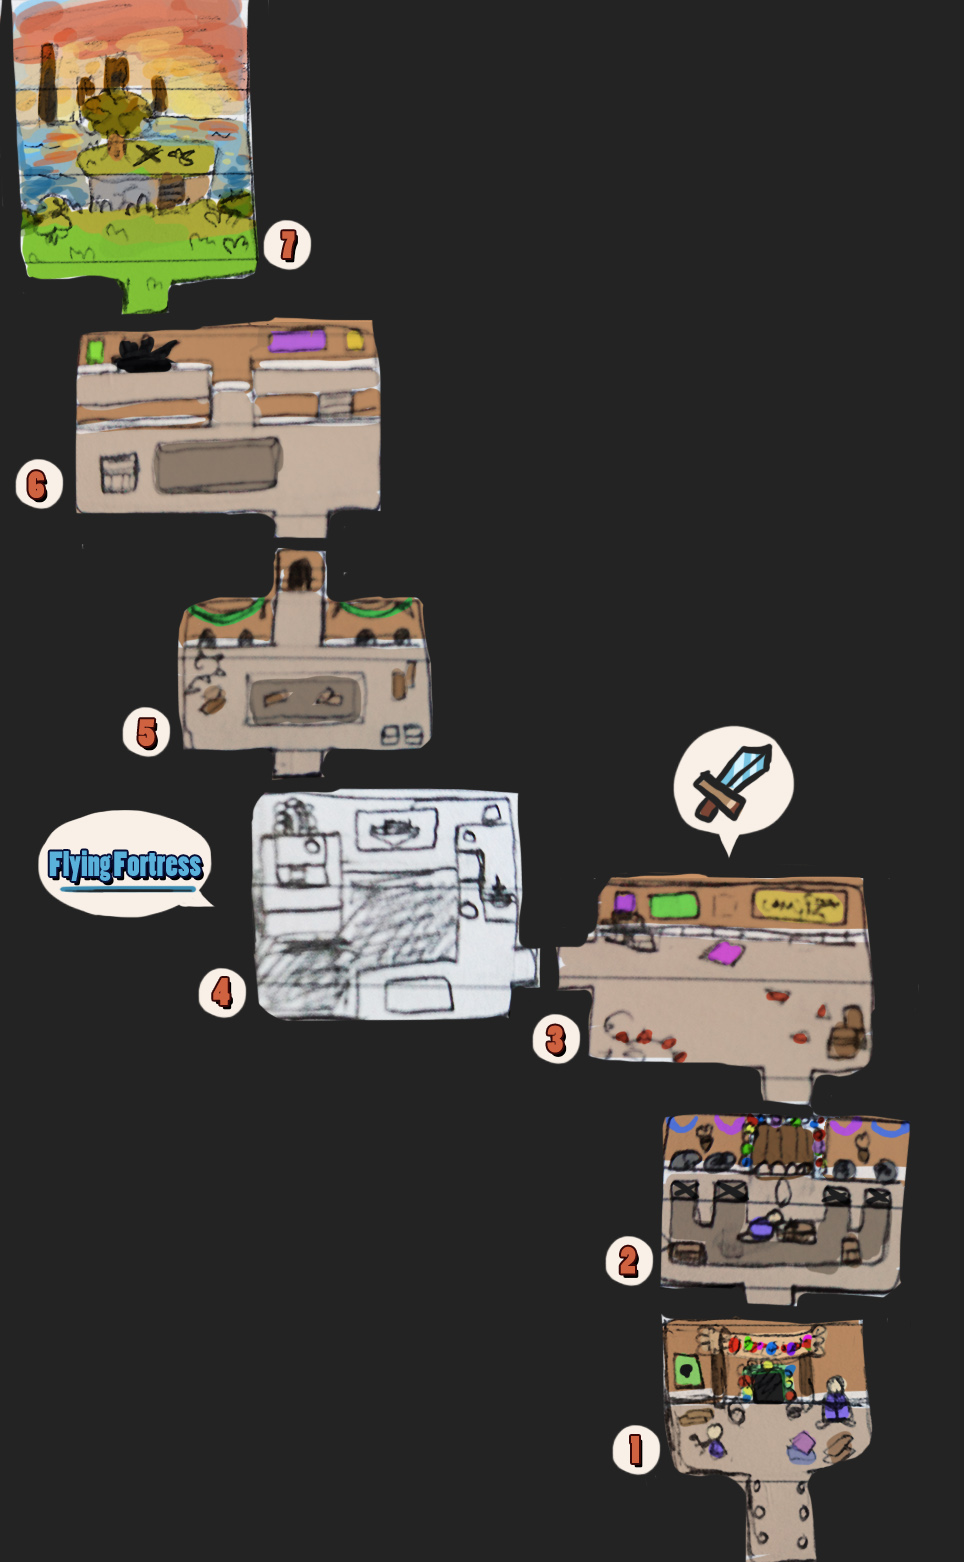
Now, after focusing so long on Tai Ming’s second zone, it’s finally nearing completion and we can look on to the third and final zone! As such, we had a meeting where we discussed exactly how it will look and what will take place here…

shrine_ext

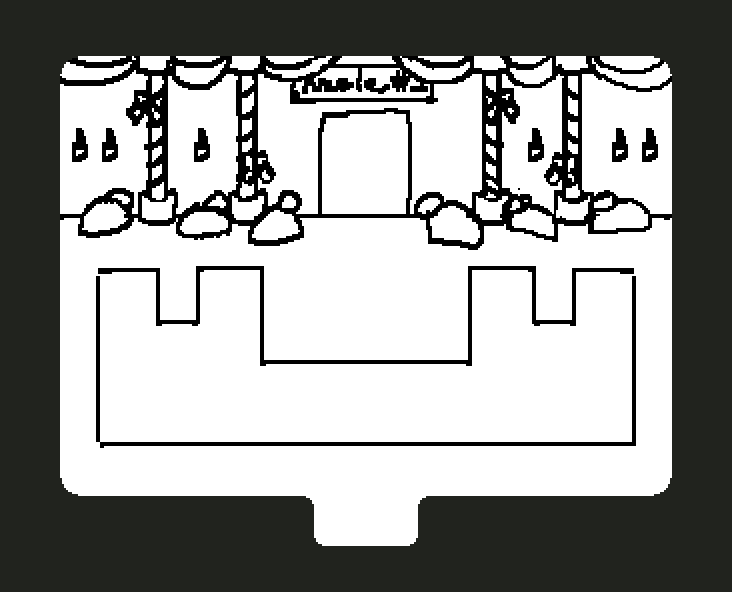
Since the second zone has become quite big and advanced, we agreed that it’s best to keep the third zone smaller and a lot more straight forward, in order to pace things well. When you first enter this zone, you will see a weird celebration and a bunch of strange things happening in front of a lot of people outside an ancient shrine! I know I’m vague, but it’s gonna be really cool if we get it right!

shrine_int

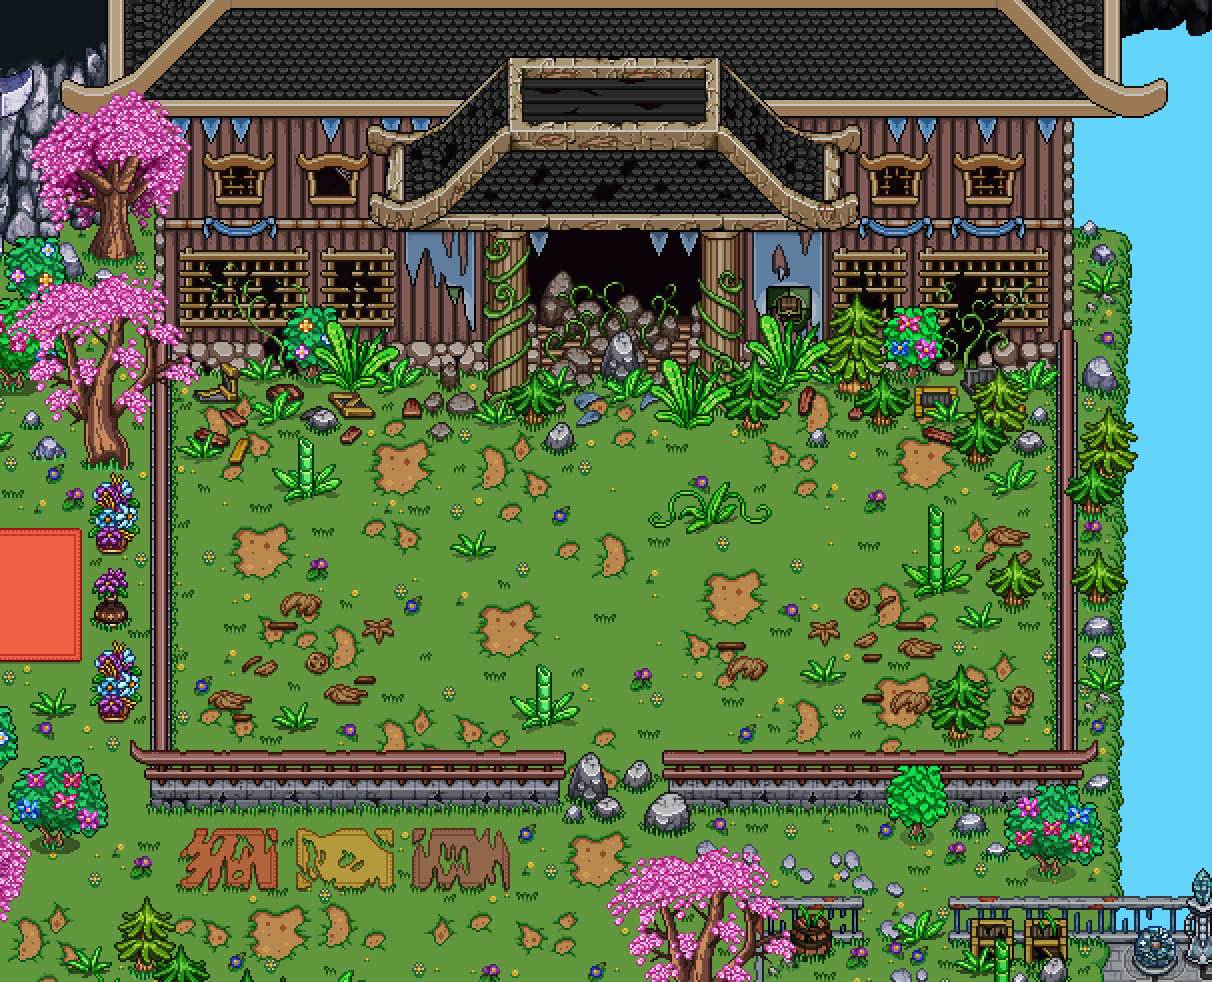
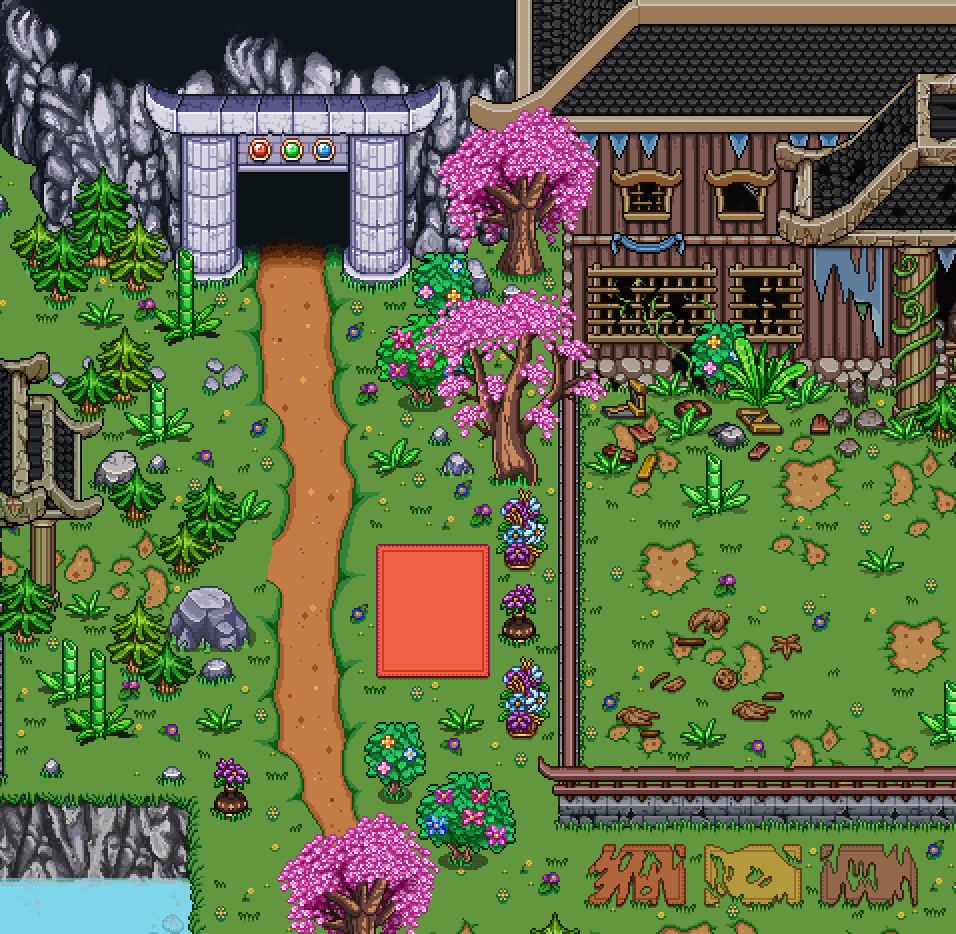
Next, you’ll be sent back to the present, where you’ll make your way through the shrine itself. Here you’ll be sent back and forth in time seemingly randomly – the time warp thing has gone crazy it seems! There will be some battles and some cutscenes explaining what’s happening next, and things are getting quite scary..!


outside

Finally, you’ll reach your destination: outside, on the other end of the shrine, is a meadow with an altar at the end. At the altar, you’ll find an artefact, and not one but two epic fights draw close…

I’m so excited to begin making the third zone now that it’s been designed much more thoroughly and I almost feel like the end of the temple is within grasp! Of course, there’s still a lot of stuff left (we’re still not done with the second zone, after all!), but having it all designed really helps a lot with looking ahead :)

Oh yeah, meanwhile, Fred has been finished one NPC after another! Soon all of Tai Ming will be full of people :D

market-npcs

Hello guys! Tai Ming’s second zone is finally coming together: this week I (Vilya) have finally finished up the last backgrounds (except for the Puzzle Cave, which we’ll talk a bit later in the post)! Aside from a few fixes here and there, the backgrounds are now officially done for this area, and “all” that needs to be added now are a ton of NPCs, and of course, the cutscenes.. :)

Let’s take a look at this week’s main tasks:

I quit making the second zone’s outdoor transition from past to present around the HQ, as we hadn’t decided if the area needed to become bigger to properly house the Giant Thorn-Worm battle. Since we decided to keep things as they are, it was finally time to get a move on and finish things up!

First up is the area around the dam, where you can adjust the water levels of Tai Ming’s second zone. As with all other present versions, it’s time to demolish everything:

01-damb

Next, the HQ itself, along with the yard in front! At this point it’s actually not 100% finished – I’m gonna break the wall up a bit so you can move through the left side in the next step (and in the future I might break the right corner a bit for visual effect as well:

02-hqb

Finally, the area near the exit to the third zone! The main focus on this part of the job was the doorway to the third zone. In the past version, the door is open: here it needs to be closed, until you’ve gathered 3 emblems that activates the door opening mechanism. So, the emblems of the past needed to be removed, the door lowered, and some kind of ruin added to the whole thing:

05-exitb

In the end, I also had to add a ton of stuff in the editor to serve as colliders: this part of the area will be blocked unless you get here from the right time rift. Right not some of the items aren’t correctly sorted, but they will be once the game engine does its work!

It’s likely I’ll add more stuff here later if we feel like the blockade is too thin, but that will be in a future mixed bag update, in that case :)

Here’s the final result, for now:

05-exitc

Meanwhile, Fred has been busy filling this area with the NPCs living here! Tai Ming has attracted all kinds of people, ranging from collectors, priests, merchants and bar owners! Some might resemble characters from the present: distant relatives, perhaps?

npcs

Now that I’m finished with my share of the Tai Ming 2nd zone backgrounds, it’s time to move on to something different: the puzzle cave in the north part of the map! We’ve actually made a very basic sketch of the area, which includes all the rooms and what you’ll face there.

Be aware of spoilers if you look at the map below or it’s explanation, if you prefer to explore the amusement park on your own:

04-puzzleworlddesign

I already mentioned the rooms in a previous post, but now we’ve actually designed the rooms! The sketches above are very messy and basic, but they show in which order the rooms will appear, as well as and approximation of how they’ll look.

Room 1 is an introduction room where you’ll meet the owner of the amusement park and his workers.

Room 2 is the Ancient Statue Puzzle, where you’ll have to use statues get to Room 3, where regular battles will take place.

Room 4 is sponsored by Flying Fortress and features a Phase Shift puzzle (shown here), Room 5 is where the Monkey Madness takes place, and Room 6 is the “Path Puzzle” shown in the same post as the Phase Shift puzzle.

Room 7 is where you’ll find your mysterious treasure, as well as a hopefully fancy view! I both look forward to and dread making this map. Good thing I can make the other 6 first ;)

Next week I’ll start making the above rooms, while Teddy and Fred work on adding more NPCs and cutscenes to the village! In the next post we’ll take a sneak peek at what our plans are for the third zone as well, since we’re drawing ever closer to finishing this second part of the temple. Stay tuned! :)

This week, we’ve finished up the final interior of Tai Ming’s second zone: the monkey lab! Here is the past version:

monkeylabpast01

Before designing this place, I (Vilya) had a talk with Fred and Teddy about what level of technology we wanted this place to have. We had plenty of options: we could either go full Flying Fortress style with lasers and very high technology, or we could go more primitive and ancient-oriented.

Since we wanted this area to feel quite modern for Tai Ming (making it stand out and all), we decided to keep it kind of high-tech, but not Flying Fortress laser-level. So there’s steel bars, lots of documentation, some glass vials and strange potions, some which will be animated and added later on by Fred!

After completing the above version, we decided to have one big cage rather than two small, with two monkeys in it. We also added some cracks to illustrate where a hole will be in the present, as well:

monkeylabpast

For the Present version, the walls & floor need to become more dull & dark, the glass windows have broken, papers have been shredded… and the poor monkeys who were stuck in the cage have died (unless… you decide to let them out) :(

monkeylabpresent

monkeylabpresent

Aside from these interiors, we also added a bunch of smaller stuff: changing the brown chests into purple ones on the banners in the past, to reflect the fact that the chests in Tai Ming will, in fact, be purple:

banner01a

We also wanted to Tai Ming-ify the doors inside the ancient Collector’s HQ a bit, so I added some fancy door frame decorations to them:

hqdoor

Just for fun and some flavor, an optional chest has appeared in Tai Ming’s present state, as well! But however will you be able to reach it with all the rocks blocking the way?

secretchest

There’s a couple of new characters, as well! This ancient version of Quinton (an ancestor, perhaps?) is the Quest Master of Tai Ming’s Collector’s HQ. He’ll give you one or two quests you need to complete in the town before you can proceed into the next zone:

portrait

Those of you who paid attention to the text screens in the Phase Puzzle course in Mount Bloom should be familiar with Tonee, who wrote about the course in some detail!

Well, here she is, visiting Tai Ming with her engineer friend from last week:

portrait02

What they’re doing there? Showing off the latest Phase Shifting technology of course! These things don’t fund themselves, you know ;)

Finally, here’s another giant Thorn-Worm, the ULTIMATE version, made & animated by Fred:

mama-worm

How much worse can that fight get, really?! Whew…

Next week, I’ll finish up the graphics for Tai Ming’s second zone, while Fred works on some much needed NPC sprites for the area! Next after that, Puzzle World, the short mini puzzle-dungeon “hidden” in the north of the zone. Stay tuned! :)

After getting back from some days off, it’s only natural that you (or your team) have thought about a bunch of small improvements that could be made! So, after getting back last week, Vilya got straight back into fixing a bunch of things in Tai Ming’s second zone!

First, as we implemented more and more of the Tai Ming 2nd zone backgrounds, we came to realize we wanted to change some things around. One of those things were the placement of the cave entrance seen below:

CaveFixPast

Since this cave will be a puzzle cave, we thought it’d be a little bit funny if it was next to the graveyard, in order to illustrate how poor the owner’s business choices are. But we found it got a little bit too crowded, so we decided to move the entrance further to the right, and add a small fence to illustrate the end of the graveyard.

In the present, the puzzle cave has closed since many years, and instead the path to it has been filled with new tombstones:

CaveFixPresent

Another thing we wanted to change was the windows of the monkey lab. Since this building is where a lot of scientific experiments take place, we want to highlight that this building is different from the rest, and in a way, more modern. We already have the more industrialized chimneys, but we also decided to add glass windows rather than the hollow ones from before:

glass02

And in the present, as time has passed and worn things down, the glass windows have broken and fallen apart:

glass01

Next up is of course finishing the remaining backgrounds needed for the area, including the ancient Collector’s HQ! When designing this place, we wanted it to resemble the Collector’s HQ in Evergrind City, only smaller since it doesn’t make sense for it to be as big as that one gameplay wise (you won’t really do anything in here except fetch a quest or two). So let’s take a look at what the Evergrind City HQ looks like:

HQEvergrind

And now, the ancient HQ:

HQ

HQ

We’re considering editing the doors a bit so they’ll fit in better with the Tai Ming theme. Also, there will be guards placed outside the doors like in Evergrind City, so you won’t be able to enter (though I guess it’s kind of rare to be able to walk through closed doors in this game anyway). The doors are only there to make the place seem bigger than it is, really!

As for characters in this area, there’s just a tiny amount of portraits left now! Of course, they will all need a bunch of expressions, but there won’t be too many all-new characters! This guy is the engineer that helped design the phase shift puzzle elements that are used in the course in Mt: Bloom:

Portrait02

We know gave a lot of people a headache (at least the more difficult, optional stage), so perhaps this is the guy you should blame? :)

Next, this fellow here is the key to a very old mystery: why do the guards in Tai Ming all look alike? The answer is simple – they’re all brothers! And their father is non other than this scientist, who currently works in the monkey lab:

Portrait01

When making this portrait we used the guard portrait as a base and recolored and repainted where needed, to make them look similar enough to be related.

Now, whether there’s a similar explanation to why the guards in Evergrind City look the same as well remains to be seen… :)

Finally, a little sneak peek of our next prototyping business: another ‘puzzle’ in the puzzle cave. Only it’s not a puzzle: instead you’re in the present, and the key you need keeps getting snatched away by monkeys:

Monkey

How annoying, right?! Well, don’t worry! You’ll get the key eventually. At least, once we’ve finished the puzzle cave and all it’s background, which will be what we’ll jump into once we’ve finished up the second zone properly. See you next week! :)