Time to start this week with another meeting! As you know, we’ve been going through each of our old floor designs for the final dungeon and deciding whether we want to keep them as is or improve them in any way. This week we talked about the Mount Bloom and Tai Ming focused floors!
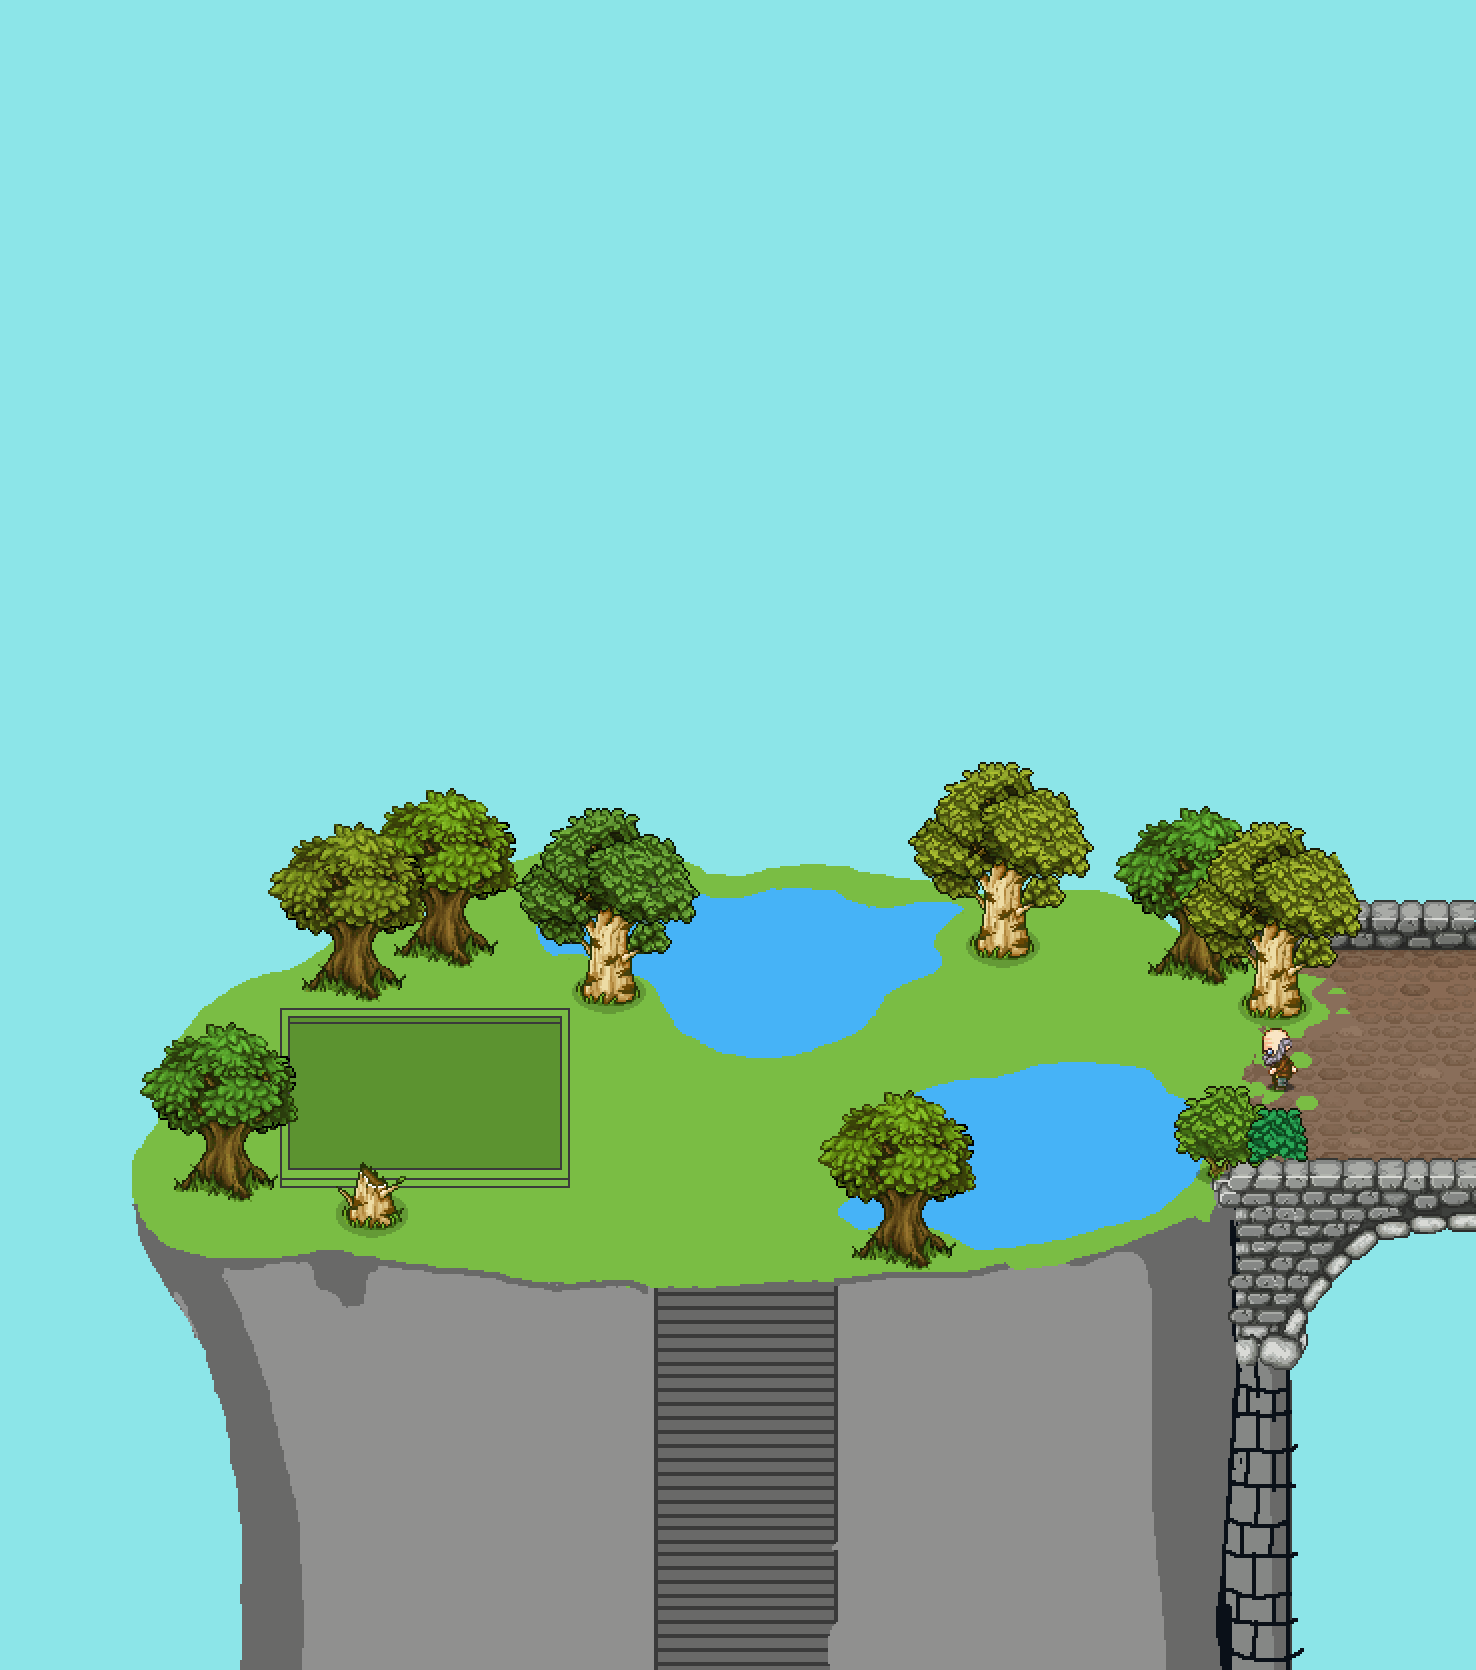
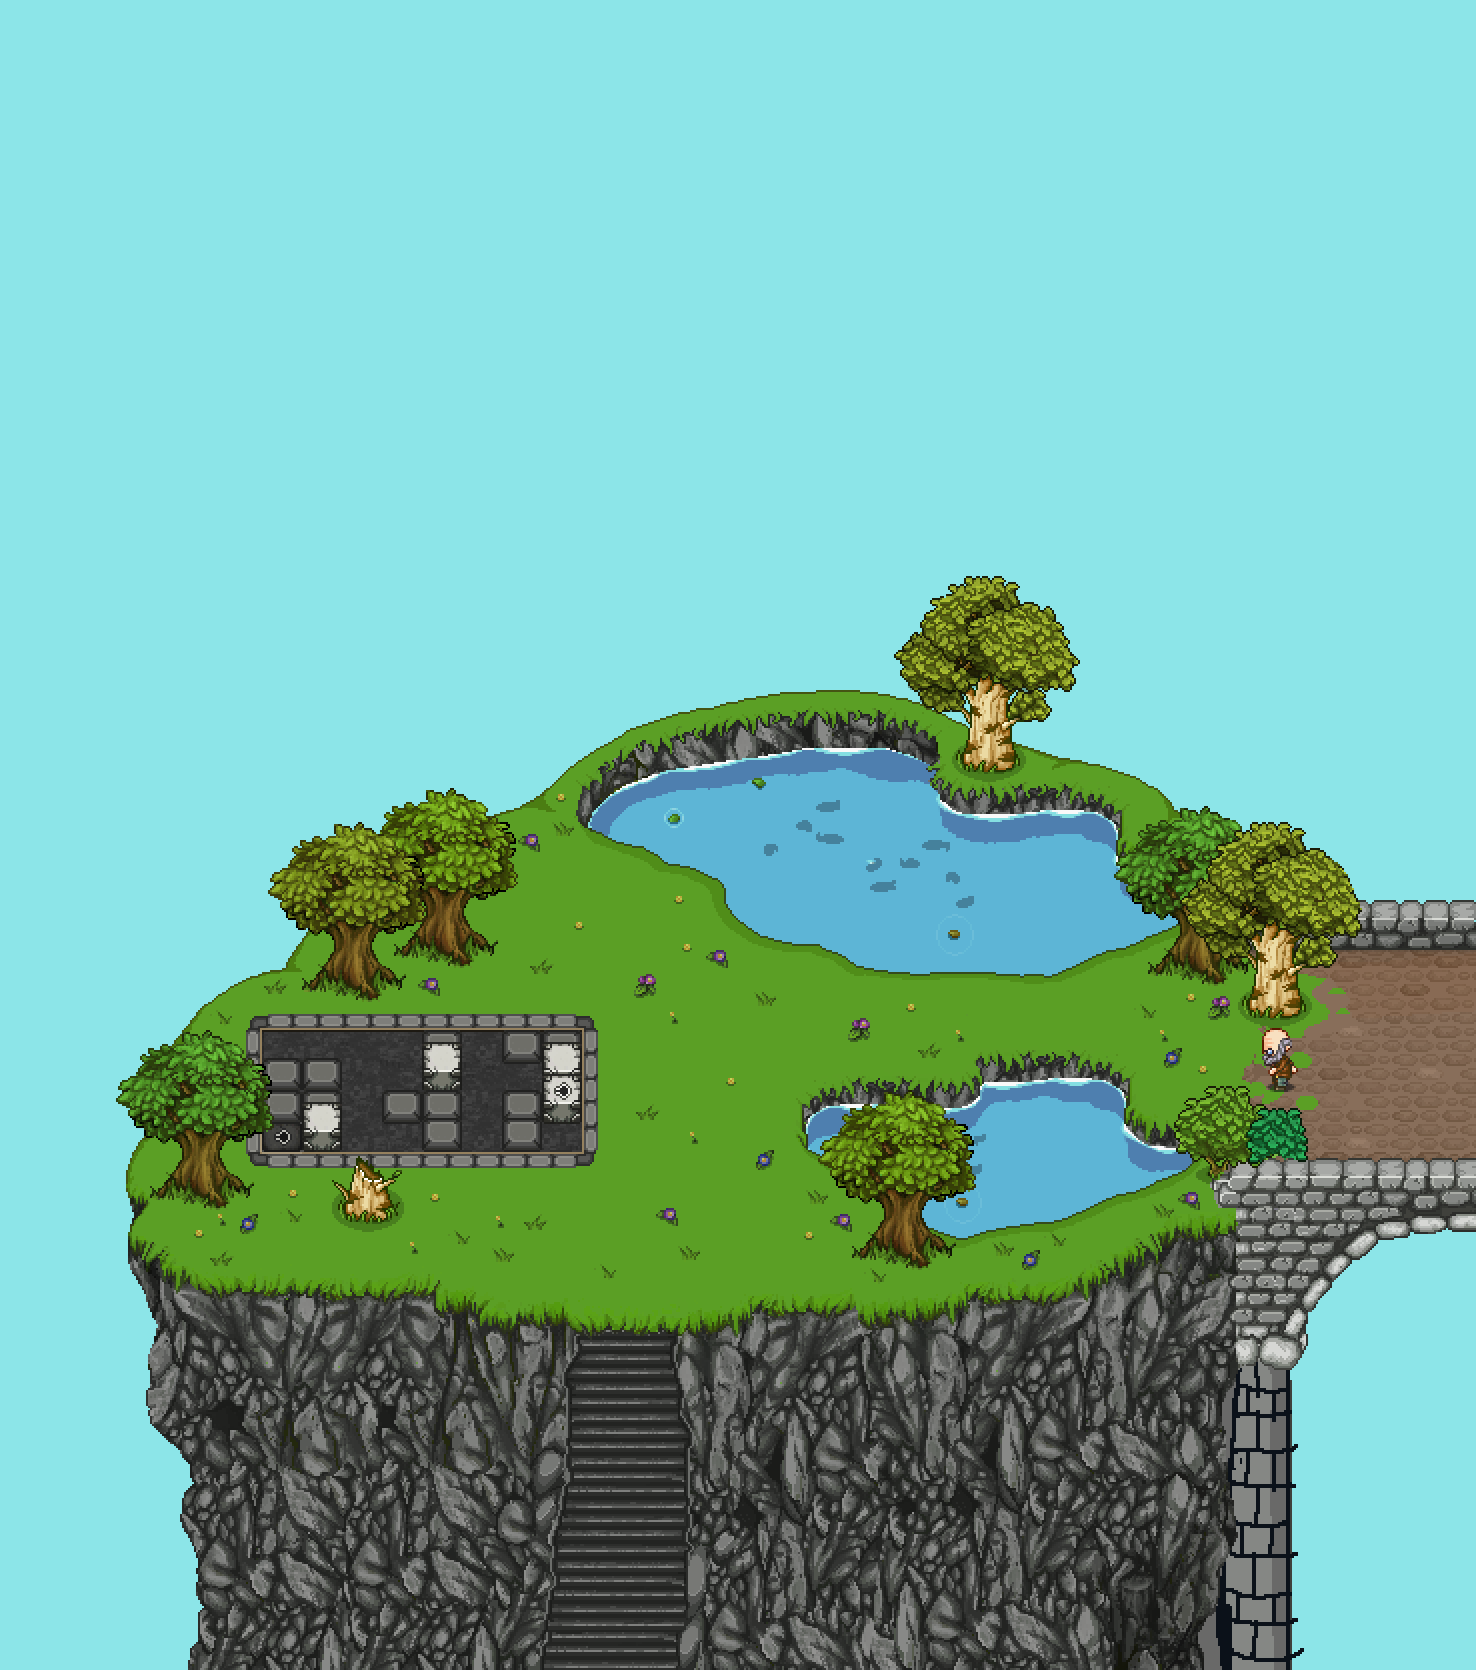
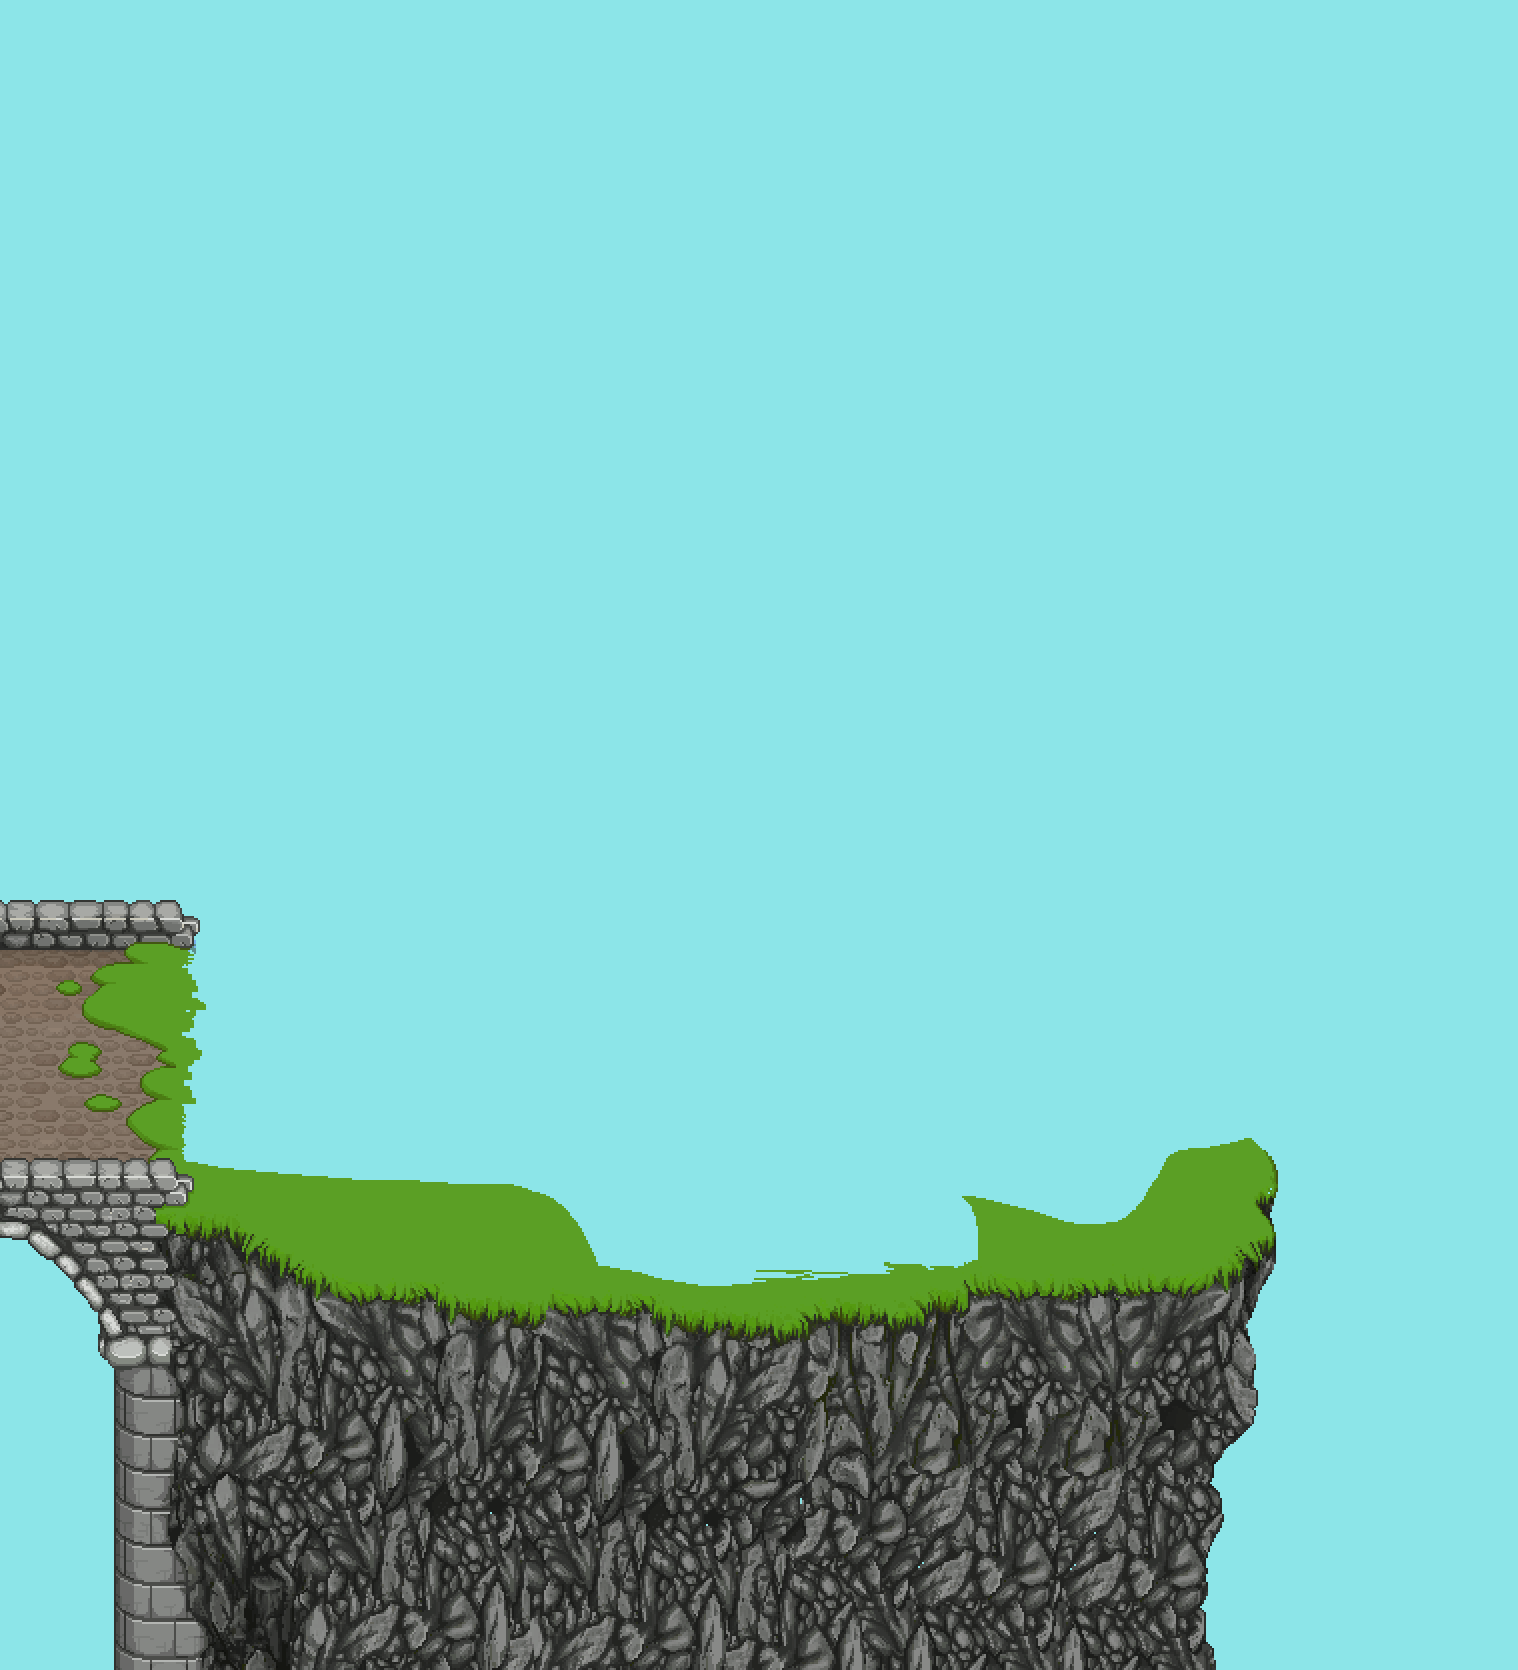
On the Mount Bloom floor, you’ll find a Mount Bloom combined with the festival themed area where you’ll compete against Cavelings in each of the festival challenges, with a twist. We were still quite happy with this floor, but we had some notes on a cutscene towards the end that we fleshed out a bit, making it a lot better.
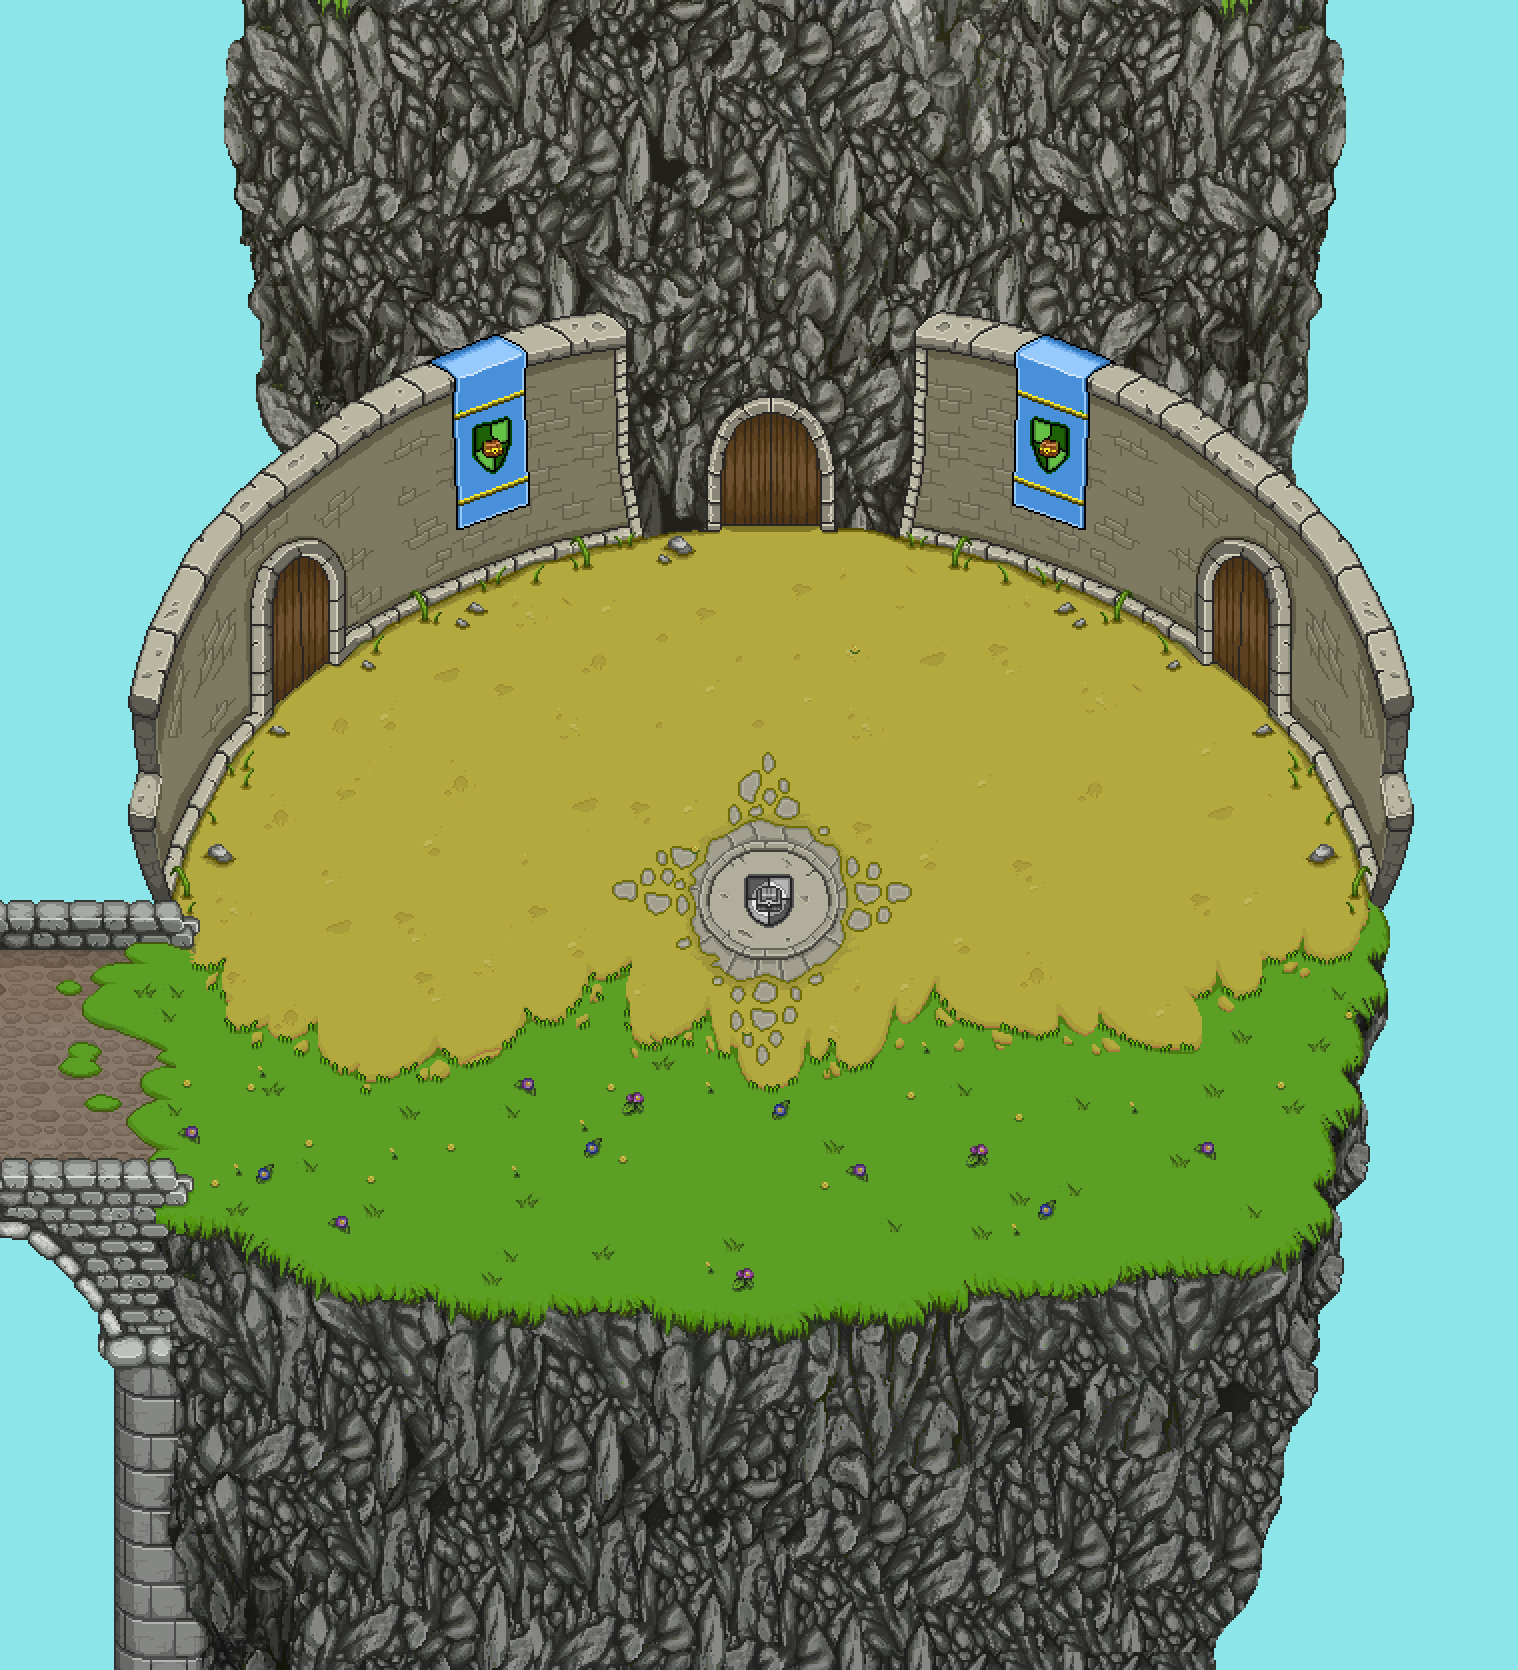
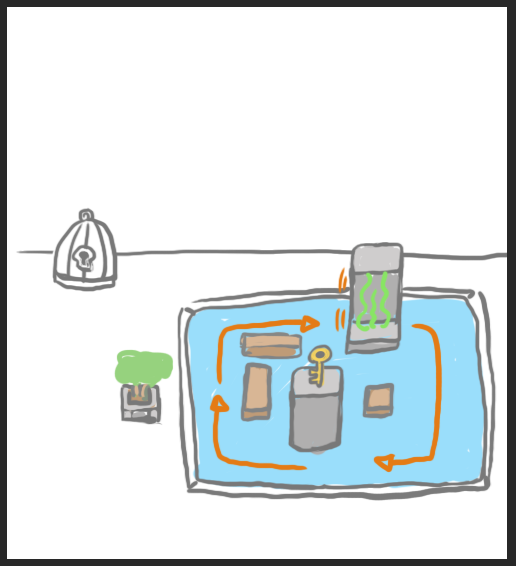
The Tai Ming floor, meanwhile, seemed incredibly long now that we decided to shorten a lot of the previous floors. Before, the idea was that you needed to help three different ghosts with a challenge each (either battles or puzzle related), before being able to collect the three Tai Ming emblems from them, which in turn would trigger an advanced version of the Priestess battle. Now we’ve decided to simply let the player talk to the ghosts and get the emblems that way, making the floor a lot shorter and more to the point. We now feel a lot happier with this floor as well!
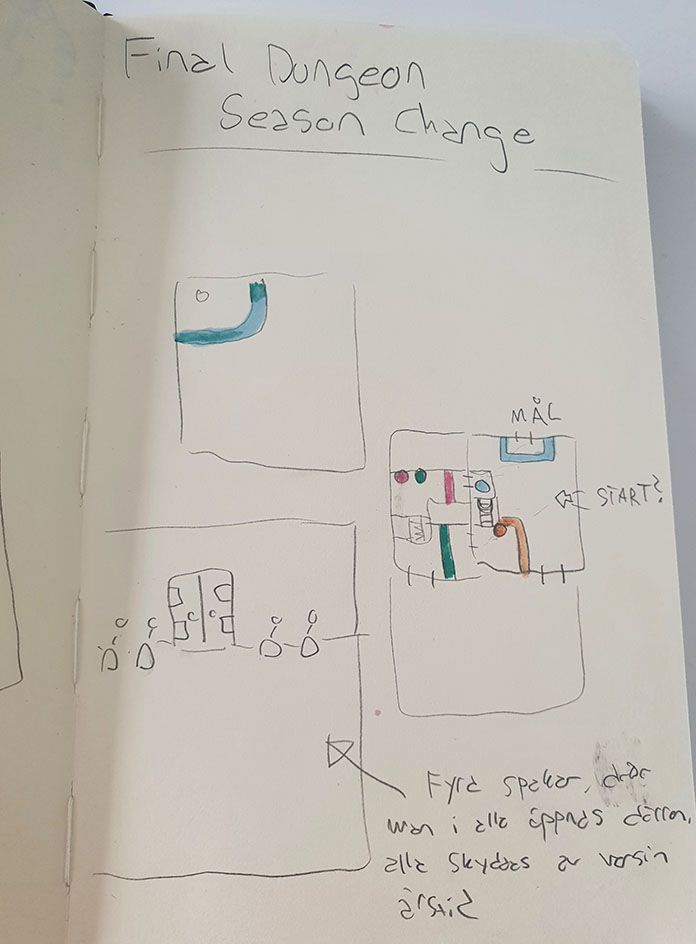
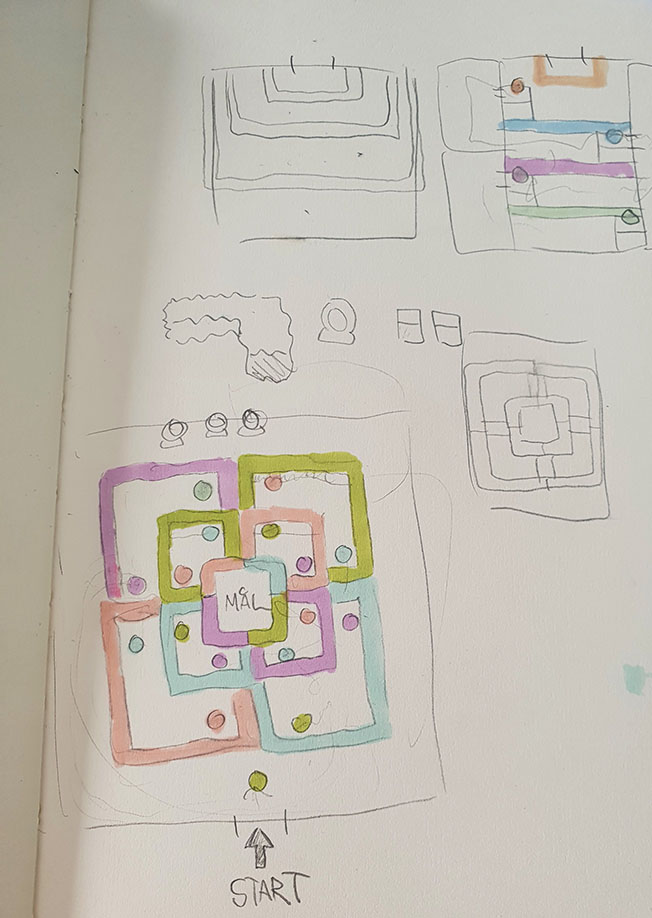
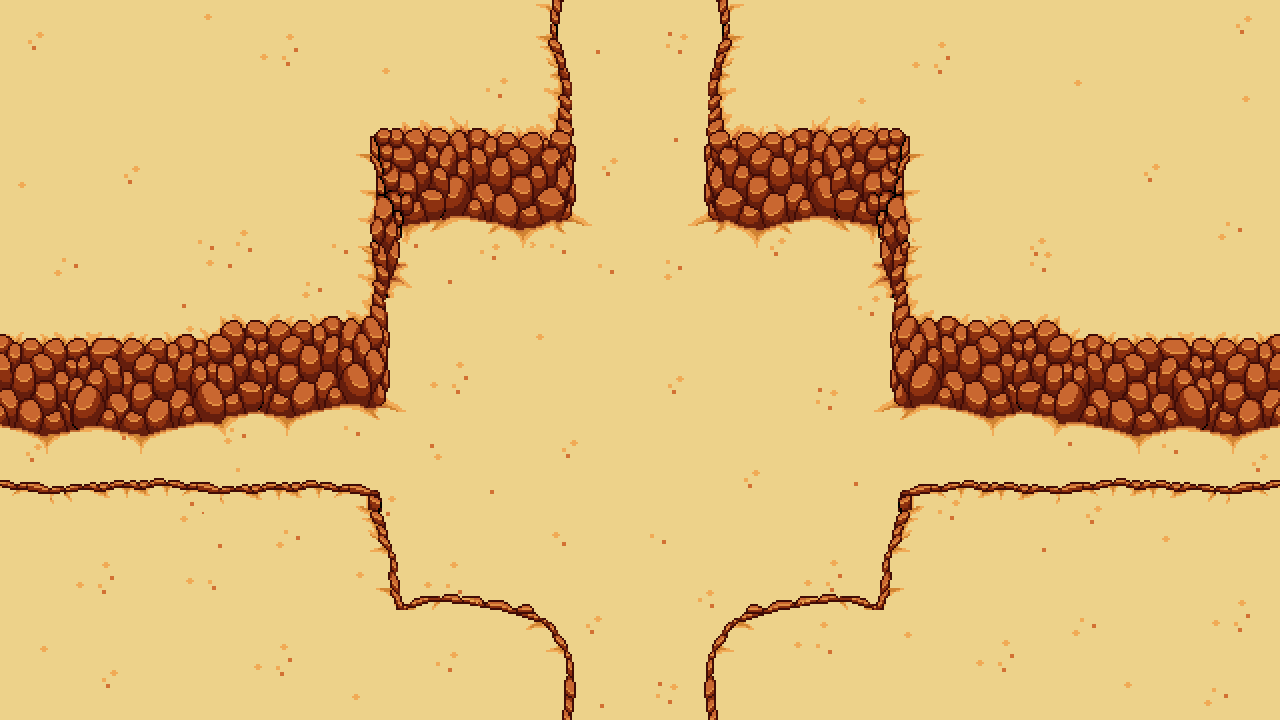
Next week, we’ll take some time to discuss the final floor we need to decide: the Dragonbone Dunes floor. Yes, I know there’s still the Ghost Ship floor, but as it happens, we’ve always been sure of what’s gonna happen on that one, so no need to redesign that one. The desert floor however isn’t exactly the way we like it yet, so as “homework” for next week’s meeting we’ll each take some time to think about what different options we have for the floor :)
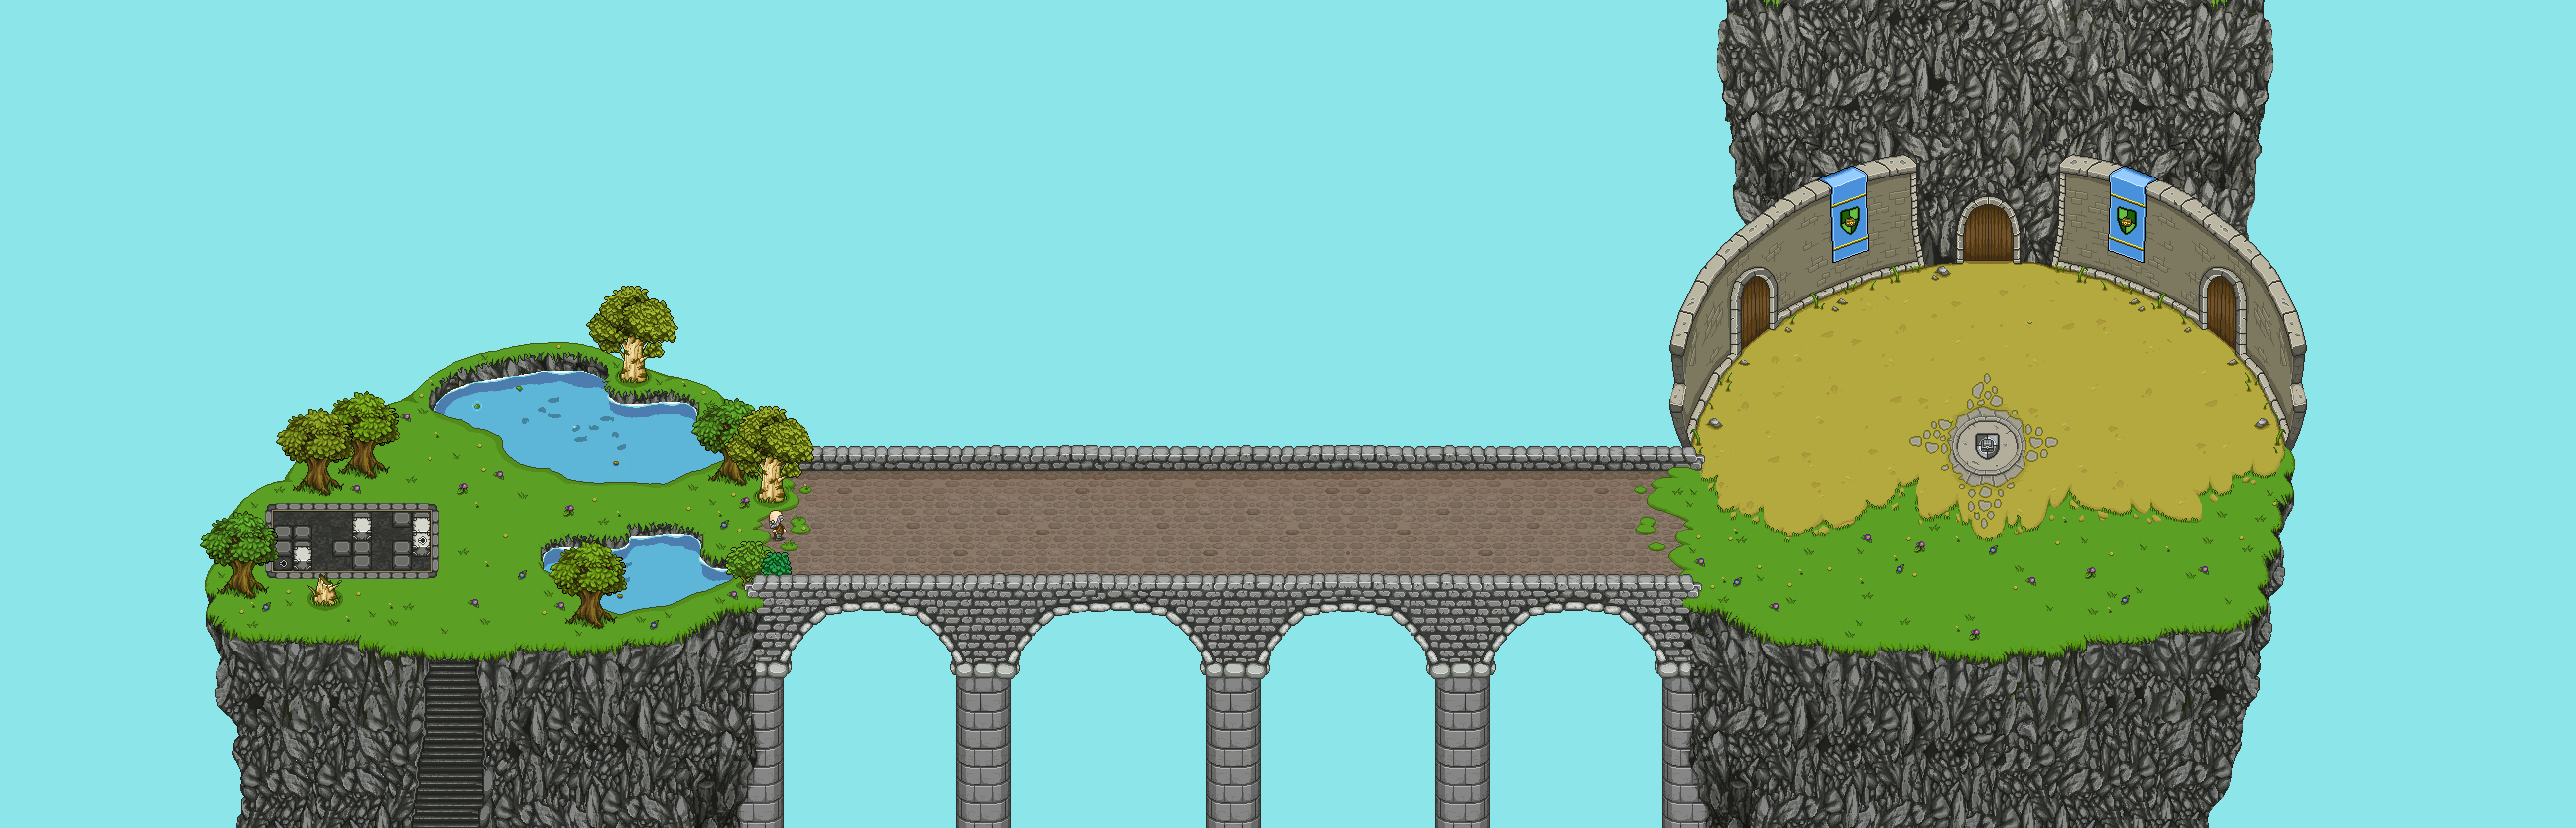
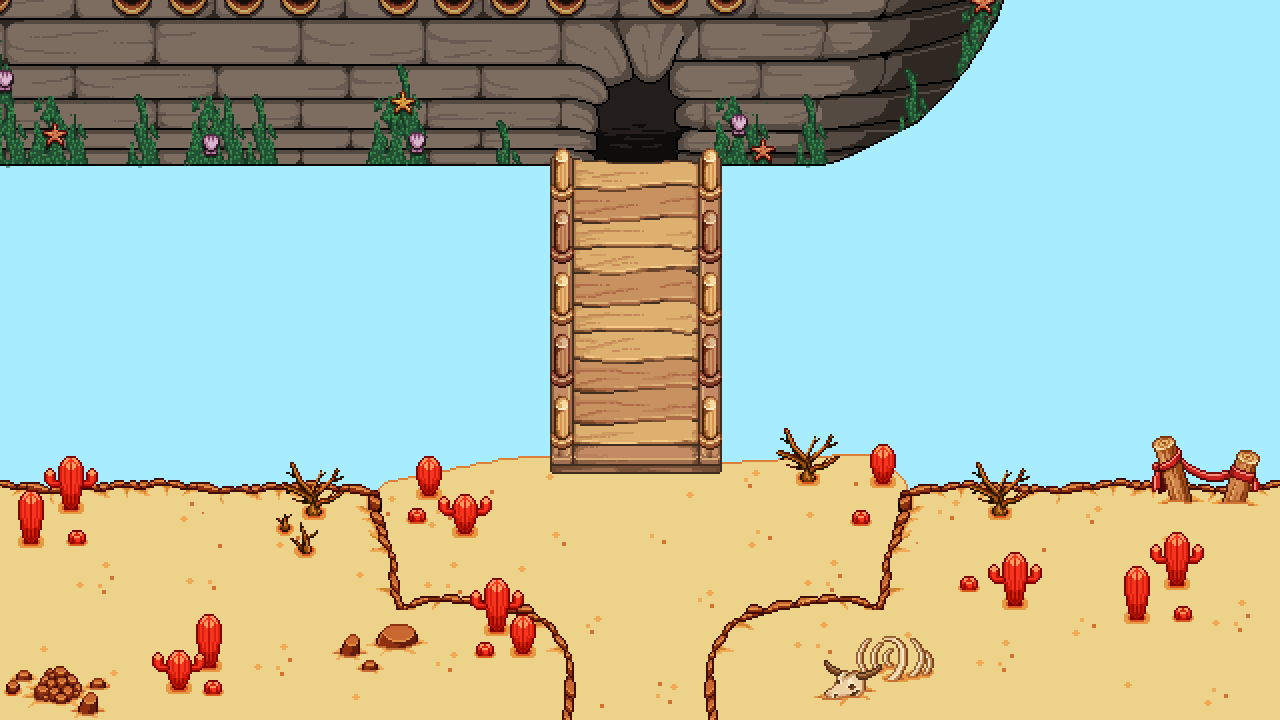
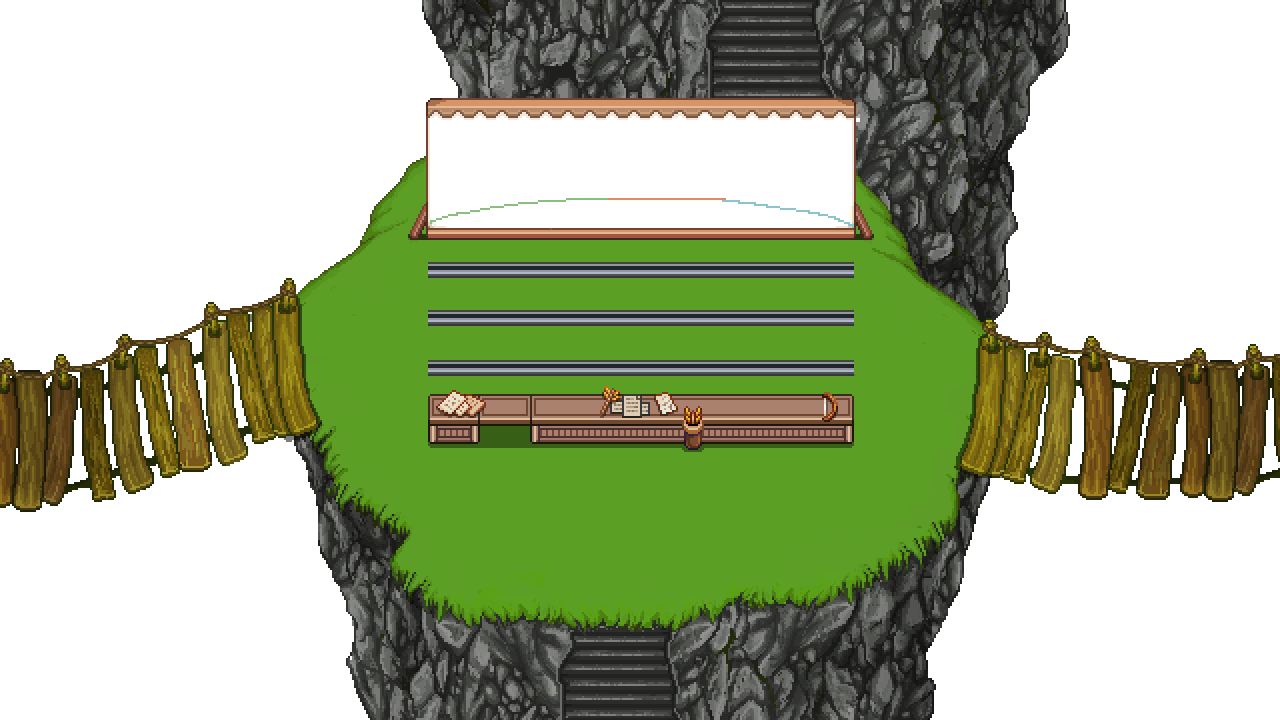
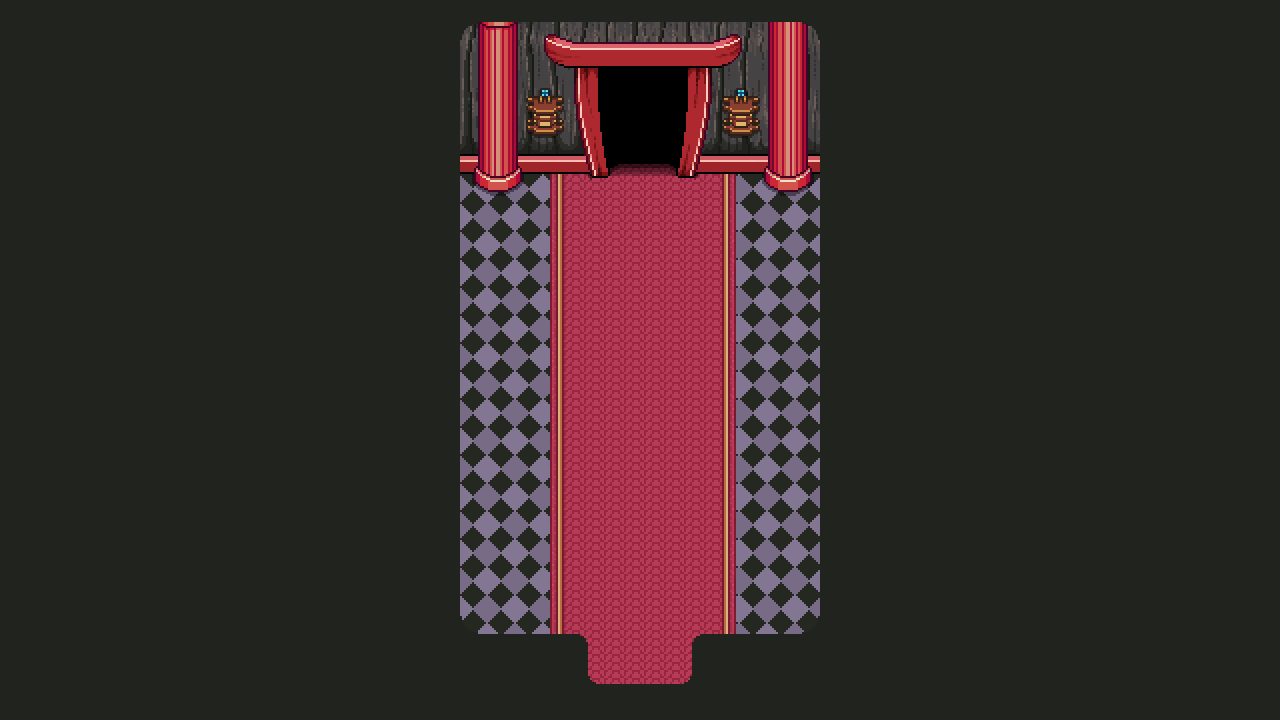
But for now, onwards with more art stuff! Starting with a quick return to Arcade Mode! There’s a couple transer screens needed for when your character runs towards the next area, showing your score as you go. First up, the transfer between Tai Ming and Dragonbone Dunes:
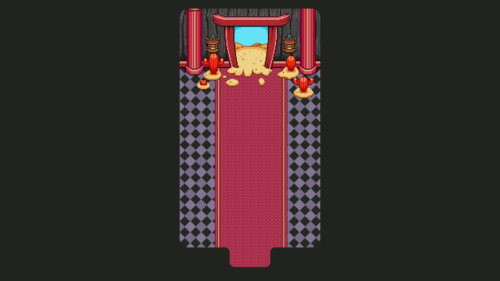
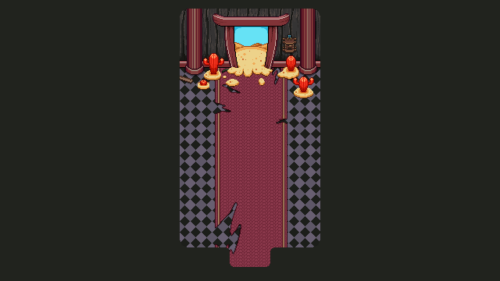
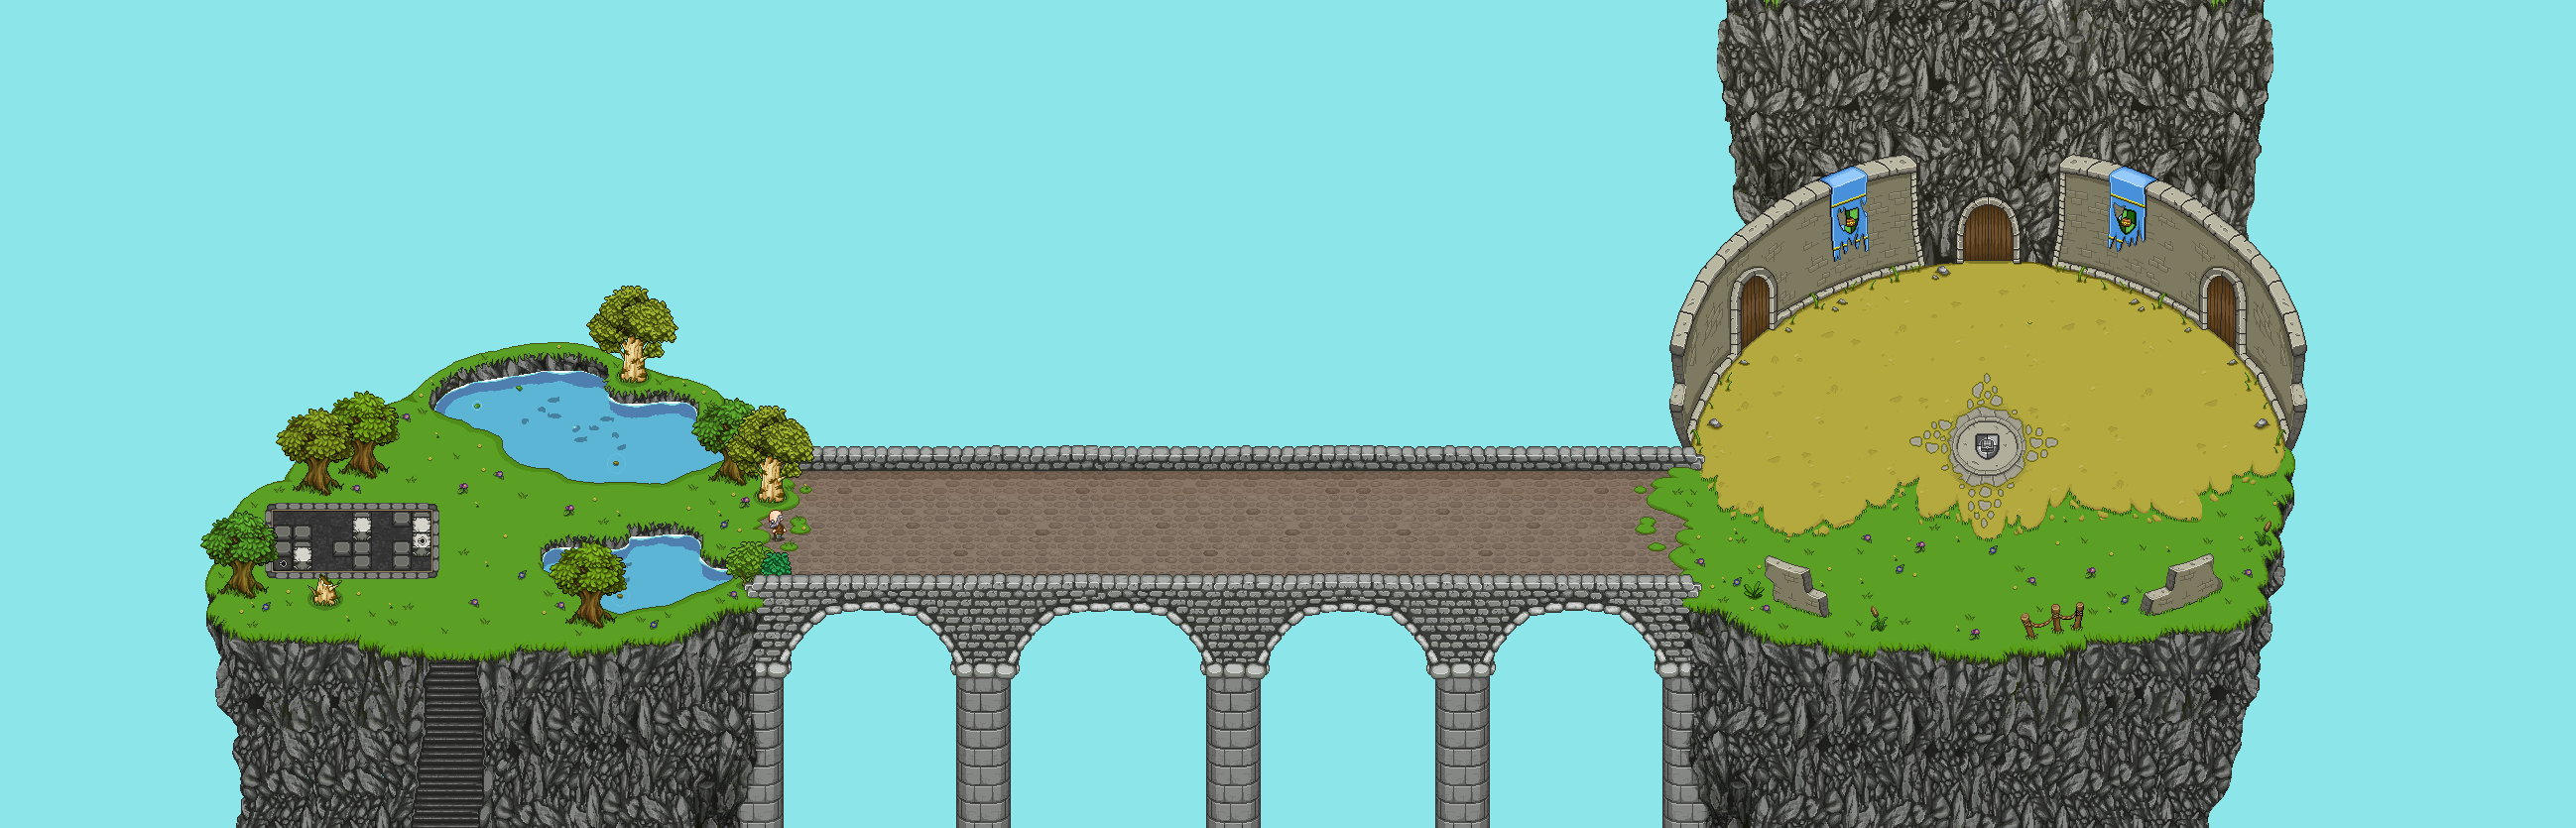
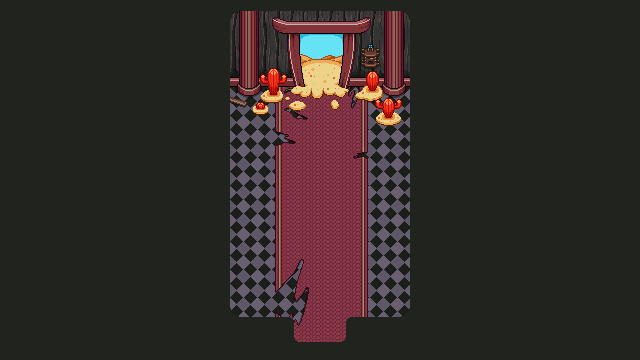
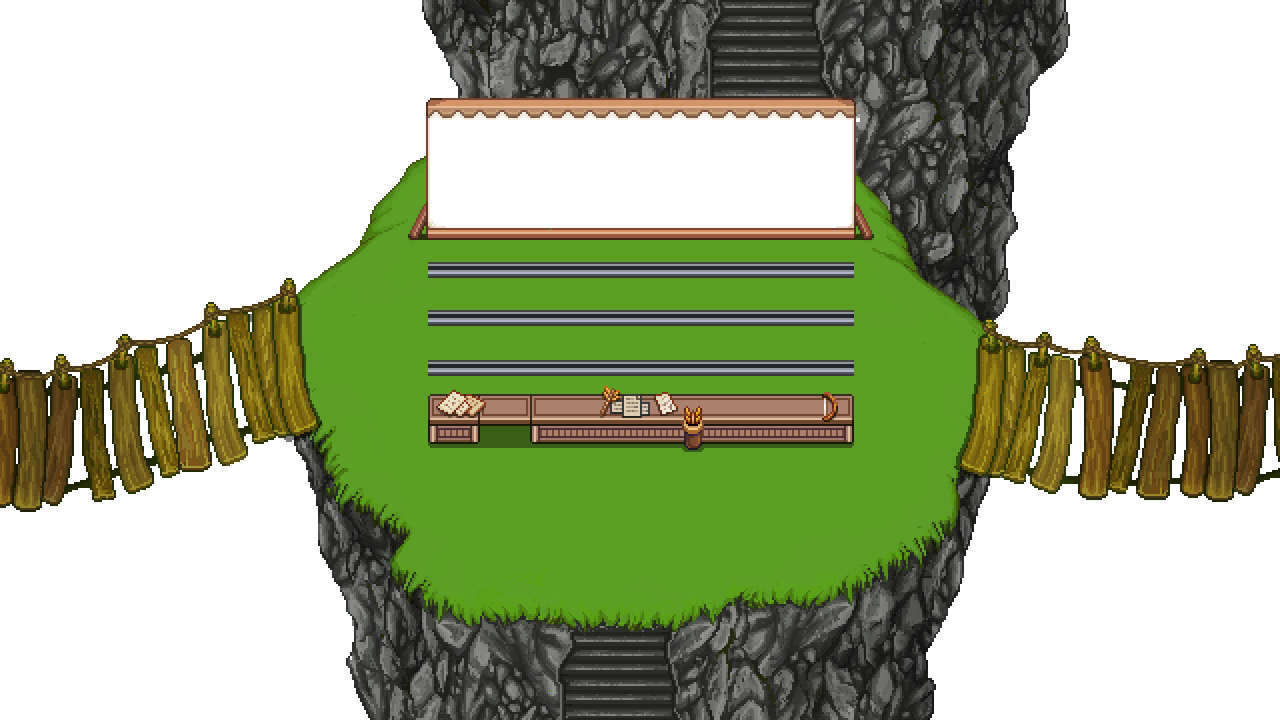
And next, the transfer between Dragonbone Dunes and the Ghost Ship:

In Teddy’s department, it’s all about the battle against Grindea, a battle we’re getting more and more excited about!
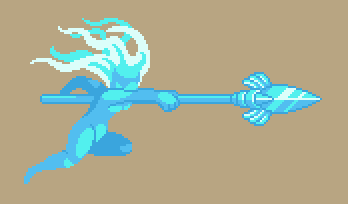
The idea is that she’ll have two forms: one “regular sized” form, where she’ll be pretty much player sized and have a bunch of different moves. Here’s a couple ideas we’ve thrown together – big warning that we’re using a LOT of placeholder graphics in these, just to get a feel for the mechanics:
And as a bonus, here’s our very first test, before any mechanics at all were added, just a very basic Grindea running around in a circle (square?). Pretty cool how iterations work, and how we’ll soon go from the placeholder graphic versions above to stuff with finalized art. This is probably one of my personal favourite parts of game design, seeing how things go from something basic and crude to more fleshed out and detailed designs!
The second form she’ll have is this giant, “proper” goddess form, where she’ll have a different set of attacks:
More to come! Super excited for this battle, which should be one of the most difficult and epic fights in the game :)