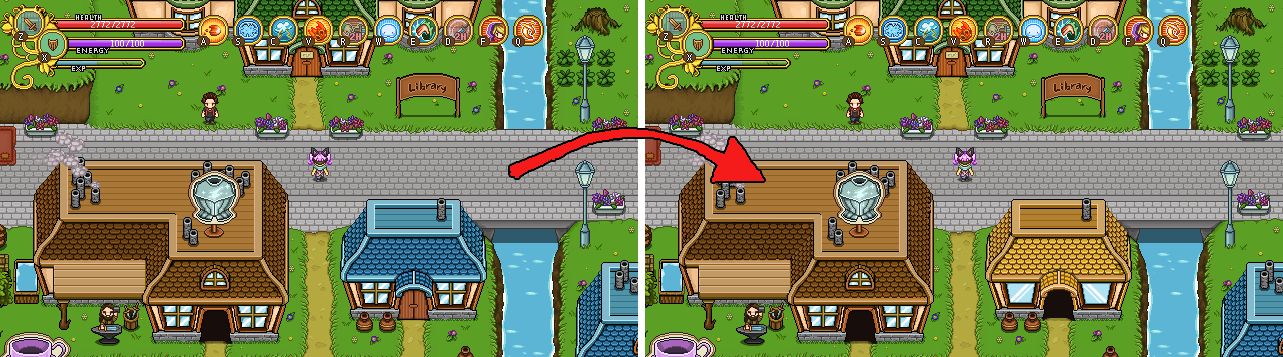
Another week has gone past, and while Teddy is still working on the translation tool, he’s been making huge progress! A lot of his time recently has been spent implementing support for languages with different characters, specifically the Asian ones, as the fonts used for those need to be quite a bit bigger than latin alphabet ones.
As a result though, we can now play around with Google translated Japanese in the game:

Most likely everything written there is completely wrong, but hey, we’re no translators!
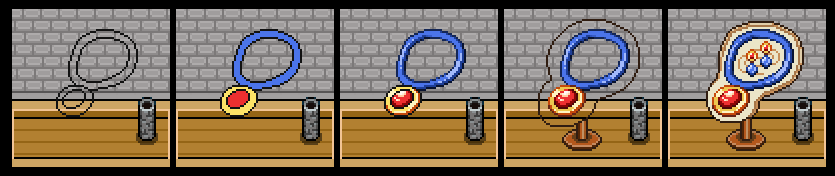
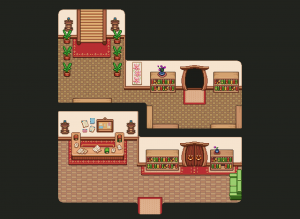
As we mentioned before, once this tool is done you’ll be able to browse translations through the game client. In order for that to work we need an interface, right? Here’s a mockup Vilya threw together:
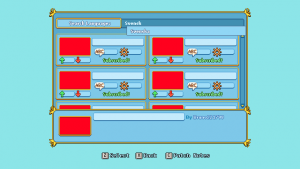
Basically, the red squares are placeholders for the icons used by the translation.
The white boxes to the right of the squares are where the translation’s title will be displayed, and the “Subscribed” text will only appear on translations you’ve subscribed to (duh), which means they’ll be added next to your English (Default) selection in the game’s Options.
Beneath the icons are green and red arrows. These indicate how many upvotes vs downvotes each translation has gotten.
The speech bubble-icon will indicate what percentage of the dialogue has been translated, while the cogwheel next to it will tell you the completion percentage of system texts (interface/menu stuff mostly). We figured we’d separate these as many feel that the dialogues are more important than interface stuff, and having a single % would be misleading in cases where 100% of the dialogue has been translated but 0% of the interface, bringing the overall completion unfairly low.
Since we realize these icons may be a bit unclear on their own, we’ll add a description beneath the content box, explaining what the icons mean.
Finally, you’ll be able to use search box to filter the translations based on your language, and it’ll suggest languages based on what you’ve written already!
———————————————-
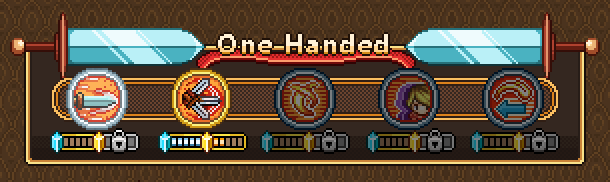
Next up, we’re thinking about how to make the use of Gold Skill Points more obvious. A lot of people seem to get a bit confused once they get their first Gold Point, unless they powerleveled a single skill the entire time, leaving them unable to do anything but use the skill point. If you’ve leveled multiple skills though, you’ll end up with a Gold Point you cannot use yet, and there’s no indicator in the menu for what the Gold Points are actually for. So, we’re looking for a way to make that more clear!
Here are some of our options:

Option #1: Keeping it as it is. Yes, this is an option as well. You get a gold point, but there’s no way of telling what it’s for until you’ve leveled a spell enough times to unlock its use – in the meanwhile you just have to keep guessing, or forget about it.
Visually, it’s probably the best looking option.

Option #2: Added silver and gold points to the leveling bar for clarity. This should make it clear that you can use gold points to level skills, but it could still confuse players: they get a gold point, and see that it can be used to level their skills, yet somehow they can’t use it yet?
We worry that with this option, players will believe that they can use silver and gold points to level skills simultaneously, and in the worst case scenario, believe it’s a bug or get frustrated when they can’t use them.

Option #3: Graying out and putting a lock on the gold part of the skill bar. Our hope with this option would be that people will understand that they can use gold points to level skills, but that they’re locked for now. Once you’ve put your 5 silver points in a skill, an animation + sound effect will play which unlocks the next 5 points (making the skill bar look like the one in Option #2, as illustrated under the second skill above).
Probably the most informative option – if people understand the visual cues – but also possibly the least visually pleasing.

Option #4: Basically a slightly less cluttered version of Option #3, where the grayed out portion of the bar will disappear, and the blue crystal will turn yellow once you start using gold points (as illustrated under the second skill above).
Which one do you prefer? Let us know in the comments!
———————————-
To end this post, we have some regular art stuff as well. Vilya has continued working on both backgrounds and characters:

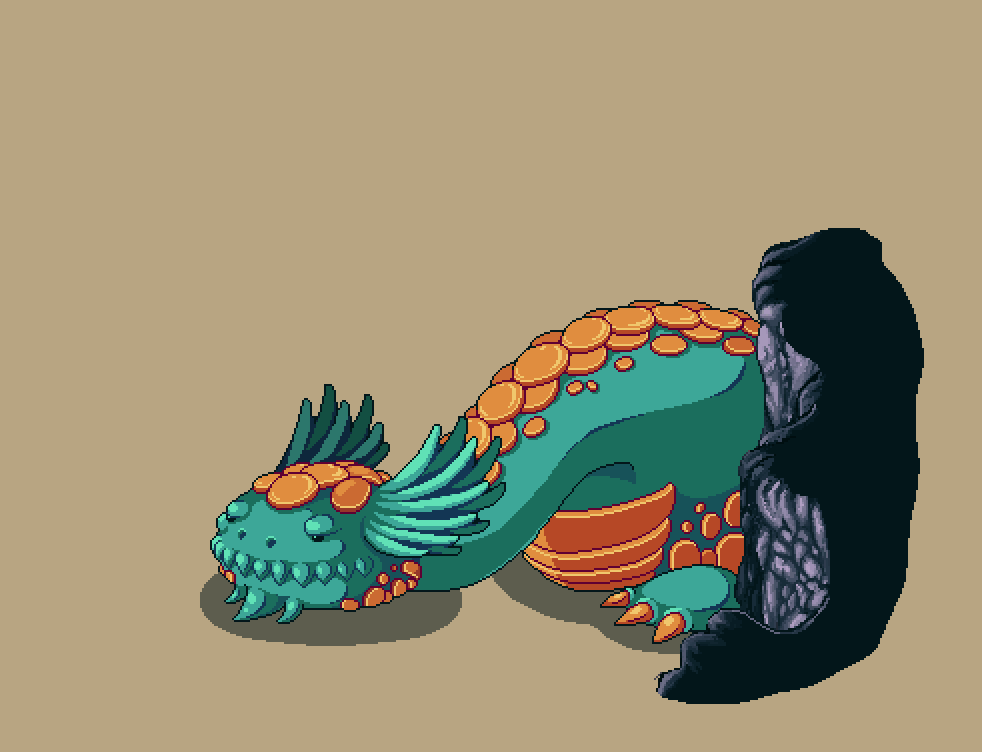
And Fred continues to create dragon animations:
See you next week! :D