


Hello guys! Another week has passed, and work with Tai Ming’s second zone continues :)
Vilya finished up the present version of the outdoors, with the exception of a few details and the area surrounding the Collector’s HQ – we might need to tweak the size of that part, so it’s paused until we’ve done some testing.
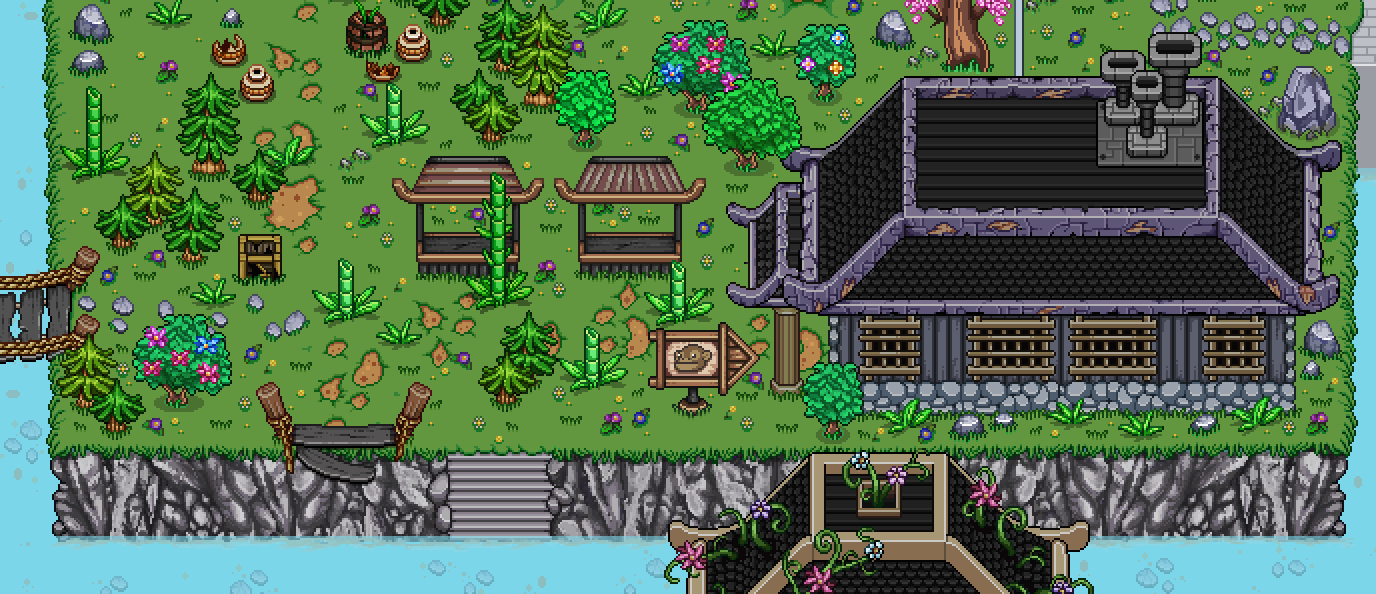
Since the interior of these buildings haven’t been finished yet, it’s possible (or even likely) we’ll add or change things around once we know exactly how they look. We also plan on ruining the chimneys of the monkey lab in some way, but haven’t gotten around to that just yet!
Meanwhile, Teddy and Fred have been hard at work prototyping the next boss fight, featuring the giant Thorn-Worm:
We just added a super early prototype of one of its attacks today for inhouse testing, so I’ll go back to doing that as soon as I’ve finished writing this blog post!
There’s also a couple of new characters on the block:


..aaand, we’ve finally decided what to do with that locked cave in the top left corner (seen in the graveyard GIF)!
Basically, the cave has turned into a series of puzzle challenges of various types. Some involve time travelling, others don’t – but the idea is that “hidden” inside the cave is a WIP ‘Puzzle World’, a place where the people of Tai Ming were supposed to be able to go to challenge themselves with some puzzles (after paying a hefty entry fee).
(Putting this area next to the graveyard might not have been the best marketing decision, of course.. Not the best place for something resembling a puzzle-themed amusement park!)
There will be five different rooms, plus an entry room where you’ll be introduced to the theme park WIP and its owner!
Room #1: Ancient Statue (enemy) Puzzle
Here you’ll have to use the statue enemies in a creative way to solve a puzzle with several buttons!
Room #2: A Key + Monkeys
Here you need a key to get to the next room. Only problem is, there are a bunch of monkeys also wanting the key, and they won’t let you have it! You’ll have to kill the right monkey before he throws the key to one of his friends.
Room #3: Path Puzzle
In this puzzle there will be statues (or other things), which you can move around in the past, that will fall in different direction in the present. With this knowledge, you have to push the right statue to the right place in order to fill a series of holes in your path to the next room!
Room #4: Combat Room
The puzzle here has long since stopped working, and instead you’ll have to battle a series of enemies.
Room #5: Phase Shifting
A puzzle room originally sponsored by the crew at the Flying Fortress, now it’s an advanced phase shifting puzzle where you have to shift through time!
As always, typically of Pixel Ferrets, we’ve probably overdone this a bit – turning our vague encounter & 1-2 puzzle cave into a ancient half completed theme park-ish thing! However, there aren’t that many rooms, and the mechanics will hopefully be kind of straight forward (here’s to hoping)! :)


