


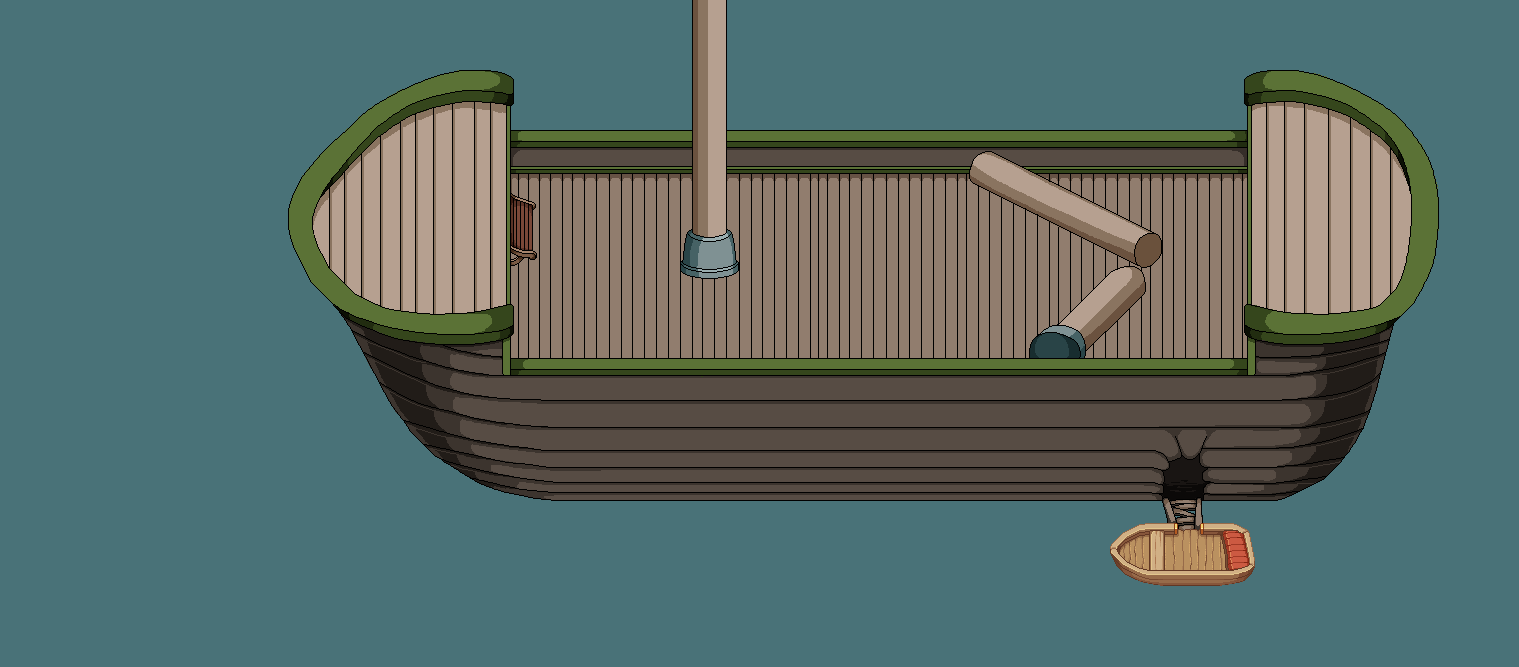
Time to start working on those colors! This is gonna take a while since the ship is super huge, so I’ll split it in two parts (or however many are needed). In the first part we’ll be dealing with the basic colors, getting them down somewhat in any case. Might change them around later but it’s good to start with a base:
Obviously it’s gonna get a lot more detailed than this, and the water will be animated as well. We’re also considering changing the size of the upper front and back of the boat, making them bigger since they look kind of small right now. Oh well, onwards we go!
Time to take a look at what’s happening with the skeletons and discuss a piece of their design!
So one thing we’ve been wanting to do with our skeleton enemies is to give them a quirk where their head will fall off and become an enemy of its own, sort of like the Jumpkin from Pumpkin Woods; a pretty easy enemy that you just whack over a couple of time to get rid of, but that serves as an interesting game play element.
Because of this, Fred has started working on the skulls and what they’ll look like when they fall off and are brought to life on their own, and as he did so, we realized the square shape they currently have isn’t exactly ideal for what we want to do; it’s maybe a bit blocky and simple:
So to remedy this, we’ve now made a different, more regular looking skull, that we feel fit better:
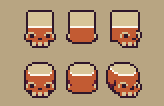
While we do love the idea of the square head, it being a bit more original and all, we think this looks better overall. How do you guys feel?
So these last bunch of days we’ve been playing around with a bunch of new puzzle ideas for the ghost ship – we really want to mix things up and get some interesting use out of these mechanics. So, first thing we’ve tried is using the spirit world mechanic to make a burning ghost light candles for you.
Here’s a GIF showing our super early prototype:
Basically, the ghost ignores you while you’re in the regular world, and will start chasing you once you enter the spirit world, so your goal is to position yourself so that the ghost will pass over the lanterns (currently the white squares) and set them alight. Completing this task will open a door for you.
If you’re too slow however, the candles will stop burning and you need to set them alight again.
These ghosts will appear in other areas of the game as well where they will simply serve as an enemy/obstacle – you won’t be able to kill them, and as soon as you enter the spirit world they will chase you. I believe I might have mentioned them before in relation to the room with all the creepy bridges, where you’ll have to avoid them while making your way to the other end of the room.
The second mechanic we’ve been playing around with has been something slightly different, yet reminding of something we’ve used before. In Tai Ming we had puzzles where you had to kill statues in the right spot, so that they pressed a button for you. In this dungeon, we’ll do something similar.
Below is the WIP gif:
We use statues as the placeholder graphic here, but they will more likely be some kind of floating armors or some such.
The idea is that these armors only live while in the spirit world, where they follow a set pattern of movement. If you go back into the normal world, they will fall to the ground and remain still. So, the trick here is to adjust the timing of their pattern by hitting them a few times, so that when you return to the regular world, they will each fall on a button if you time it right.
This will be a bit clunky in multiplayer, but we’ve decided on going down the path where it’s enough for one person to be in the spirit world to make them move around. In the GIF above, the adjustments are pretty slim as you hit them, but in the final version we want each hit to make a bigger difference so that you really notice something happens to their patterns when you interact with them.
How do you guys feel about these new puzzle ideas? If you have any others, feel free to share!
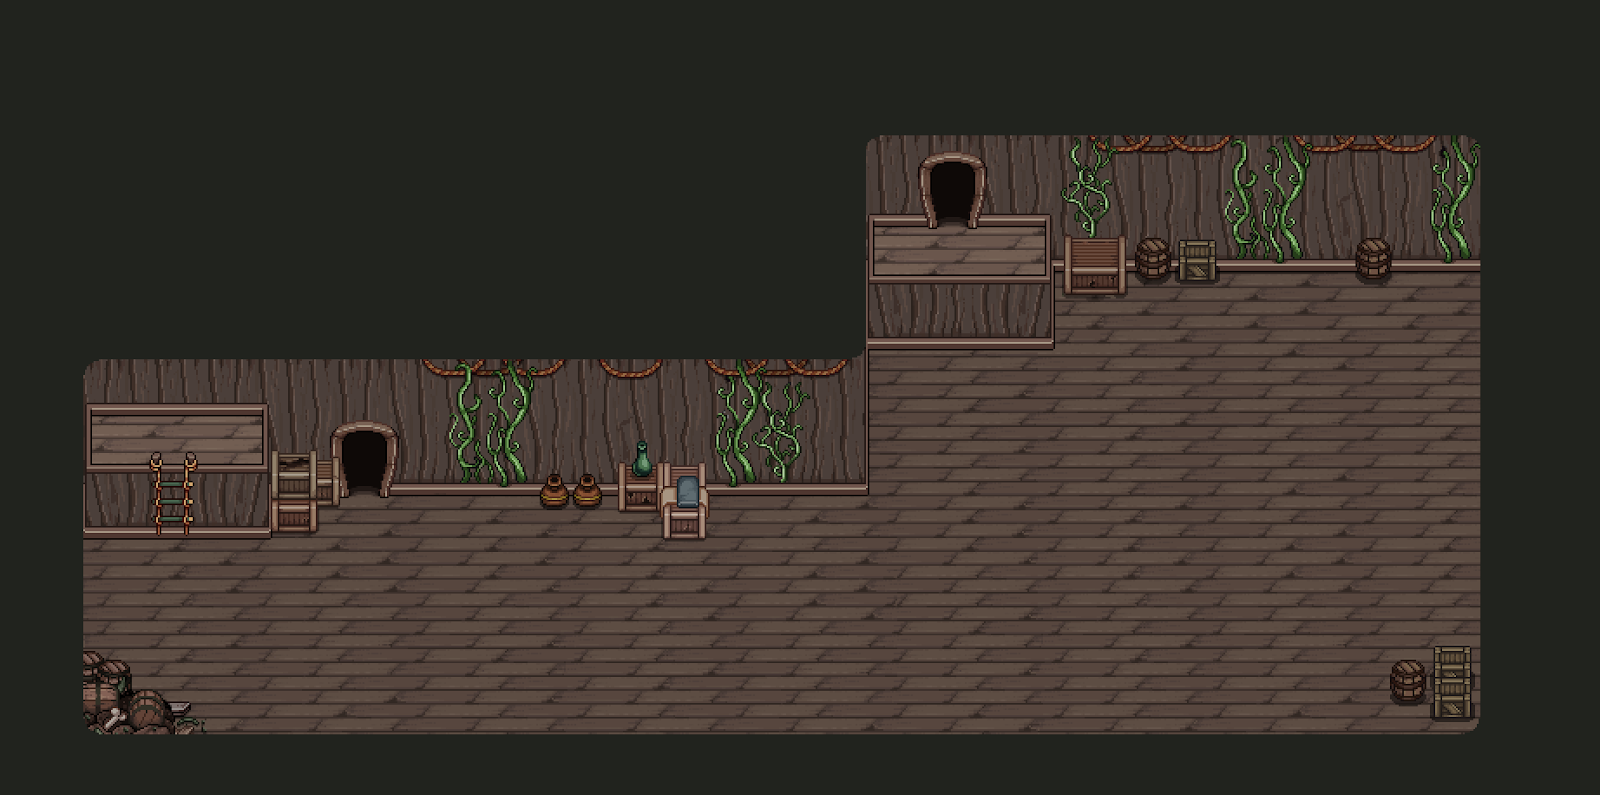
Next we’ll start making one of the remaining rooms we’ve yet to finish up; the Mess hall! We’ve showed this room a couple of times already – it’s the room with the creepy bridges. In this first part we’ll get all the basics down, the correct walls and floors as well as some basic decorations; ropes, vines, boxes and so on.
There will be a bunch of floating tables here as well, but those we’ll save for another time. For now, here goes:


The round skulls I think look better. The puzzles sound cool too. I’m going to be happy when this game is done but sad that there is nothing to look forward to and keep me coming back!