Now, time to showcase the second casino, which will feature a different kind of gamble than the first:

The Pin Collector will make an appearance as well, in a house that seems to follow its own physics (you will be able to see a background filled with stars through the darkness in the floor and walls – quite spacey! ;))

Next, with a battle against Grindea being imminent very soon, it’s high time to give her a proper boss portrait! Let’s have a look:

Next up we needed to make some adjustments to master Ji’s challenge rooms to remove the scrolling from it, so let’s resize that thing a bit!

Some more things some of you may or may not have already seen, the transition between Grindeas health bars and her cool space wings:

Have you reached the Grindea battle yet? If so, what do you think? :D

And weee’re back! This time, let’s take a look at some of the backgrounds you may or may not have already come across in the meatshield update, which has been up for a little while!

For information on how to access this super crude and potentially buggy version of the beta (at your own risk), come on over to our Discord and have a look :)

In either case, here’s the first of a few new backgrounds, featuring the arcade mode version of the ice cream parlour:

Next up, Master Ji’s dojo:

There’s also a mystical cave where a giant lood and its underlings hang out, ready to provide you with some loot! Let’s have a look:

There’ll also be not one but two casino’s opening their doors in arcade mode! Here’s the first:

Of course, Fred has been busy as well, making animations and other new stuff for the update, such as this ice cream eating animation and a couple fancy wings you can get yourself in Arcade mode by trading in your essence:

This week, we’re starting off by adding a new currency!

This is golden essence, which like normal essence can be traded for rewards at Bishop’s in Arcadia. We’re also thinking you’ll be able to trade a (big) amount of regular essence for one of these. The reason we came up with this currency is because we thought it’d be a better reward to get in that final floor chest, rather than getting the rewards themselves. This way you can pick and choose whatever rewards you want in any order (except for some that you will need to unlock by completing Arcade Mode in all difficulties), and it seems a bit clearer that you always get a reward of golden essence rather than an arbitrary number of rewards only to suddenly not get any more.

This way adding new rewards is more streamlined as well – if we decide to add more rewards, Bishop will simply update his shop rather than you having to complete arcade mode once again to see what sort of item(s) we’ve added!

Next, we wanted to add something fancy for when you manage to finish off one of those new and spicy floor-wide bets, so I threw together a little background for a room in Bishop’s realm where you get sent once you’ve cleared the floor:

Next up, we wanted a wagon for the potion salesman that sells you Super Potions, so I made some tweaks to Remedi’s old thing in Arcadia to better fit the salesman we have in mind:

And here we go, the second attempt at that bad-ass fae, Badasu! This one looks a little more badass, no?

Meanwhile in Fred’s department, it’s all about hands! Grindea’s hands, to be precise! Have a look:

This week is all about the shop, which will now get a proper indoor map, where it’ll share its space with either Little John, Farmer Oak or a potion salesman that allows you to change which pots you have equipped. For now though, let’s start with the regular shopkeepers part of the room:

And here’s what it’ll look like what the shop is shared with Little John, who will let you upgrade your bow:

Next, what the shop will look like when it’s shared with Farmer Oak and his pet taming-item store:

And finally, this is what the shop will look like when it’s sharing its space with the potion changer:

Meanwhile in Fred’s department, he’s been working on a pretty epic animation featuring giant Grindea opening her eyes! Let’s take a look:

In this Monday’s Meeting, it’s been all about perks! We haven’t had a lot of those before, so we’ve spent some time thinking about what more interesting ones we could add. Here’s a list of our current ideas:

* A perk that gives a low chance of pins dropping from defeated enemies

* Arrows deal more damage

* Bigger chance of getting a specific type of event room (we want at least one of these for the fishing rooms, since it can be quite a challenge to catch all of the fishes, however, we haven’t decided 100% yet if this will be a perk or a quest or an item of some sort)

* Bigger chance of Loods appearing

* A perk that guaratees that you’ll get a pin as a reward after a challenge win

* A perk that gives you x gold at the start of every new floor

* Bigger chance of getting card drops from enemies

* A slightly wider selection of items in the shop

* A perk that lets you start with an HP potion

* A perk that gives you a good 1h weapon at floor 5

* Same as above but for 2H weapons and magical weapons respectively

Do you have any ideas for more perks? Let us know what you’d like to see! :)

Next up, I’ve made a test for a portrait of that fae that comes along to help you fight against bosses (for a fee). However, this is only the first try, and after some discussions we’ve decided we’re probably gonna give him a slightly different look, making him look a bit more badass. For now though, here’s the old version:

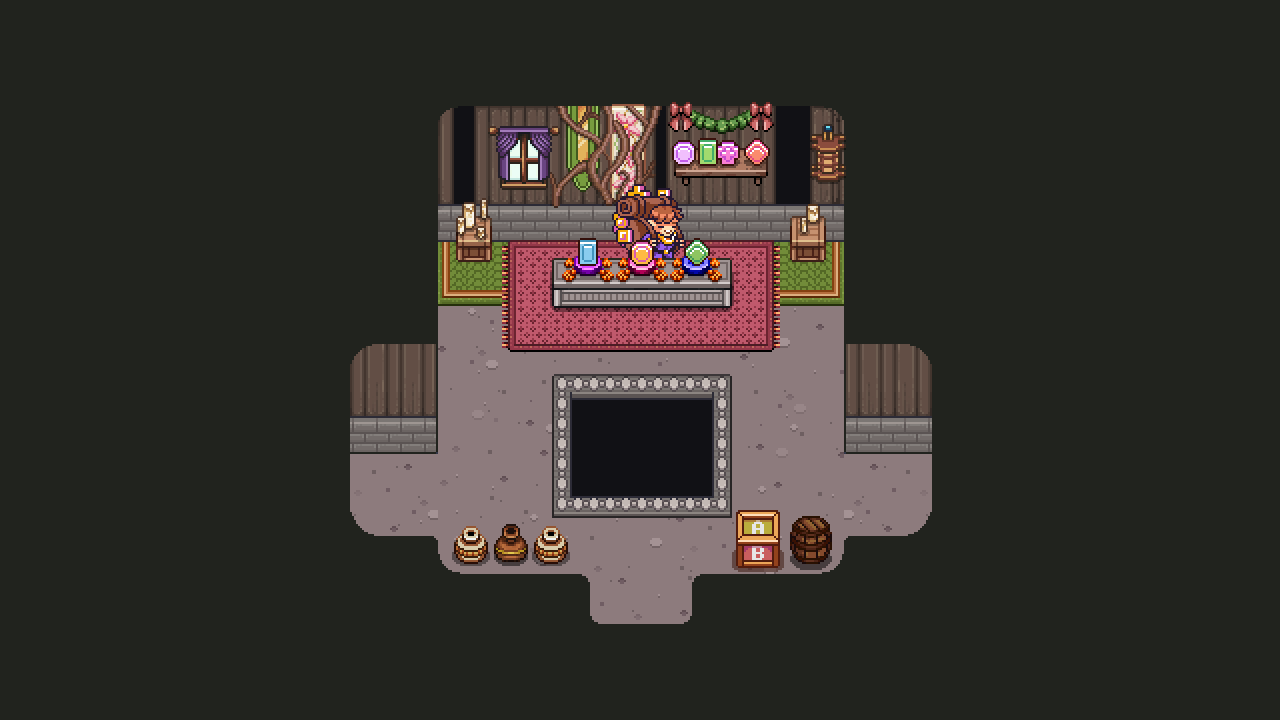
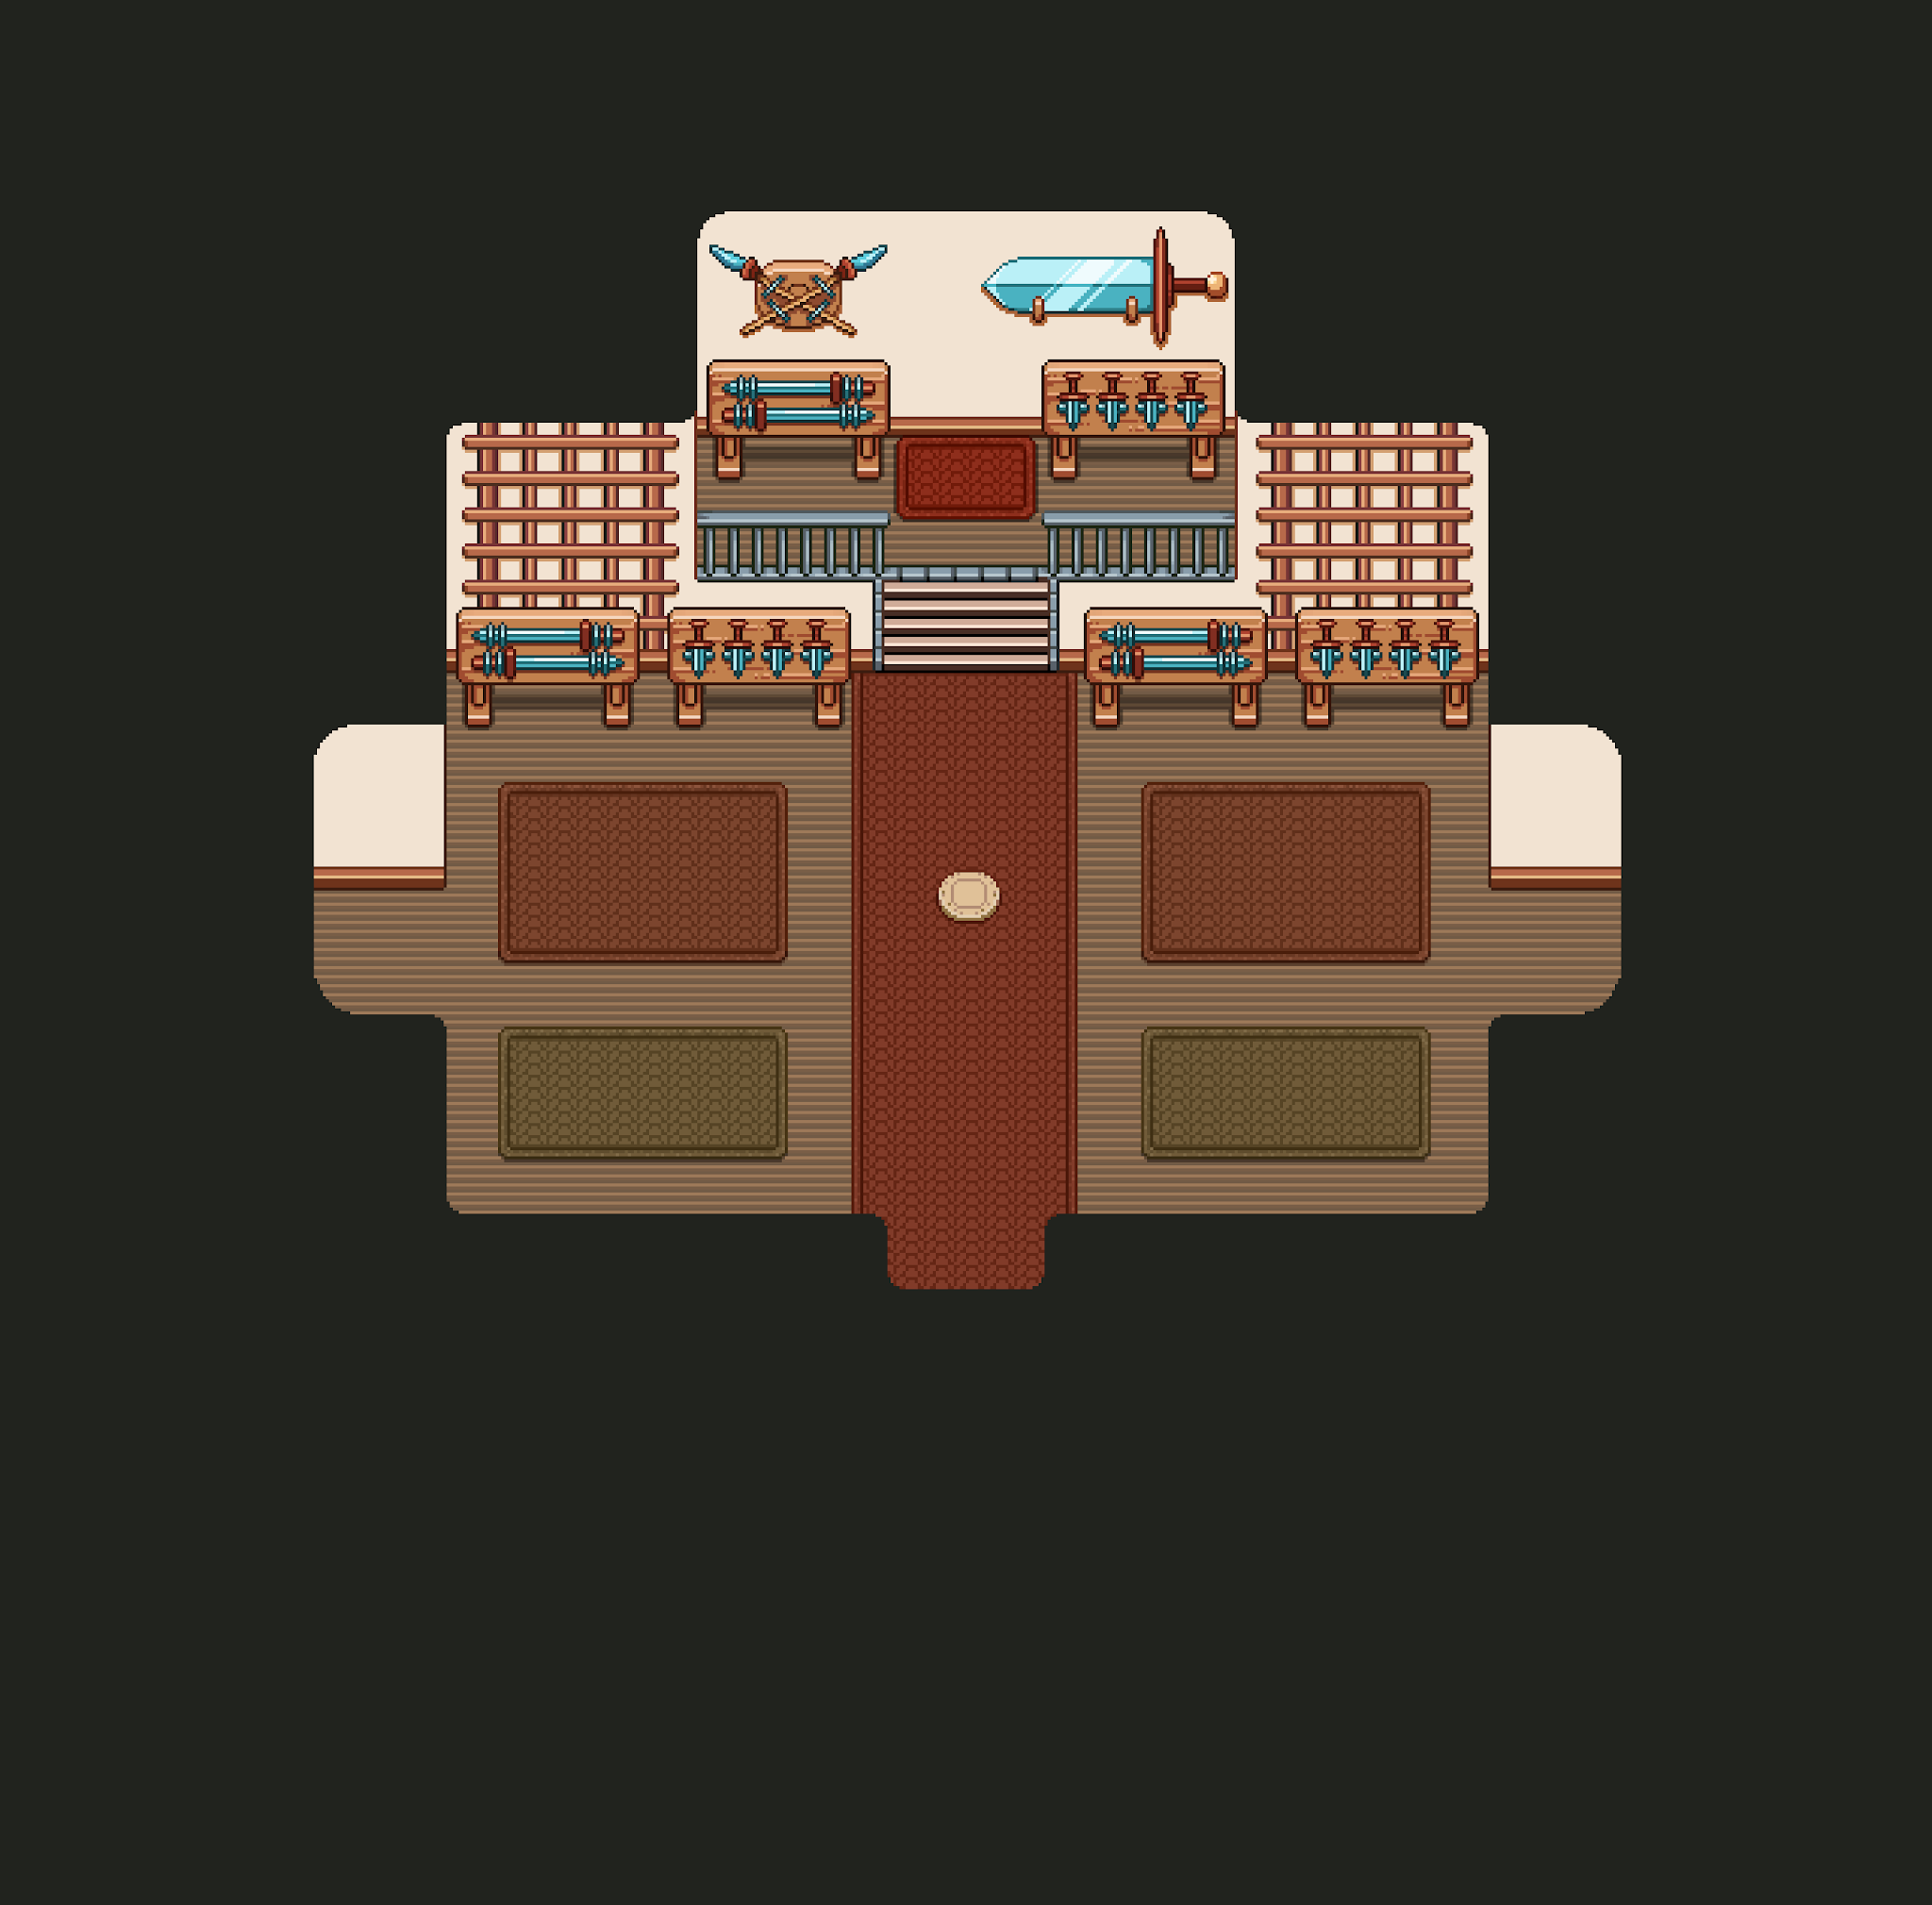
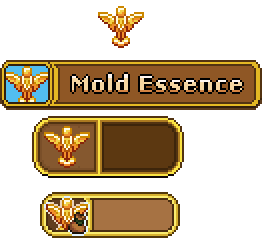
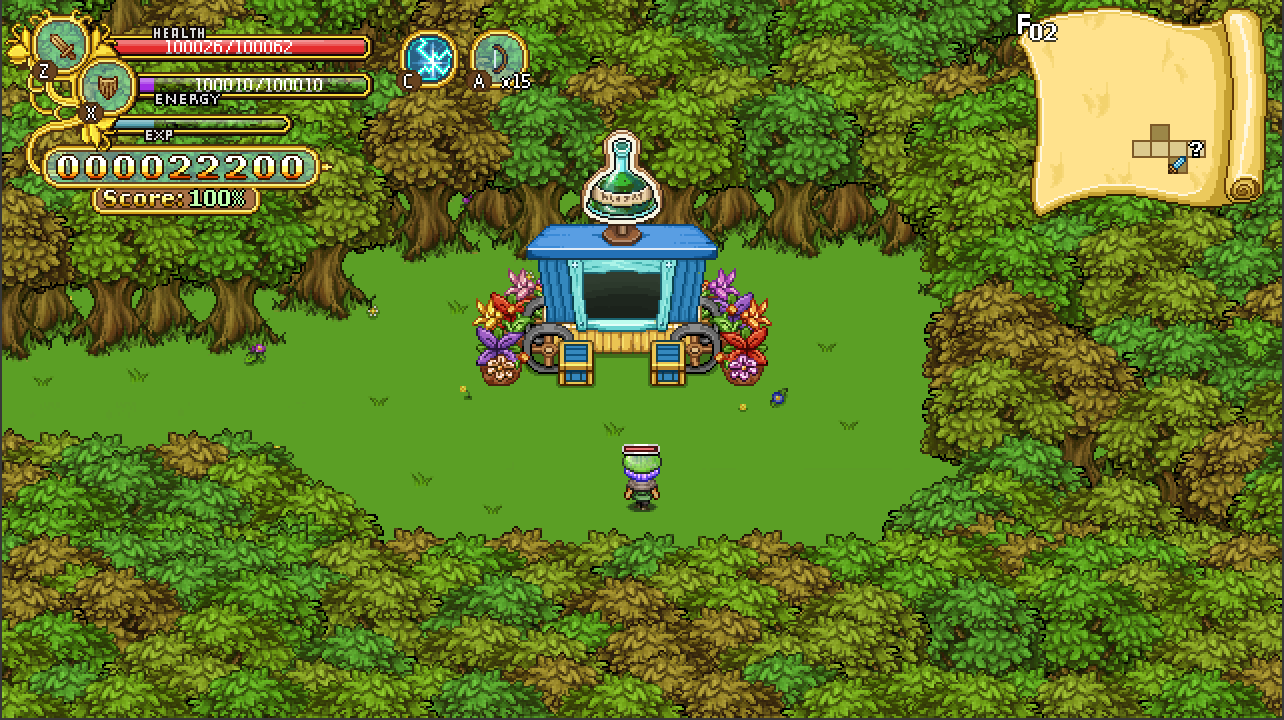
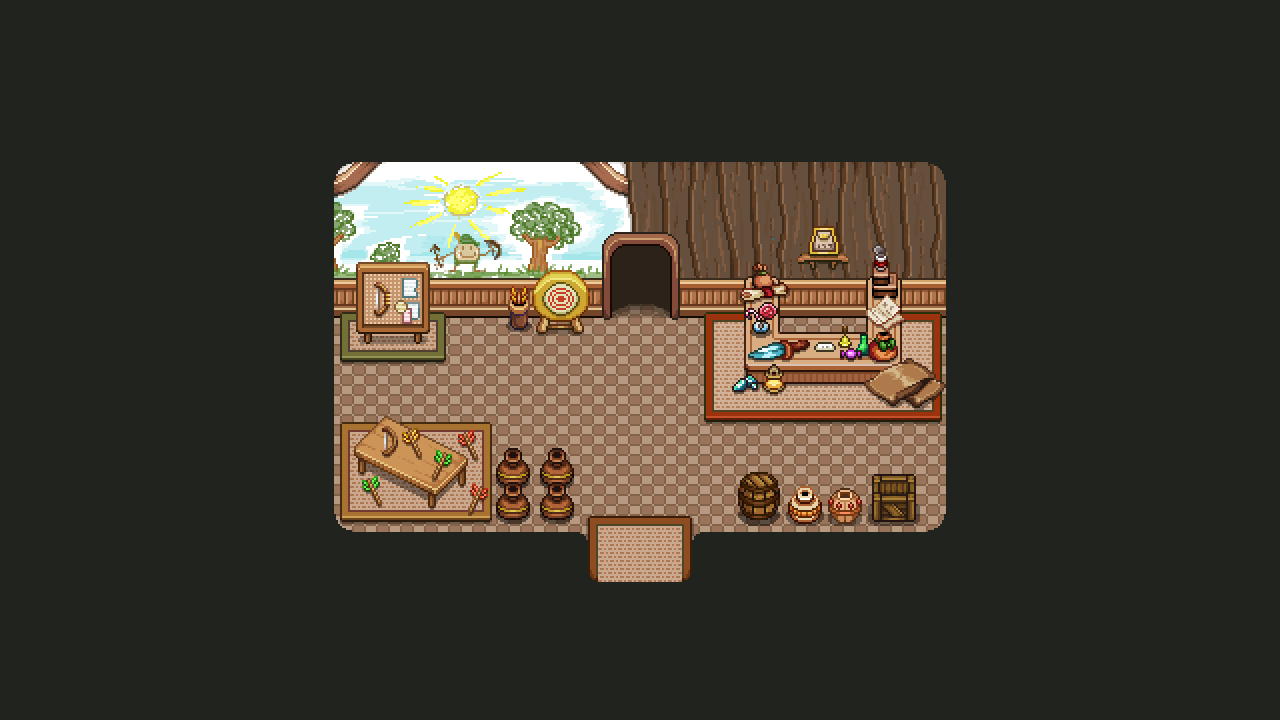
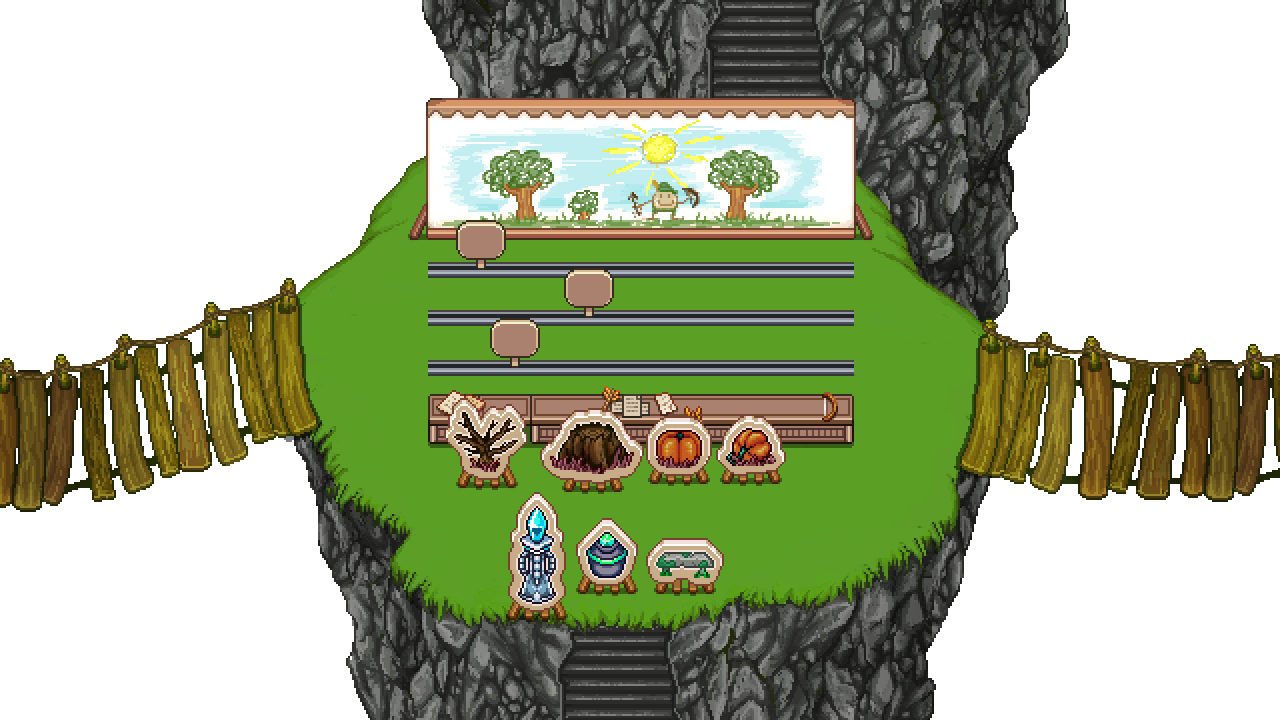
Next up, in preparation for another one of the rooms, I’ve made a bunch of Super Potions. These potions can be bought from a potion salesman that appears in questionmark rooms, and the potions themselves are stronger and last longer. To start of with, the potion salesman will present you with one random potion of the selection below, but if you pay up some essence you’ll be able to unlock a second slot in his shop which will also feature a random potion:

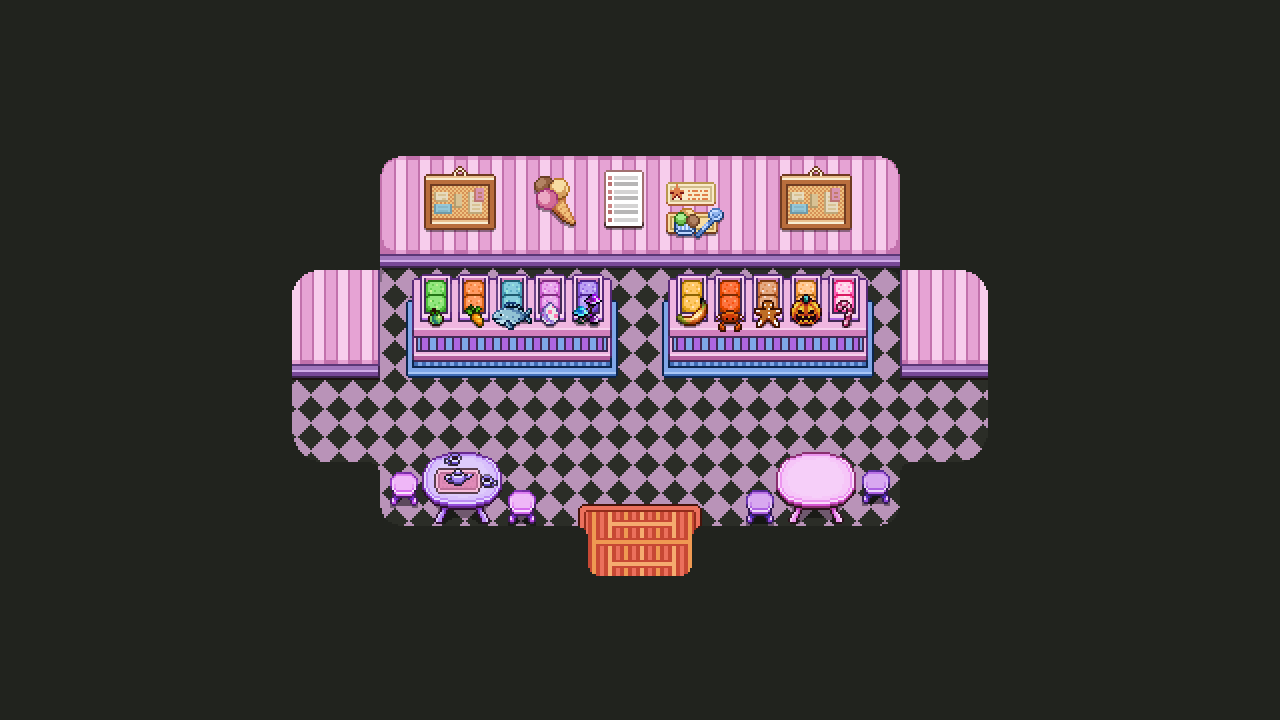
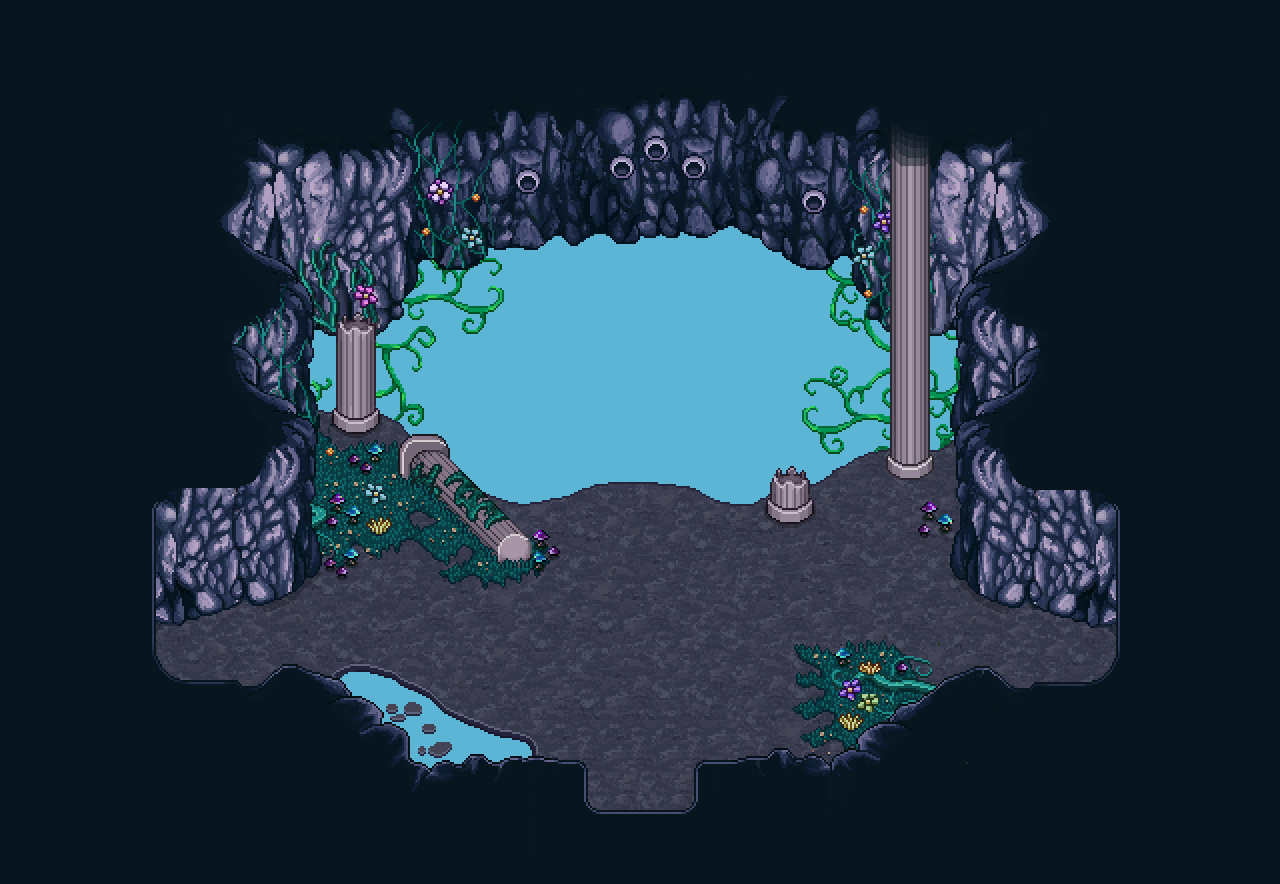
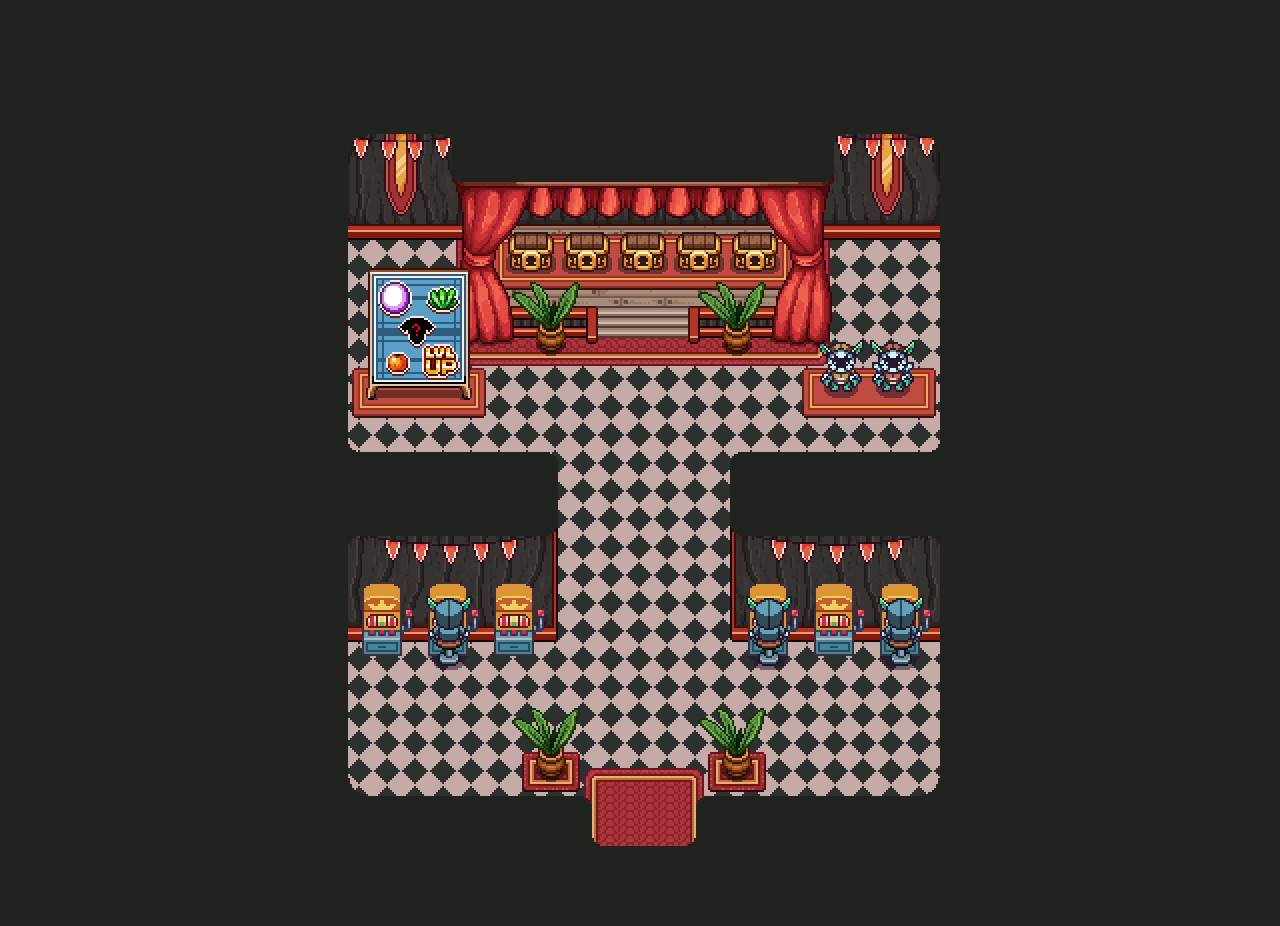
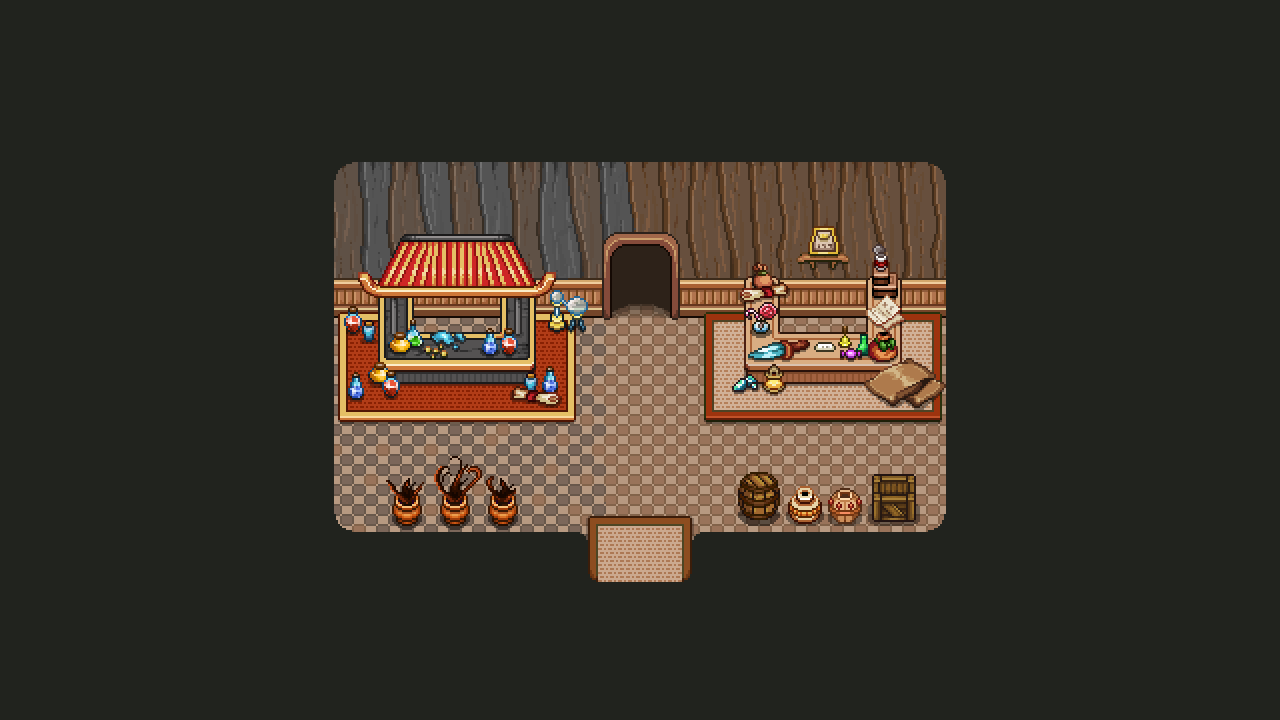
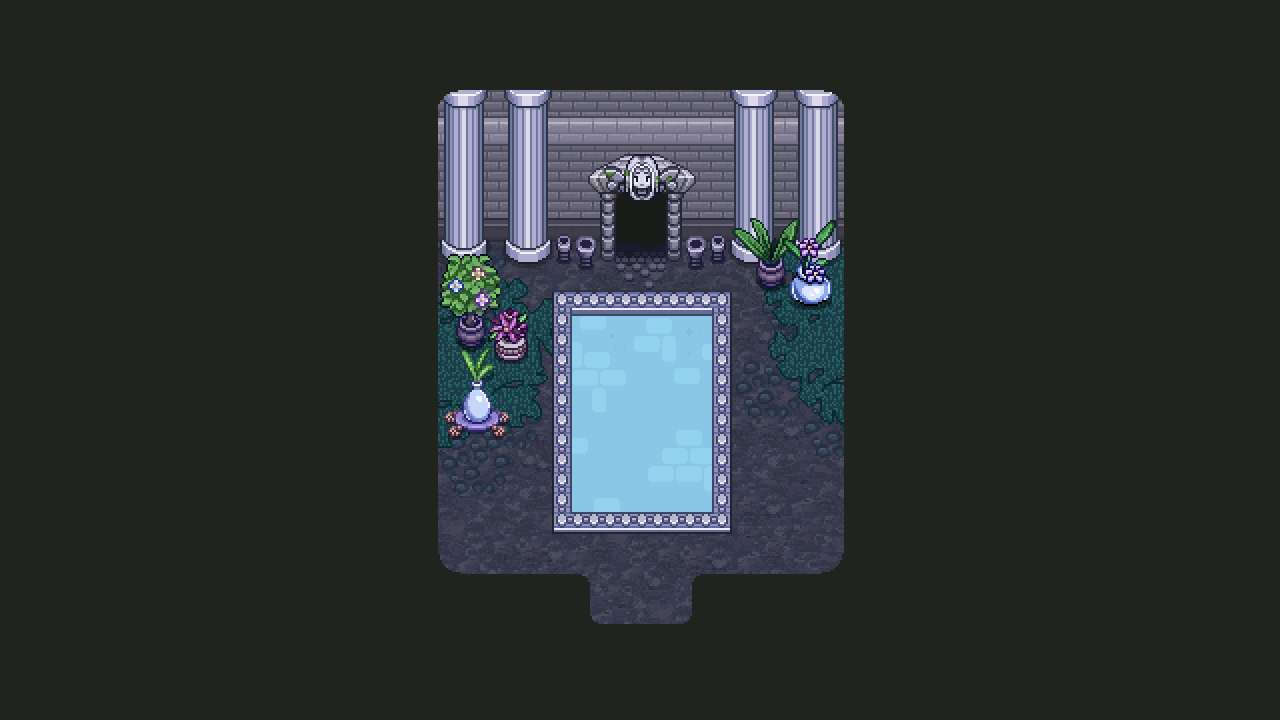
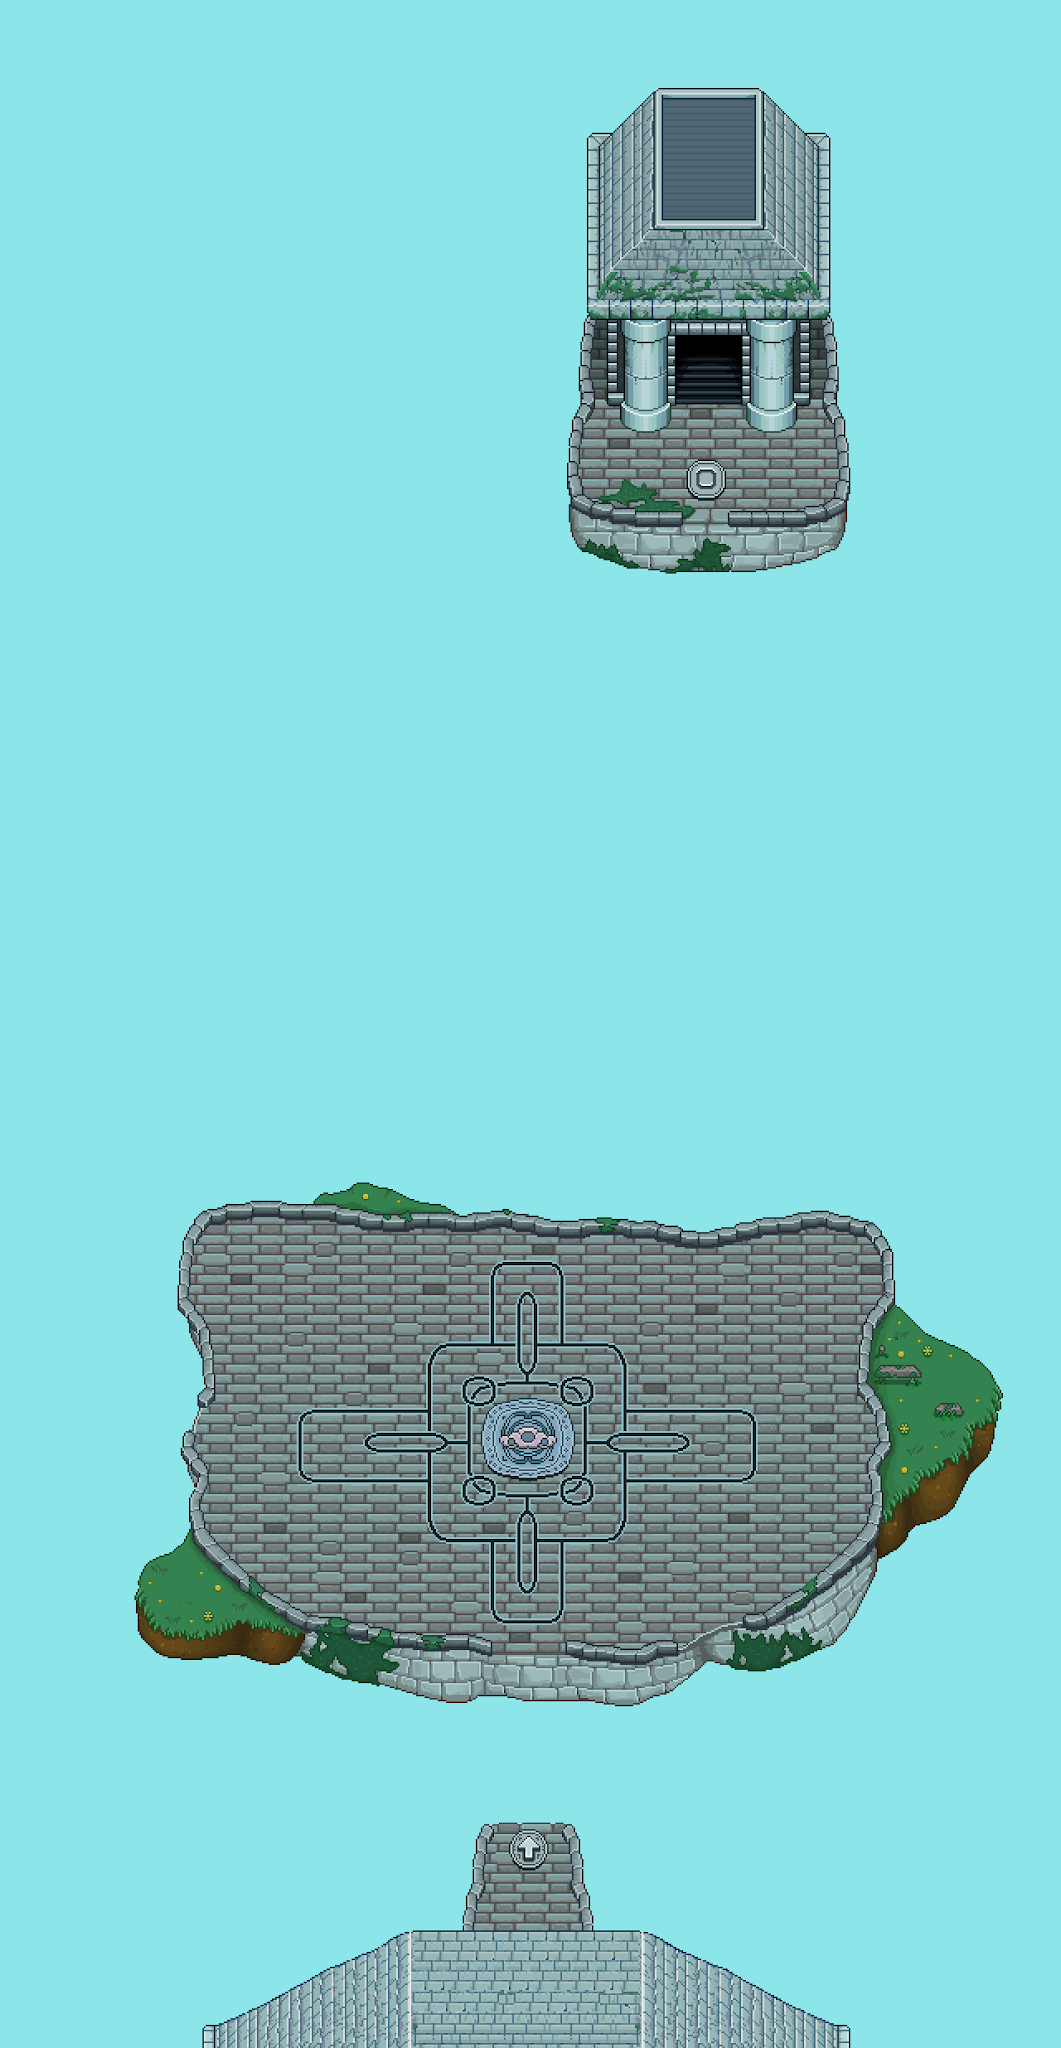
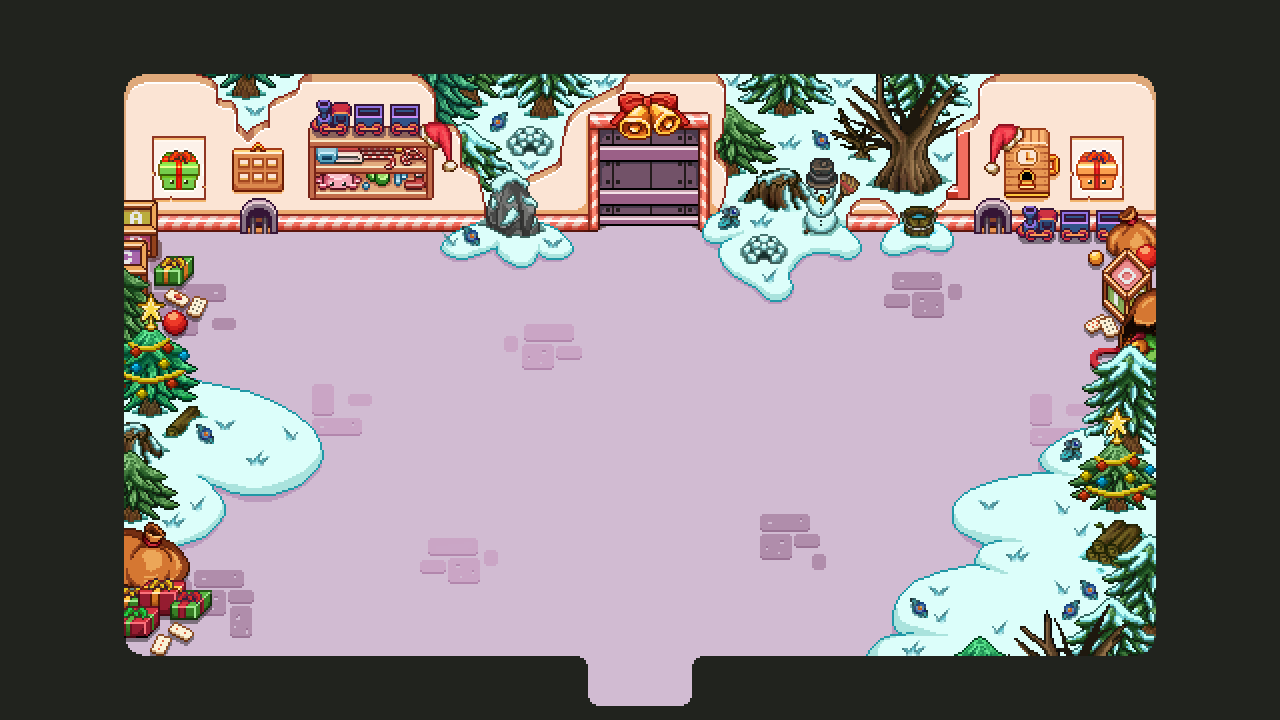
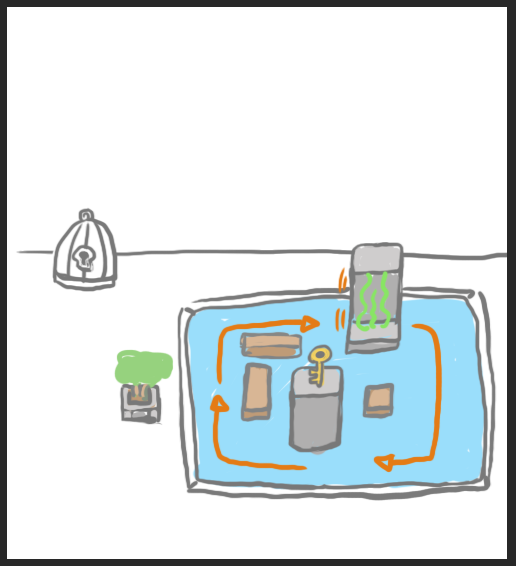
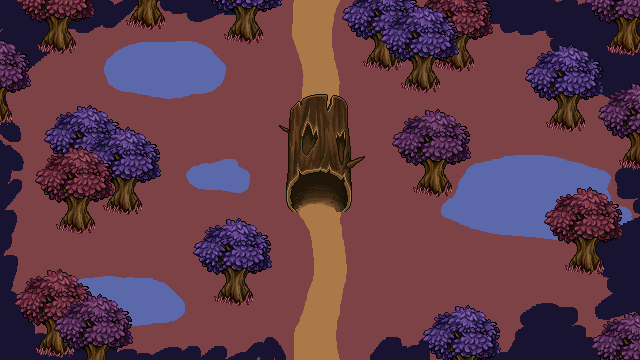
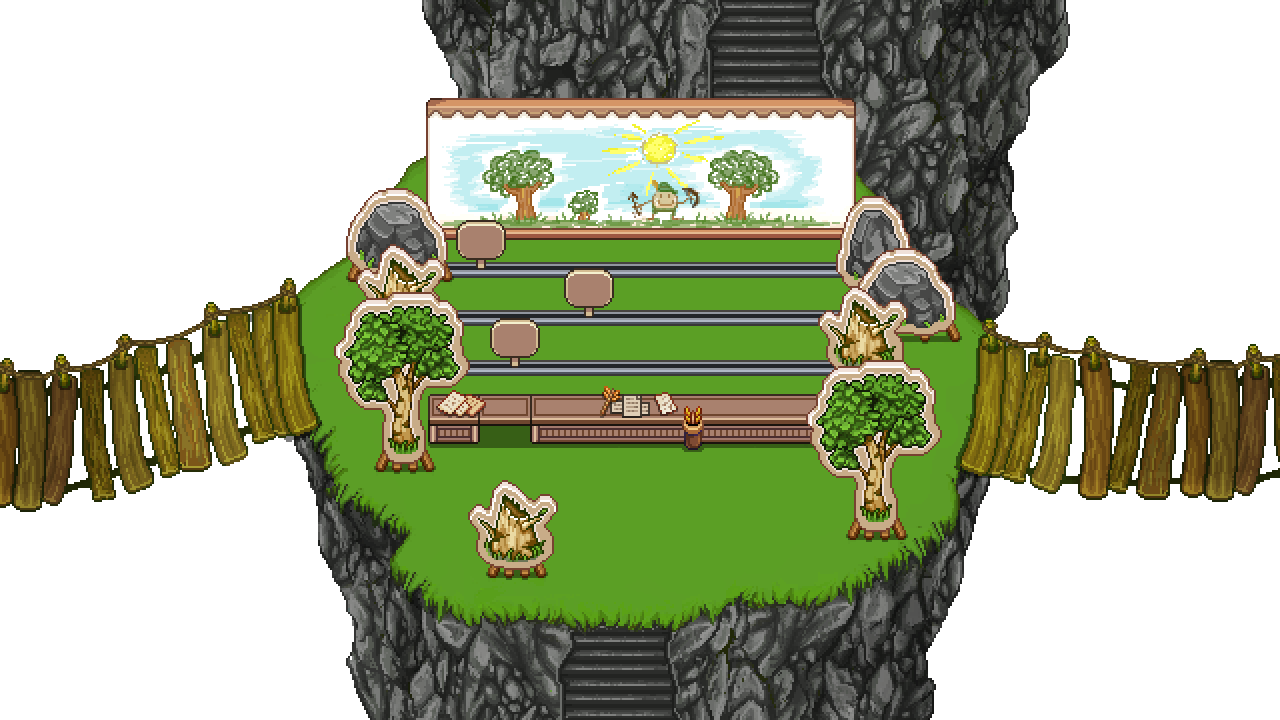
Now, time for a newbackground! This one features the Spa, where your character can regain some HP by standing in the enchanted pool:

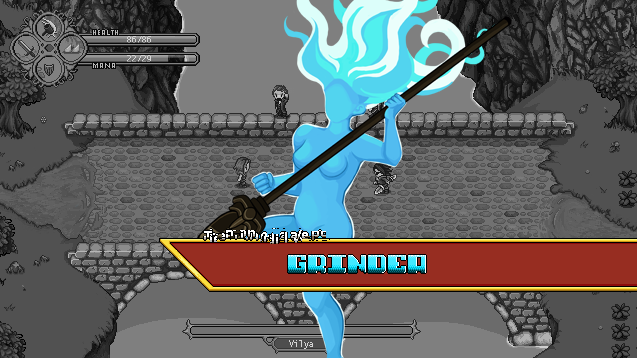
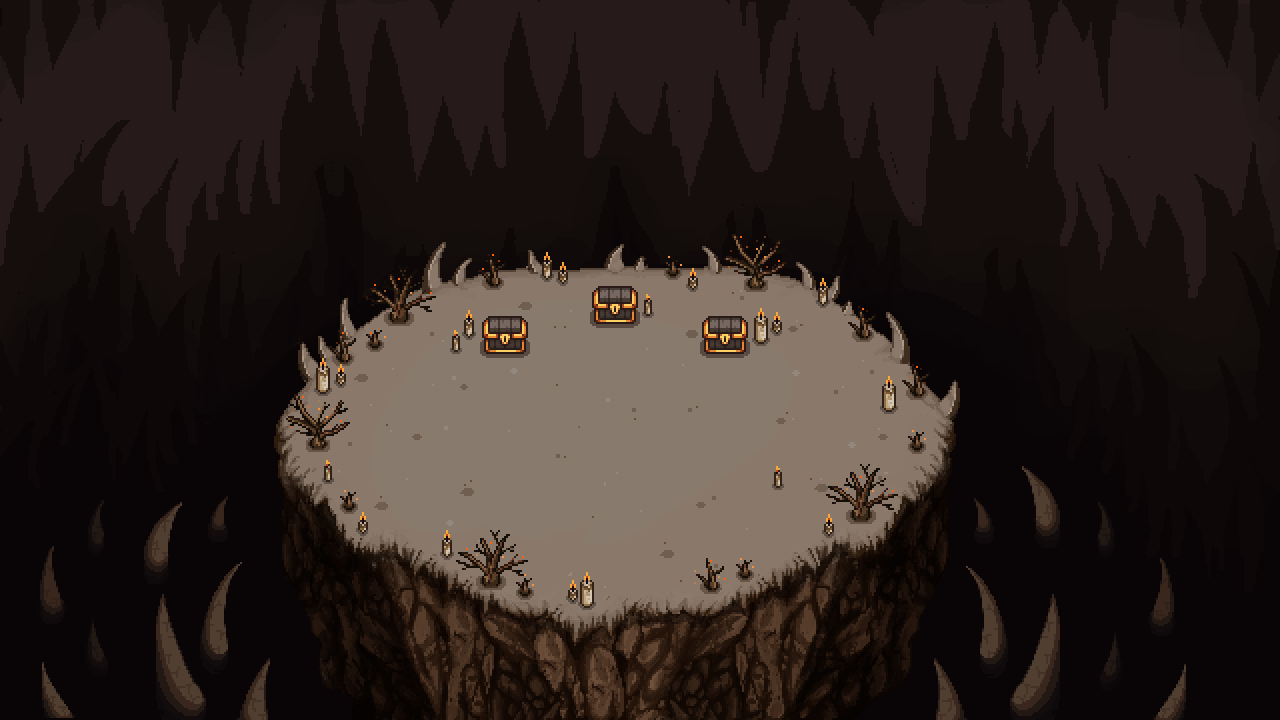
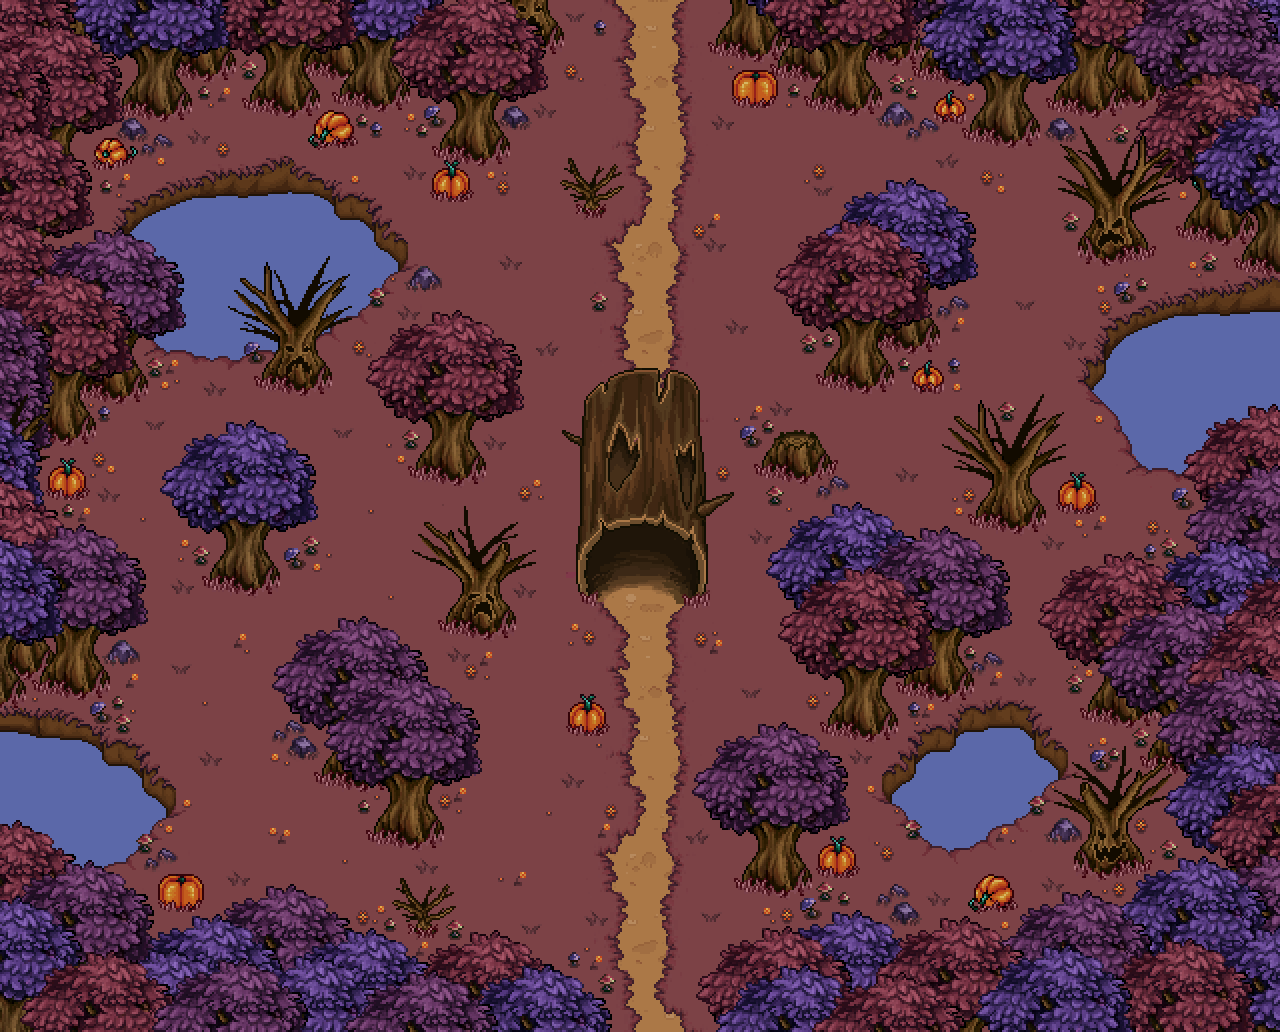
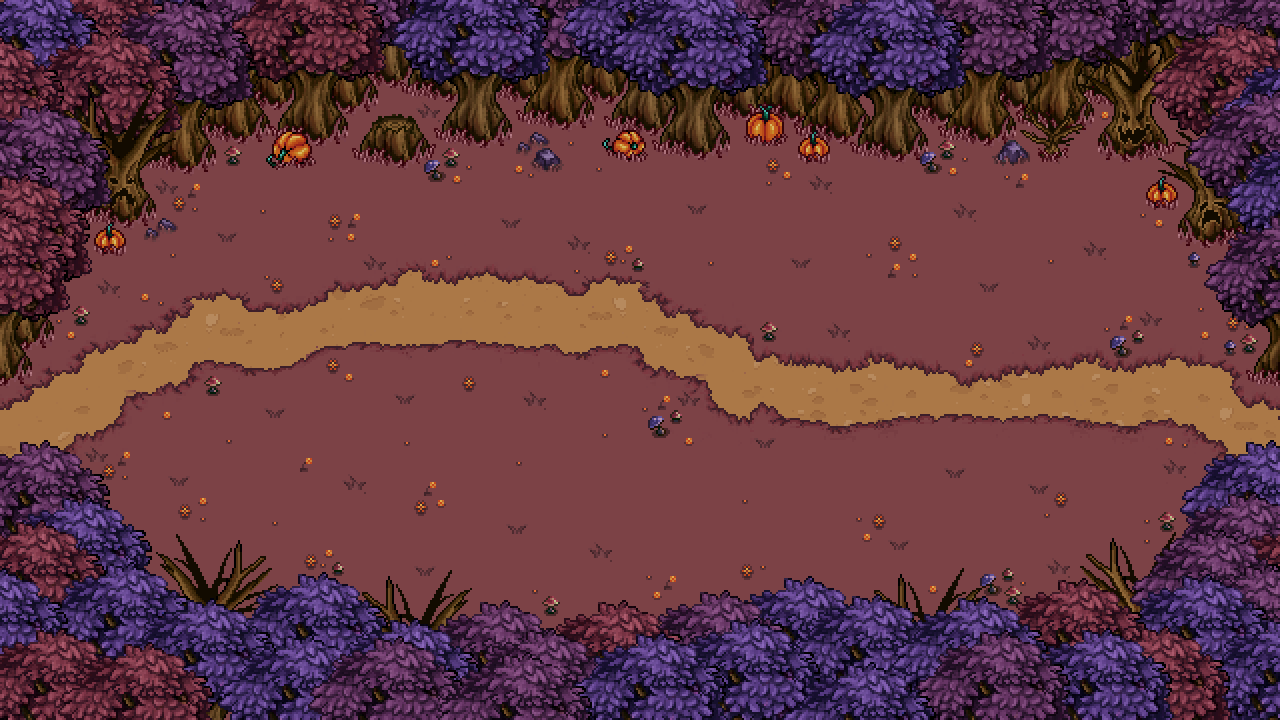
In Teddy’s department, let’s take a look at a new interface of sorts, featuring Bishop as he provides you with a bet! Now he’ll appear in the lower right corner to remind you of the bet you’ve taken:

Once you finish the bet, he’ll disappear, as shown above, and appear in the middle of the map instead!

Now it’s time to start looking at the Mount Bloom / Festival floor of the final dungeon for real! Let’s start off with an introduction room, the first you’ll find yourself in within this floor of the dungeon:

Next up, the exit and northern cave room, featuring the strength challenge:

Next, there’s the fishing challenge, set in a cave setting:

And finally, the running challenge:

And here we have the complete thing, all rooms together:

Meanwhile, Fred continues work on Grindea and her attacks, including a mysterious space rift:

Exciting times! :3

This week I continue working on those final dungeon floors, continuing on with the Flying Fortress floor to start off with. Aside from just having a platform for battling the bosses, you also need an entry point and an exit, which is what we’re taking a look at today:

Next, a quick sketch to give you a basic overview of what the Mount Bloom floor will look like! I do this a bit ahead of time so we’re all on the same page of the layout before I start making the actual rooms.

As you can see from the sketch below, you start of in an introductory room. In the middle, in the very dark spot, will be a very simple phase shift course which will take you either to the room on the left, the room on the right or the room above depending on how you move through it. You need to reach and complete the challenge in each room to be able to continue on to the next floor through the north exit :)

But before heading to Mt Bloom, there’s the Seasonne floor to take care of! Without further ado:

In this next part of the floor, we add some more detail and stuff around the walls so that the colliders are all pretty much even, so you won’t get stuck against the trees if you find yourself pushed against the wall at some point during the battle:

Meanwhile, Fred continues his work on Grindea! Let’s take a look at this epic dash:

And this week, it’s time to start taking care of the second floor of that final dungeon! Let’s start with the first room, which will throw you into the cursed floor:

Next up, a couple of the horizontal floors:

And some vertical ones:

And finally, the lobby room that will lead you to each of those rooms:

This room will also have a bunch of statues and a portal, but we’ll take care of that in next week’s post!

Meanwhile in Fred’s department, it’s still all about Grindea! Check this out:

Aaaand I’m back! It’s been a couple of really nice weeks, as predicted, but it’s time to jump straight back into work, so let’s start off with one of our most recent design meetings, involving the next floor of the final dungeon – the Temple of Seasons!

This floor remains pretty similar to its original shape, but we’ve spent some time fleshing out the puzzle part of it. As a reminder, the idea with the temple of seasons floor was that you’d enter a lobby room of sort in which there are three doors, but only one is accessible from the start. Upon entering this door, you’ll enter a mixed season battle room, after which you’ll free Summer. With Summer along with you in the lobby, he can change the season so another of the doors open, behind which is a season change puzzle and a captured Autumn – upon releasing her she’ll change the lobby room to autumn and as such open up the door to the next floor of the final dungeon.

But what about the puzzle then? We decided to each make at least one design for it each, and then either use of our designs straight up, combine a few, och edit someone’s idea until it felt just right.

Some of Freds designs above!

My design is a pretty straight forward puzzle in which you have to reach a key on a platform by using an unstoppable (?) moving block in the water, some floating wood, a plant, and the power of the seasons! For now it seems we’ll use some variation of this idea. Let’s see if you can figure it out in the game! :)

Next up, we have some more of those archery backgrounds! Let’s have a look:

And coming right up, the last bunch as well:

As we’ve mentioned before, completing Arcade Mode will grant you a chest with some fancy stuff! But since this is technically the final reward of the game and pretty difficult to get, we wanted to make a proper, more epic type of chest for it!

Let’s have a go:

Meanwhile in Fred’s animation department, we have more grindea animations, a strange portal, and another fish! Enjoy :D


Another interface that’s been around for ages without any updates is the good old quest tracker interface! Let’s see what we can do with that:

Next up we have the very basic sketch for the second floor of the final dungeon! This isn’t quite as exciting as the previous one, as it’s mostly pretty open rooms in which you’ll battle bosses – so there’s not much room to make them too complex.

Here’s the basic layout first of all:

So, you’ll start in the room called Z in the above sketch, which will be a basic one way Pumpkin Wood floor which you’ll just pass through:

Upon exiting the room above, there will be the Pumpkin Woods curse effect, and you’ll find yourself in the room below:

This room has four statues, each depicting one of the enemies found in pumpkin woods (except the Halloweed). Now, exiting the room in any direction (including the one you just came from) will lead you to a different room in which you’ll battle a special version of the enemies in the statues. So for example, exiting to the south now will bring you to a map that looks pretty much like this (but with actual graphics):

A battle will take place, say with a special version Jack o’ Lantern. Exiting the floor to the north now will bring you back the way you came, while exiting south won’t get you to a new room, but will have you back at the room with the statues, but from above.

Once you’ve went into the exits leading in each direction, with rooms that will look something like this:

..you’ll end up with each of the statues in the main lobby room lit. Once the final statue’s candles has been lit, battle with Terrorweed will commence in the lobby room, after which you’ll be able to proceed to the next floor by going north! :)

Now, time to make some archery challenge decoration stuff! Starting off with some props for each area, we’ll begin with Pillar Mountains:

The next two areas we’ll look into are Pumpkin Woods and Flying Fortress:

More Archery challenges? We got you covered!

In these two new types of challenges, you’ll need to hit an enemy with multiple shots (annoying halloweed!), or eliminate an enemy target before it hits an innocent bystander!