Hey guys! How’s your week been? Ours has been filled with art creation, bug testing, release discussions and animation making. And a bunch of programming, of course!

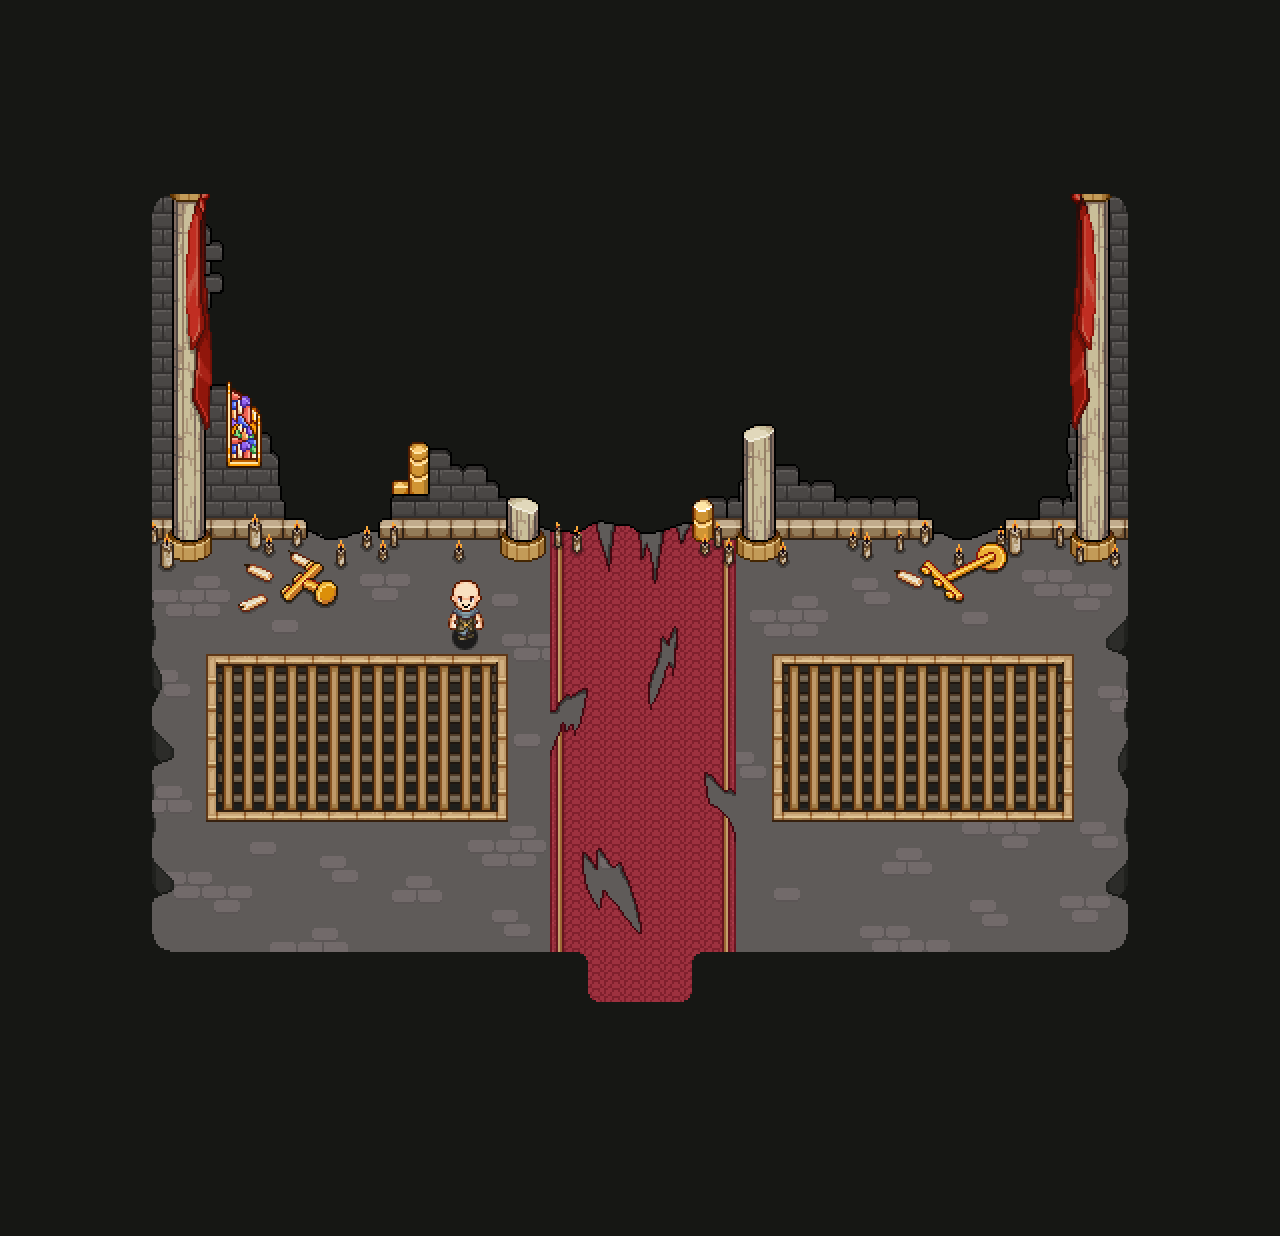
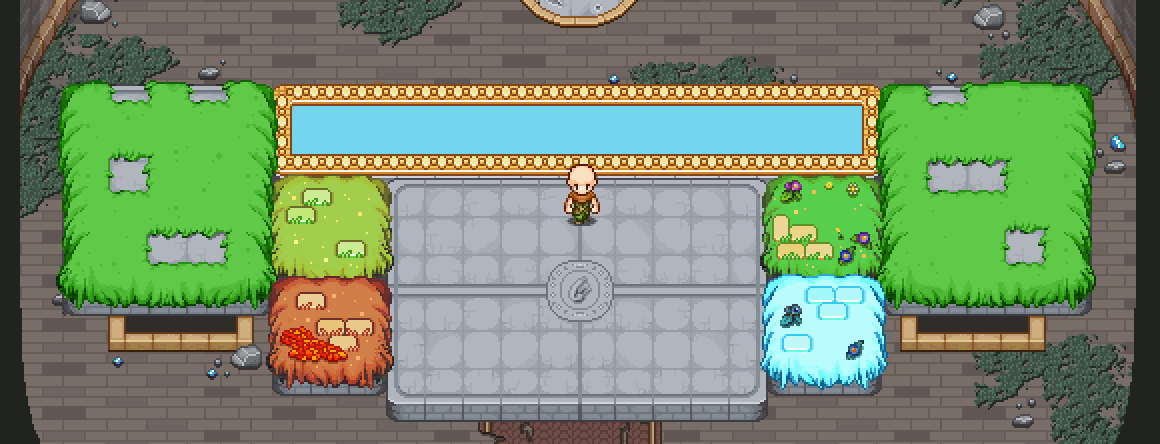
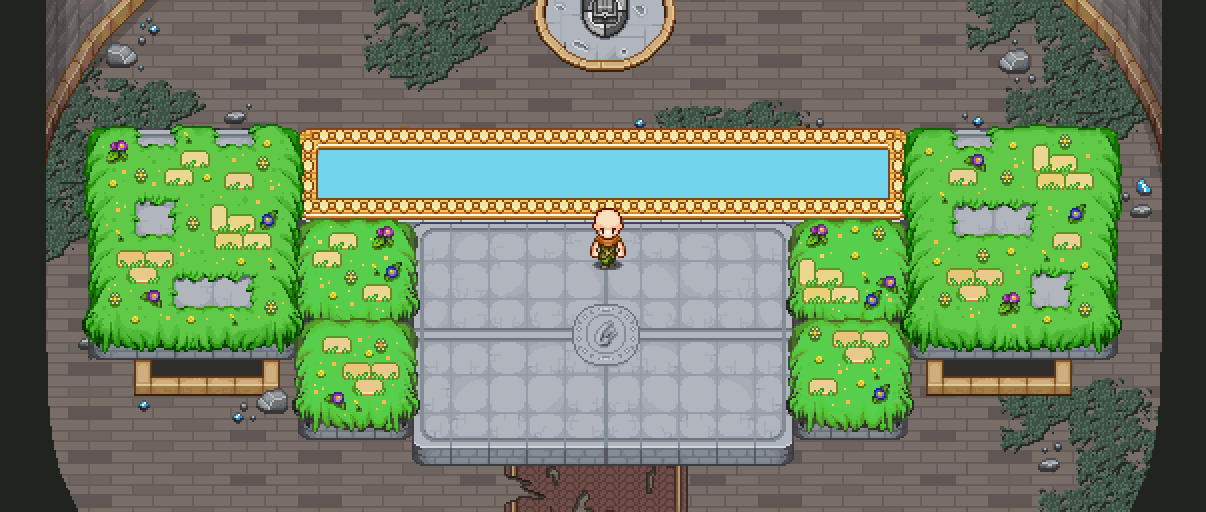
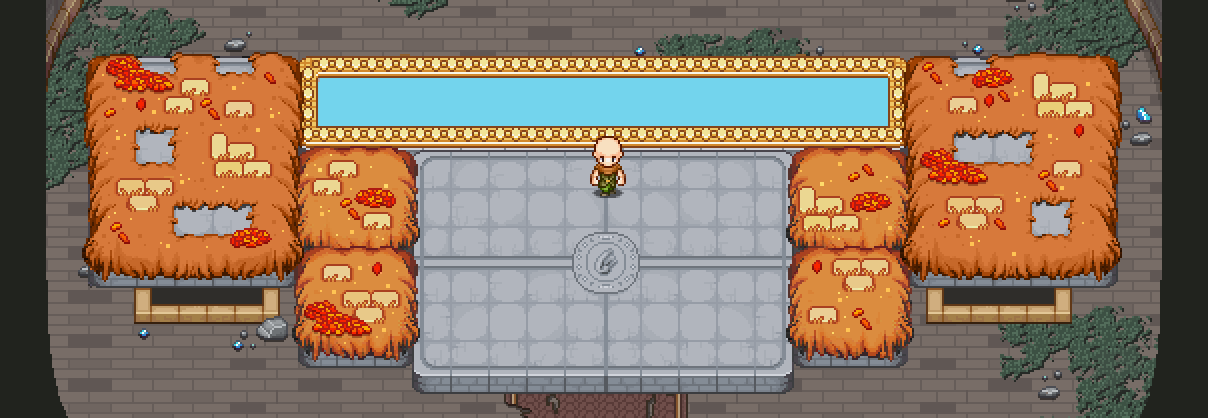
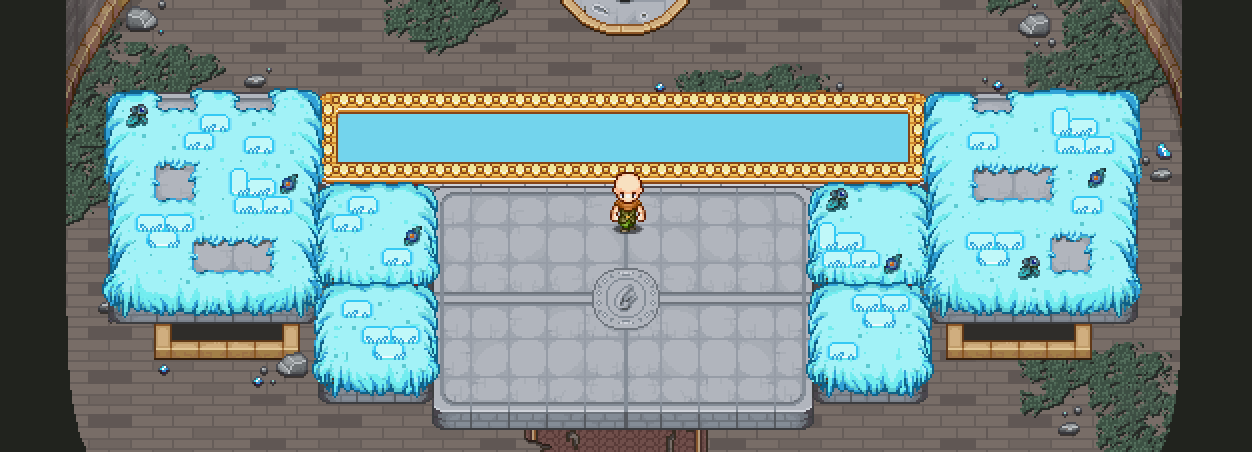
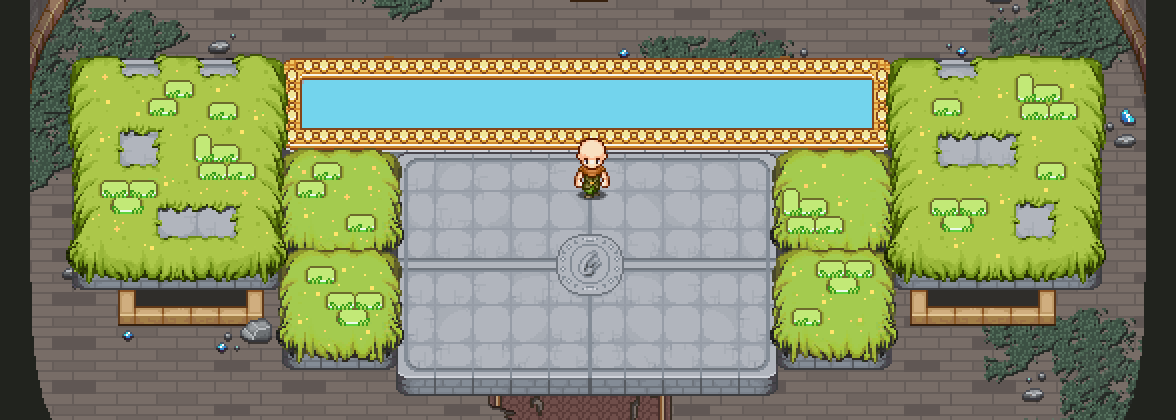
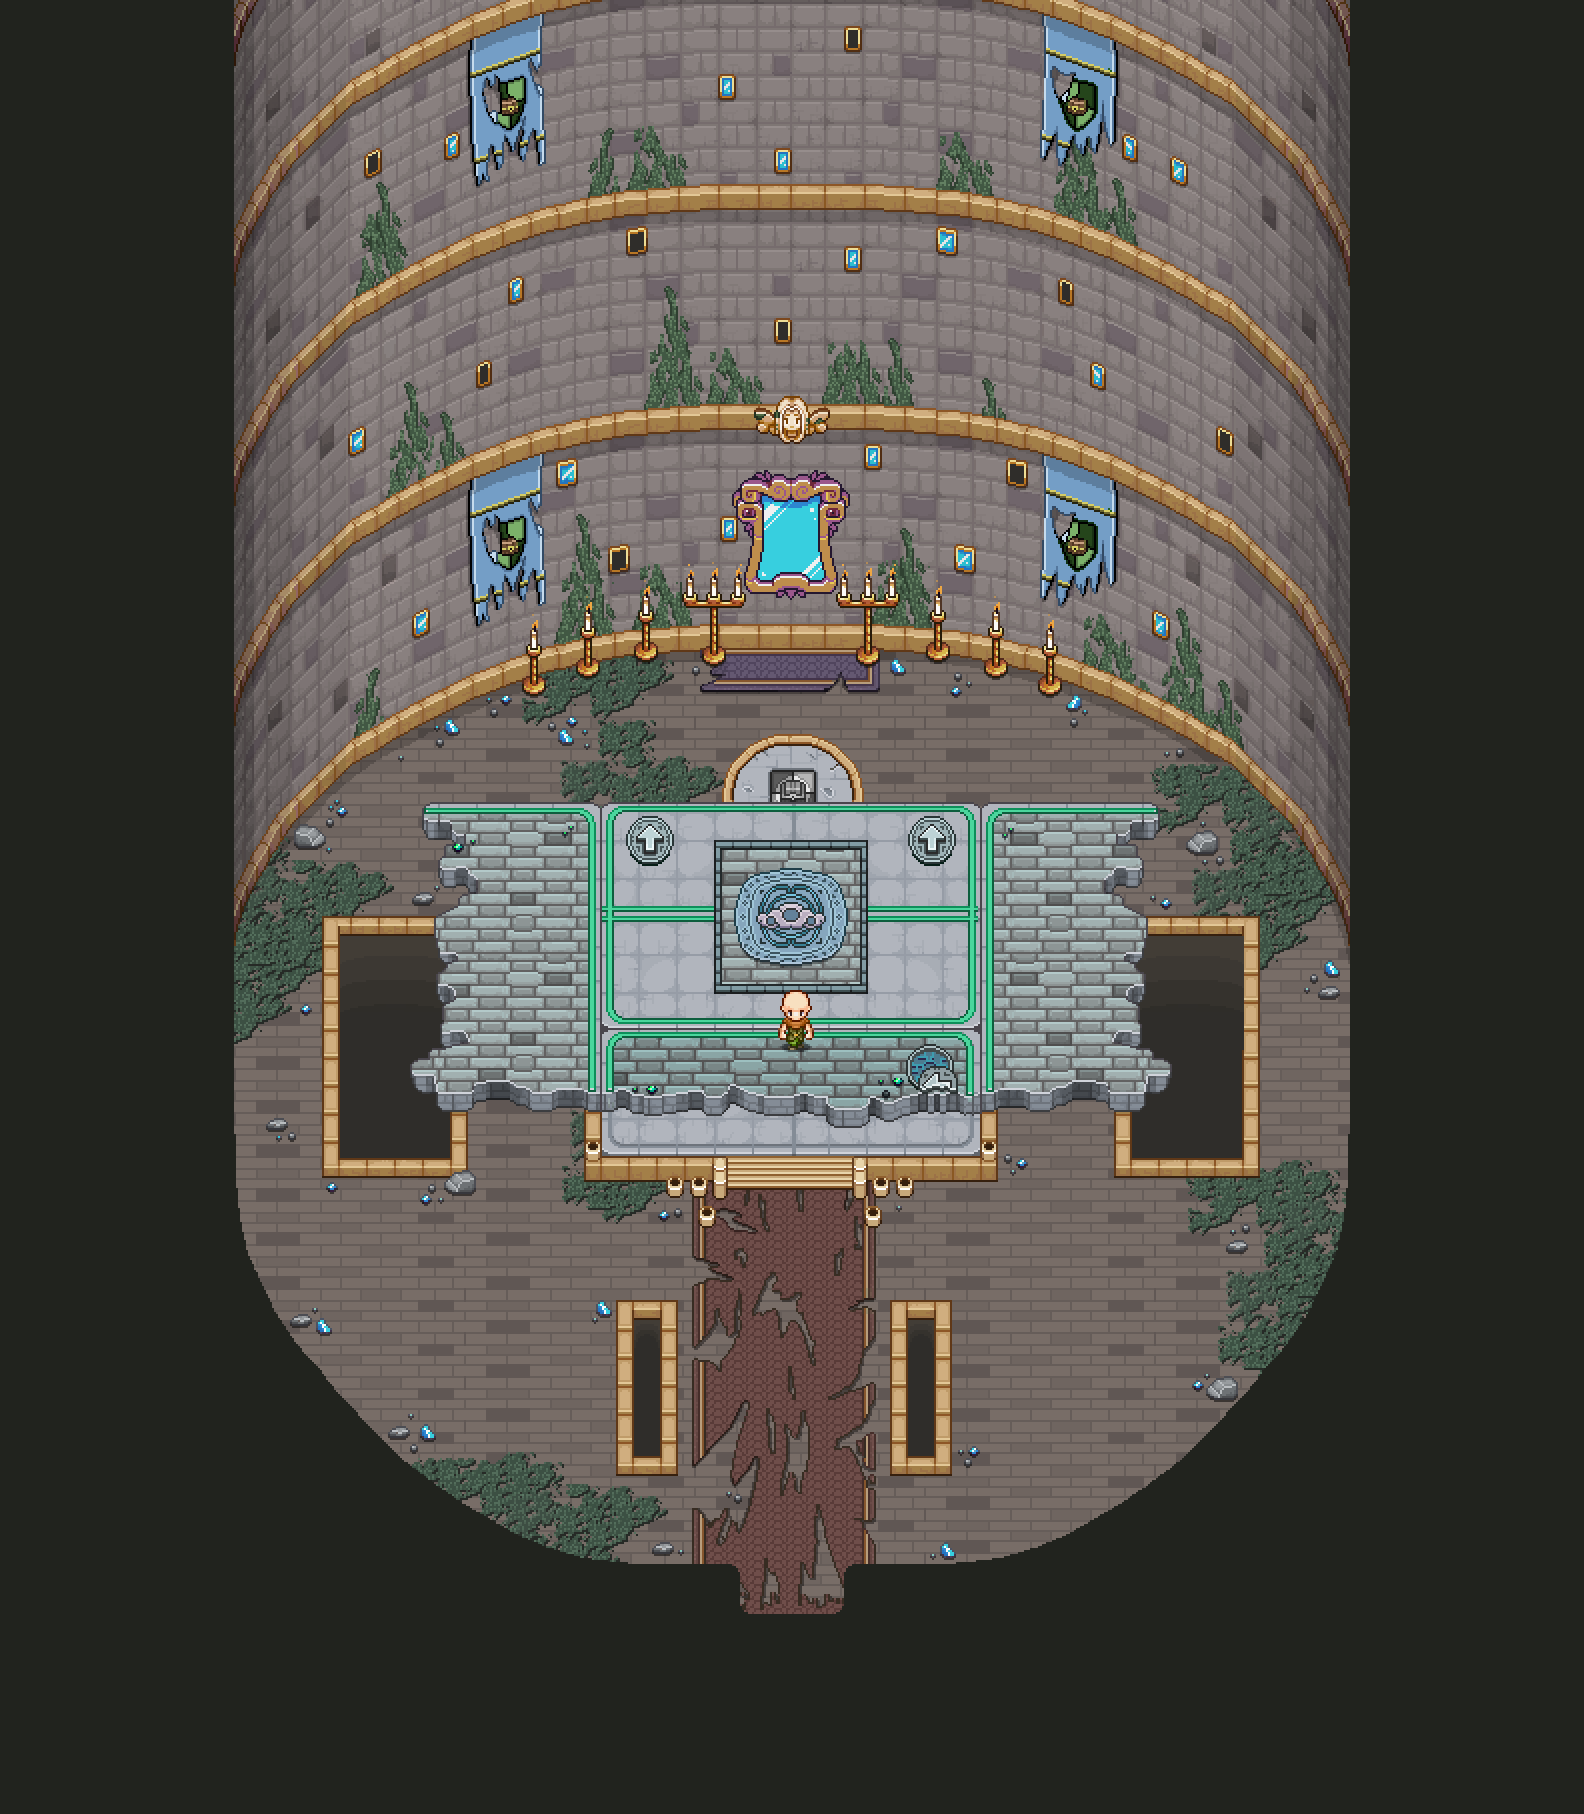
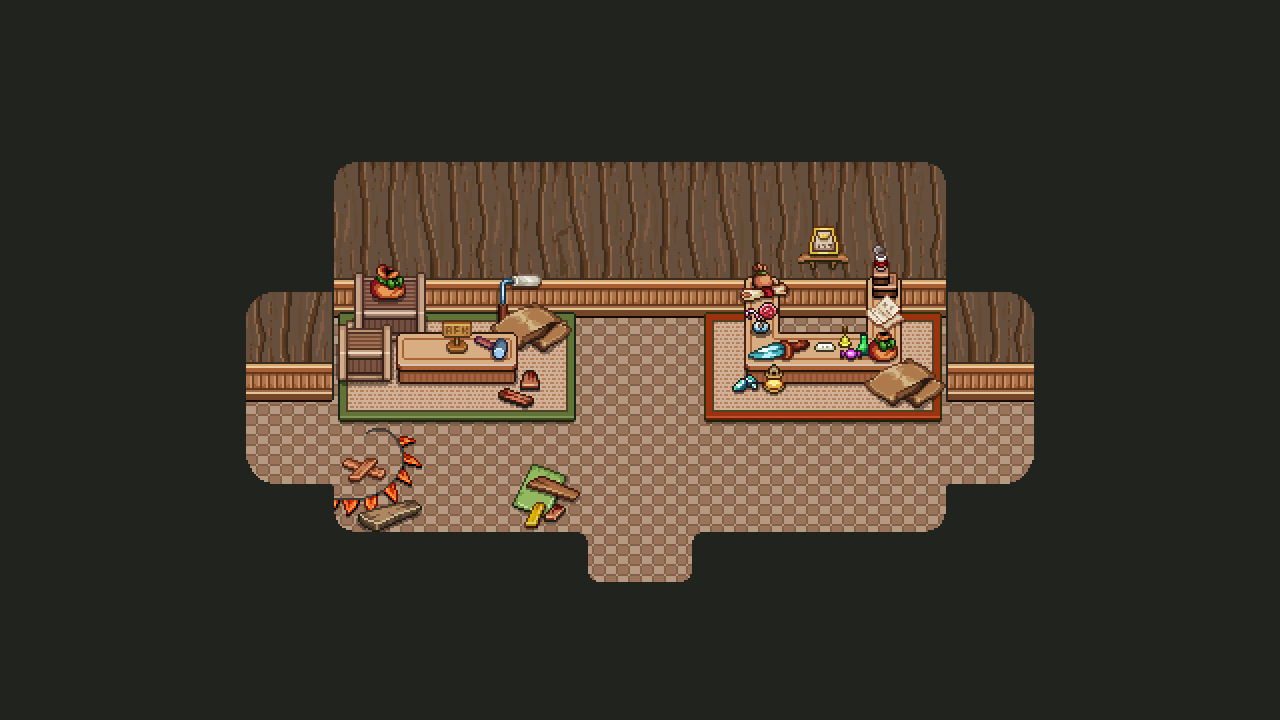
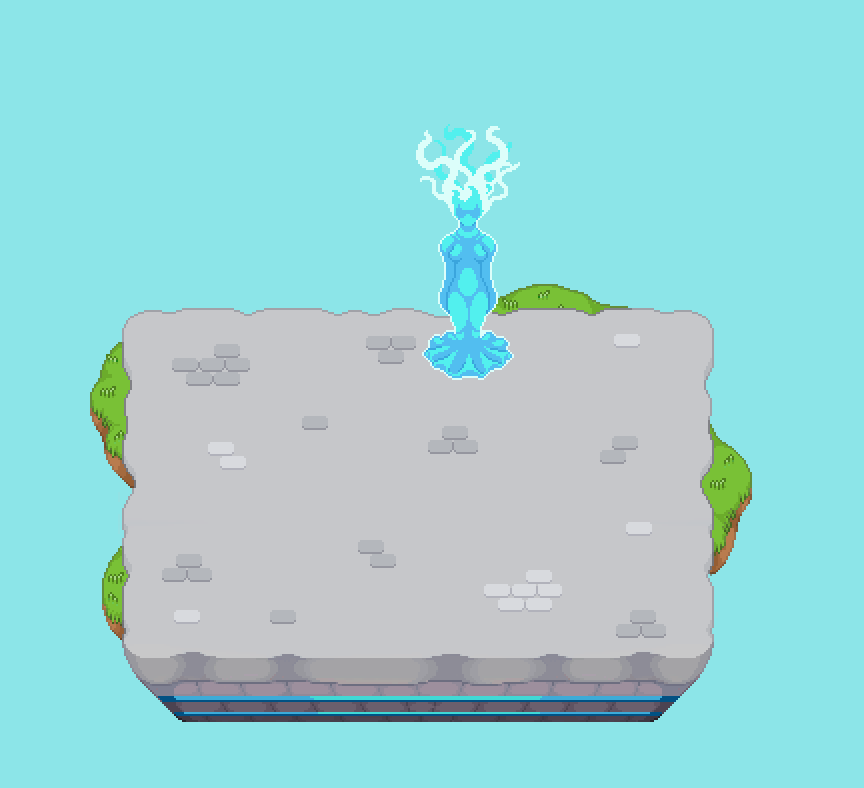
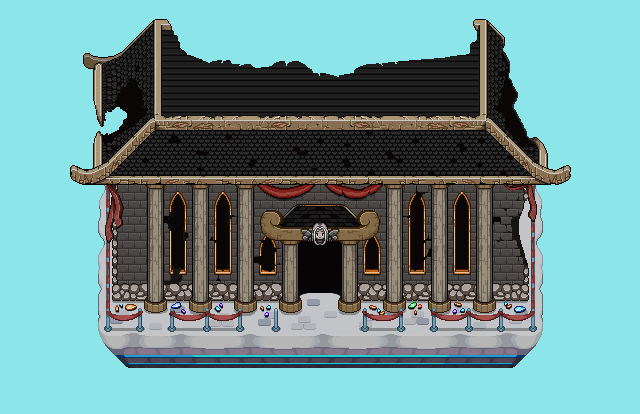
To start off the showcase of this week, we have a ruined version of the final battle area, which you’ll see if you climb all the way back to the top after completing the game and starting it again:

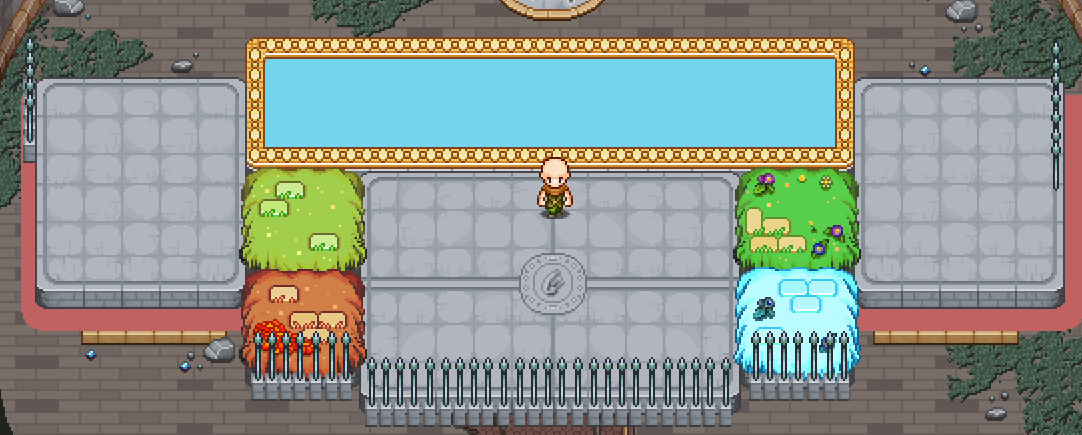
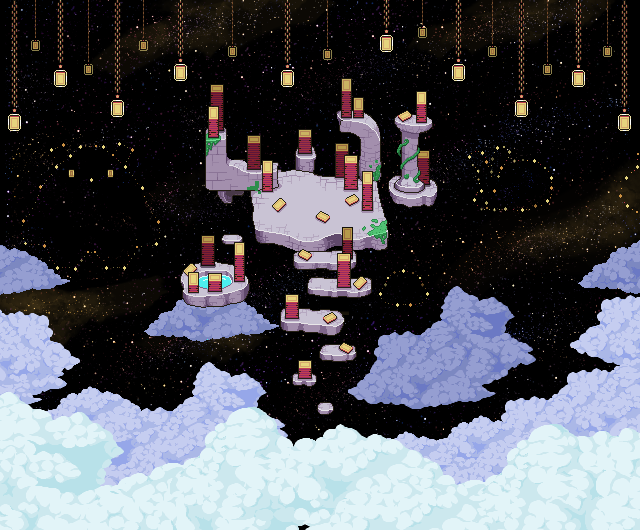
We’ve also made a bunch of details for Grindea’s island, which will feature in one of the endings – we changed some colours around and created some constellations in the sky:

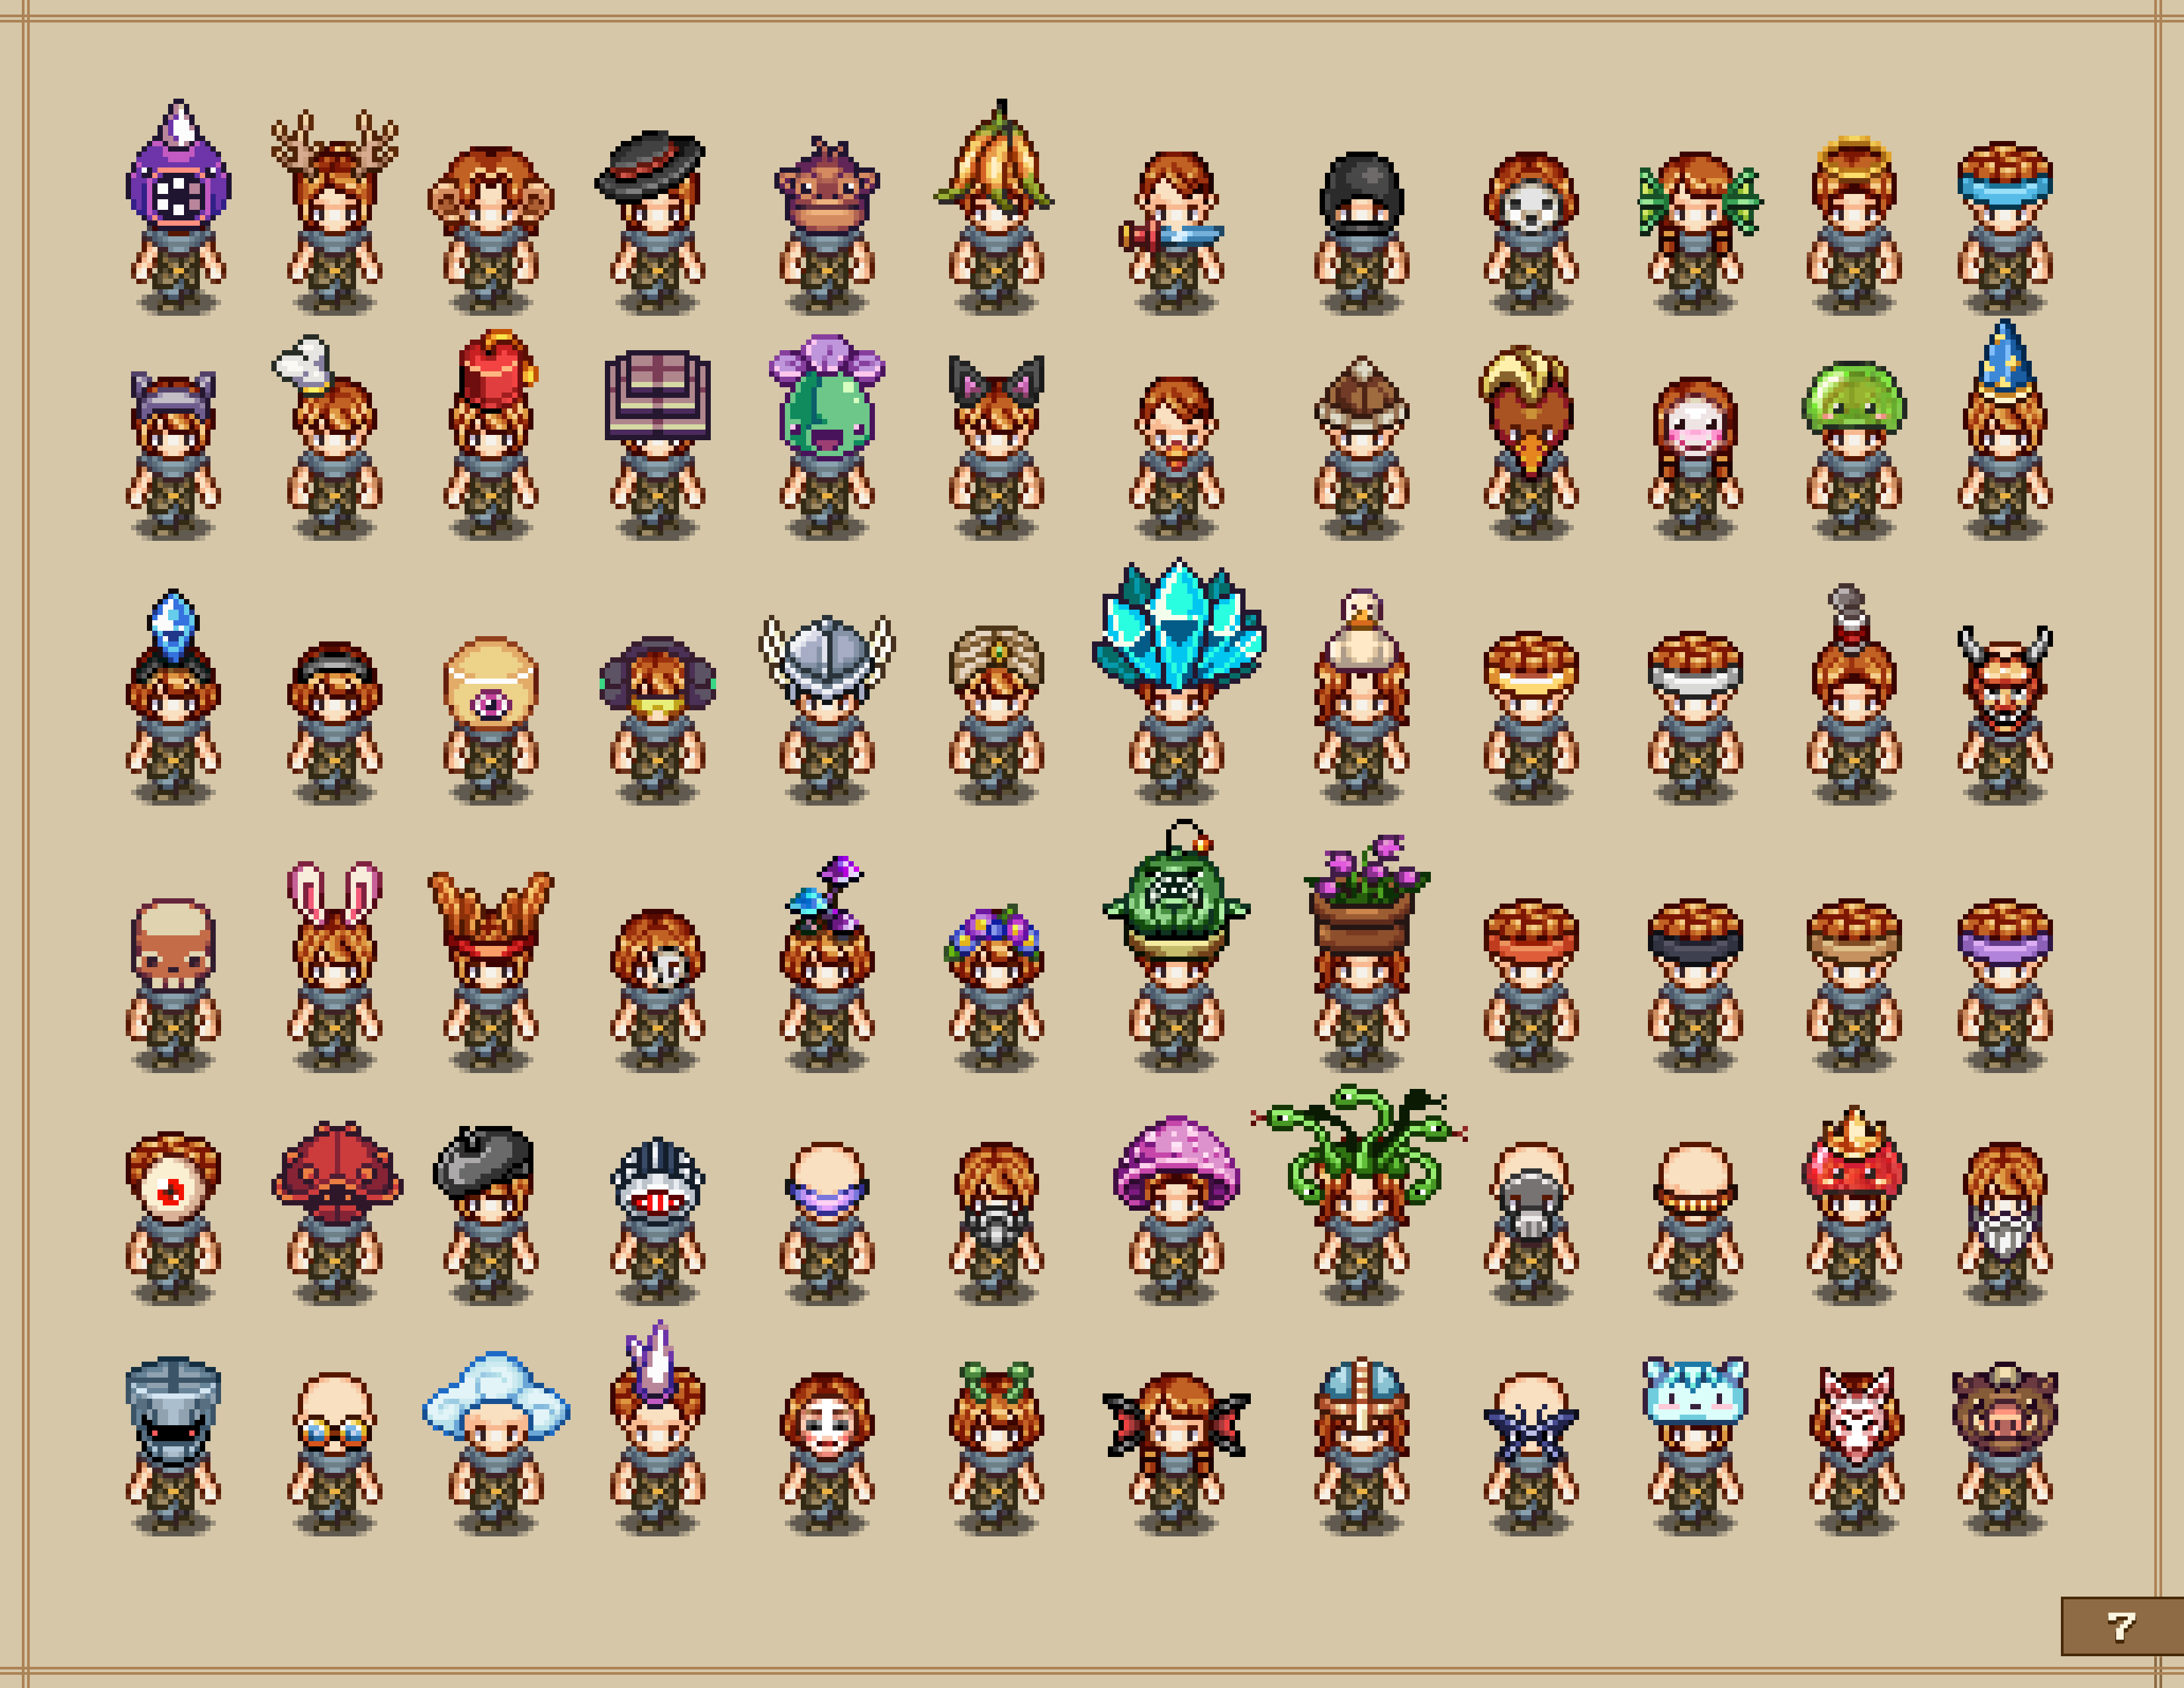
Fred has been doing some work on Grindea as well, giving her some new animations:

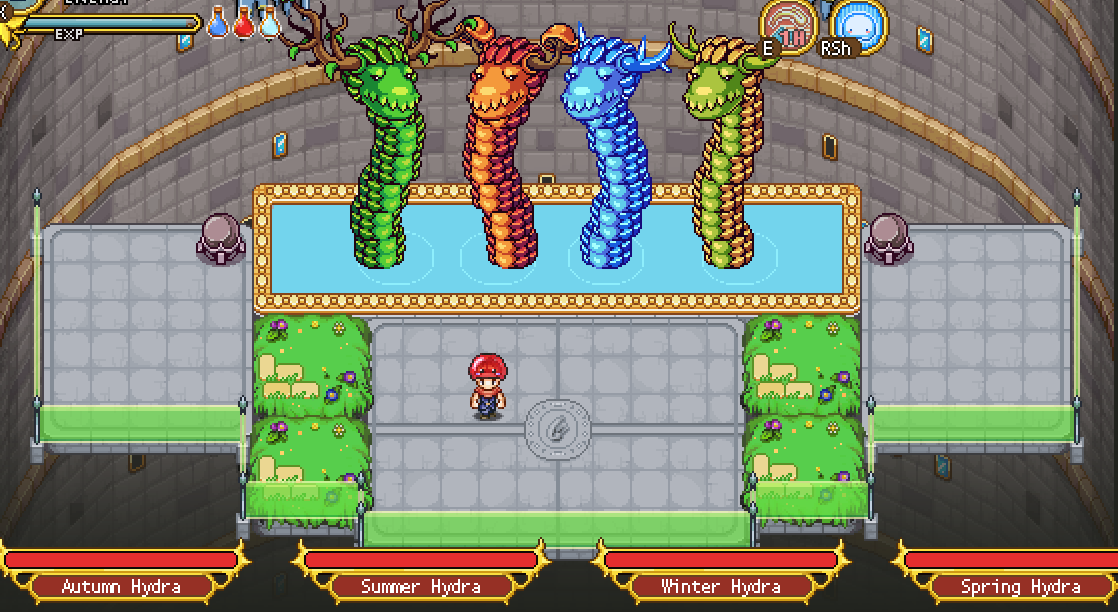
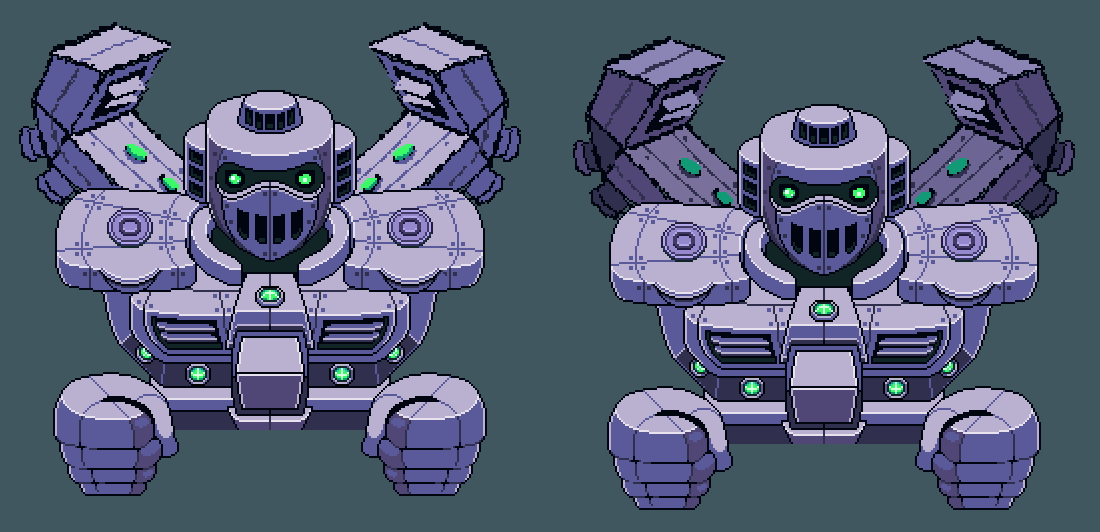
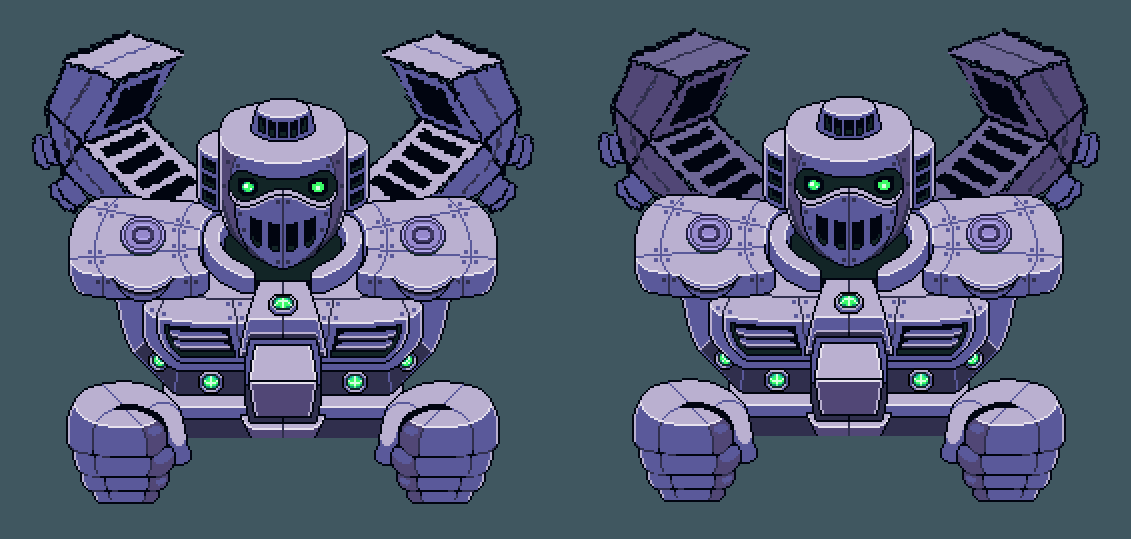
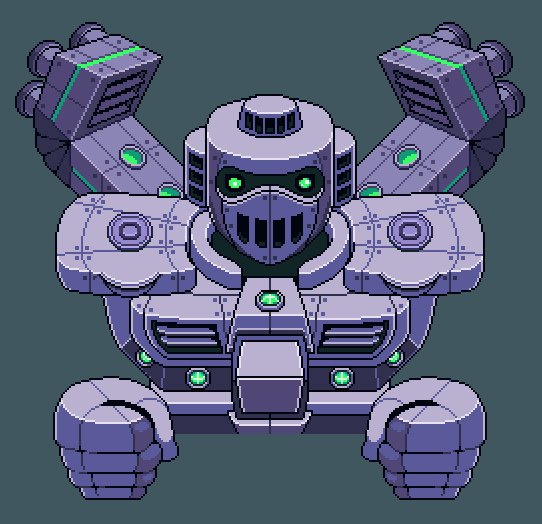
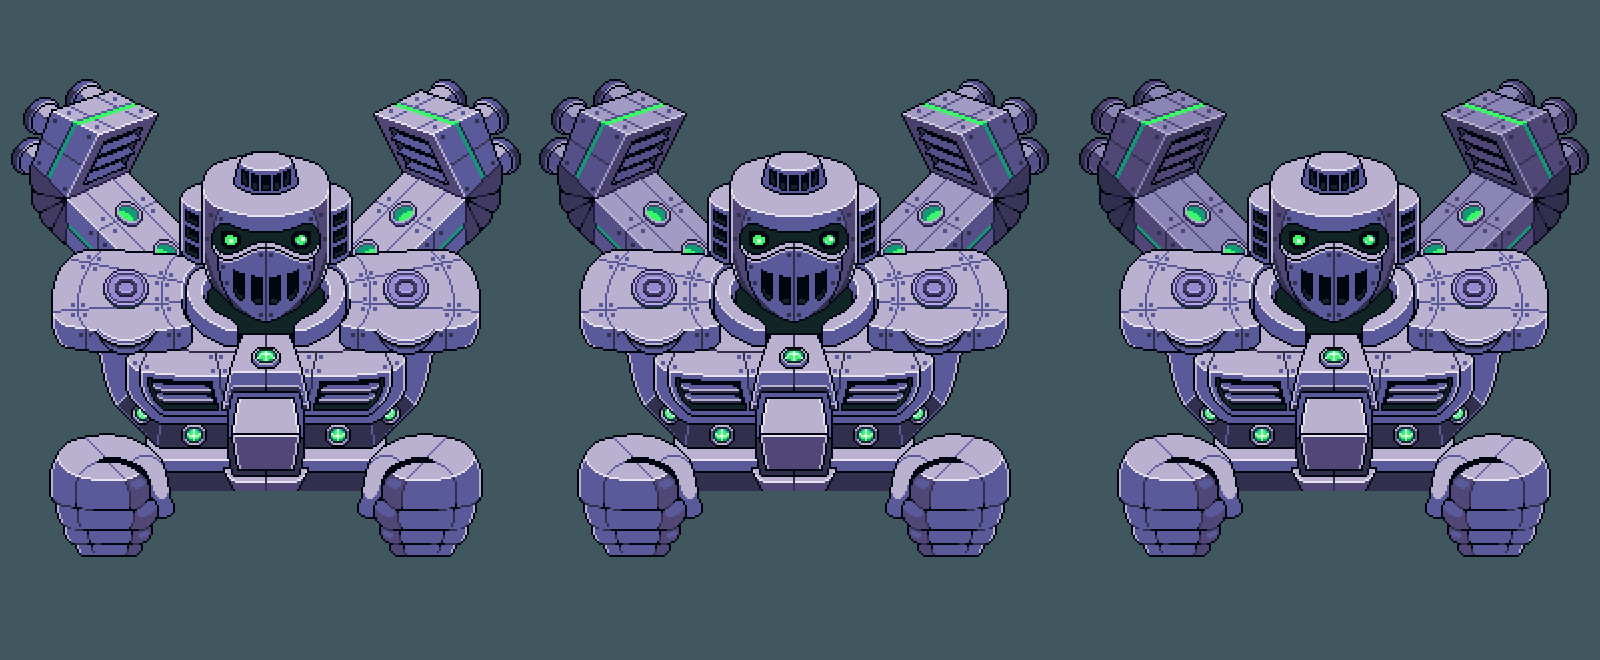
And of course, a bunch of new animations for the final boss, which is definitely turning out the be the most graphic heavy boss of the entire game:

He’s also started recording a bunch of videos for the release trailer, which is something he’ll have to start working on for real pretty soon. It also gives him the opportunity to play through the game and try to catch any of the bugs of fixes Vilya might have missed during her playthrough.

Finally, just like the last couple of weeks there’s a ton of stuff being made that we can’t show just yet. As always, while we’re pretty liberal with spoilers on this blog there’s just some things in the ending cutscenes and post-end game state we’d rather you experience for yourself. Hopefully you’ll be able to soon!

A new week, and more Frosty Fiend progress! He has, as of today, one regular attack (he will get another one, but one is enough for now to just test how it feels in-game), then Fred made a “hulk smash” for a potential special attack. It was a bit tricky as the pose was a bit difficult to get right but after much fiddling and reference checking, it worked.

Fred has also made a cannonball dive for him (he was first going to have a regular dive but he soon realized the cannonball felt more appropriate). He thought he would be extra smart here and just use the hulk smash pose straight away and just adjust the arms, but realized quite quickly that he needed to redraw everything for it to look nice. It went smoothly though! Nothing is 100% finished-rendered at this stage, but it’s taken far enough that one can test it in-game and get a fair idea of how it will feel.

Teddy has also continued with Frosty Fiend. He has tinkered together a (nearly finished) test for a snowball attack where the Fiend throws straight ahead instead of lobbing (which is what he has done so far). This way he has equivalents for both the snowball attacks we have previously used back in Seasonne through the snowball-throwing Scroundrel!

As for me, I have gone through more art/game books to get ideas and inspiration for the layout of the production book and made a ton of different design mockups before settling on something like these:

We are still evaluating what type of text design will be the best in terms of balance between readability and aesthetics, so it will probably change a bit before we are completely done:

Which version do you prefer so far?

This week it’s time to show one of the final backgrounds of the game: the ruined version of the final battle room. This is what will remain after you’ve battled through one of the two final battles and will set the stage for the true final battle – should you manage to get there.

The idea is that the darkness beyond the walls will be replaced by the starry sky background used in a couple other places in the game – but the game engine will handle that:

Most of the work this week has been done on the final bunch of cutscenes for the game – things we won’t show you too much from due to spoilers. However, here’s a little sneak peek of another character that will make an appearance – young Faita from Mount Bloom (grown-up version on the left, young on the right):

…What do you guys think she has got to do with this? :)

We’re back guys! Seriously, having a couple weeks off has been great and we’re now super excited to get back to work and finish this game up! Thank you for being so understanding and supporting us throughout these years – what a journey it’s been, and still is. Now as we’re drawing closer and closer to the end, it’s time to start taking a look at one of the final battles – the one with your own dad. We’ve been working on a bunch of attacks for him, so let’s have a peek:

No Grindea boss is ever really complete without having to dodge a bunch of stuff, am I right? So to start off, he’ll have one attack featuring Amalet and his annoying energy orbs, while you also have to dodge that annoying sword you just found out about.

Speaking of said sword, it’s sure out to get you, and has a bunch of attacks of it’s own – here with the aid of a Gaantlet teleport:

Some more dodging action:

And Gaantlet creating ice fields to make this battle even more difficult, oof:

The attack above looks a little wonky as it’s been recorded in 30 fps – don’t worry, it’s gonna look a lot better in the actual game with the actual graphics.

And here’s a little sequence featuring the attacks we have so far in various patterns, giving you a little preview of what parts of this fight might look like:

All WIP still, of course! In Fred’s department, he’s been busy making the proper animations for the attacks we’ve come up with this far, so here we have a couple of them:

Next up, I’ll be working on the final backgrounds, the last few puzzles and the last couple boss portraits! So close now :)

This week I thought we’d take a look at a bunch of the cutscenes we’ve been working on! Cutscenes are probably one of the most time consuming things for us to make, as it takes a lot of coordination between especially the programming and animation side of things, and there’s tons of small things that need to fit together to make them work.

In the final dungeon, there will be some minor cutscenes between each of the bosses, and here’s some of our WIPs this far!

We’ll start with taking a look at the intro of the boss himself, the mirror:

After that it’s time to summon the first boss, a shadow version of Giga Slime! Here we can take a proper look at the finished summoning animation as well:

Much the same happens for the next boss summoning, although here we’re thinking we want the grass to change rather than the elevators being replaced, so some changes might be in order:

Another fitting rhyme before your fight against two Phasemen:

Followed by a bit more epic appearance of the GUN-D4M!

In other exciting news, the sound effects have started to get added, courtesy of our lovely sound designer Fark! Here’s a little sneak peek of what things will sound like very soon:

And of course, a couple updates from Fred’s department. Here we have some shiny mirror versions of a bunch of enemies, and another animation featuring Zhamla:

Next week, it’s time for some new backgrounds and more final dungeon stuff! Stay tuned :)

This week we’ll take a closer look at the next boss in the boss rush, the Season Hydra! As you may remember, I made a part of the background for it a while ago, but today it’s time to take a look at what the elevator will look like with each of the different seasons. First though, we decided to add grass to the remaining two platforms as well, so let’s have a peek at that first:

With that in order, let’s continue transforming this background into each of the four seasons! Starting with Summer:

Next, Autumn:

In the cold days of winter:

And finally, pleasant spring:

Of course, the Hydras will need some kind of wall for them to bang their heads into, otherwise how are you gonna be able to best them?! At first, we considered using the spears you’ve seen from across the game:

A basic WIP, of course, but we thought we might come up with something slightly cooler. Enter the force field:

A little bit more hitech perhaps, but also a lot visually cooler. Especially with Fred’s startup animation of it! Let’s have a look:

And before we go, have a GIF of what the spawn sequence looks like right now (without the proper summer background added yet):

With the Hydra fight well under way, this dungeon is coming together more and more :) We hope you’ll enjoy it!

Another week, and this one’s main focus will be all about GUN-D4M, or rather the upgraded more epic version you’ll face in the dungeon! First up, a slight redesign was in order, to properly differentiate him from the previous version! For this, we made a couple sketches to determine which one we liked the best:

We felt like the one with the lights were the cooler version, so we ended up going with that:

Some colour variations to get it all just right:

And after that, time to start animating that badass! Let’s have a look at one of his animations:

His fingers will feature a new weapon as well… Ooof!

And here’s a bunch of videos from our prototyping of this part of the battle, starting with the two Phasemen, going into the GUN-D4M portion of the game, and then finally a bit of how the boss fight itself will play out:


What do you think so far? We’re all very excited for where this is heading anyway, hope you are too :D

Have you all have a nice easter break (for those of you celebrating or taking time off during the holiday)? :) We’ve had a lovely time with family, but now it’s time to get back to work! This week we’ll start off by showing a couple more backgrounds for the boss rush:

This first one is the floor for the Hydra boss, which I believe we’ve mentioned a little bit earlier. It will include a spring Hydra, so all four seasons are involved, hence the four different platform, each representing a season as well :)

Next up we have a truly terror-filled floor featuring the Power Flower AND BEES! Don’t worry, if it turns out in prototyping that this was a terrible idea, we may still cut this part of the boss fight (or will we? mwahaha):

Teddy, meanwhile, has started playing around with transitions between floors, and here’s a little sneak peek of that:

And Fred continues on with the actual boss fight of the dungeon – Zhamla! Here’s another animation from his department:

This week we’ll start off with another Boss Rush floor, this time the GUN-D4M floor, which will pretty much be the Phasemen floor – but destroyed by the sheer force of the GUN-D4M starting the battle! Let’s have a look:

One of the other things we’ve spent a lot of time on lately is what it’s gonna look like actually summoning these bosses! Each boss will be summoned by the Mirror artefact who ‘governs’ the Tower, and so our idea has been that we want some kind of mirror or glass effect as they appear. The videos below will give a pretty good idea of how our iteration process works – starting off with something small and building on it and editing it here along with more details, until we have something we’re happy with.

So, first up, here’s a couple of our very early iterations:


Then, we added a glass/mirror-like colouring for the next couple iterations:


Here we begin to play around with a glass shattering effect, which in these early prototypes is still very crude, as you can see:


Here Fred has gotten his hands on the prototype and started making some graphics! The shattering effect is still pretty basic, though:

With more proper graphics it’s starting to look more and more like something that would actually appear in the game! Here the “summoning-shards” have better graphics, and we’re playing around with various sizes for the mirror shards as they shatter:


We’ve also been working on the elevator itself, adding some darkness to give a better sense of dept to the dungeon:

Pretty cool huh? It’s really exciting to see this all coming together :) Now, next week is easter here, and with the restrictions finally being out of the way for the most part, it’s time to spend some time with family!

Therefore, there won’t be an update next week, but the blog will be back as usual on Monday the 25th! See you then :)

This week we’ll be adding a bunch of improvements, starting with making the jump down from the Phaseman and Crystal boss maps a bit clearer! First up, the original:

And next, a bunch of different suggestions for clearer versions:

For now, we’ll start by adding the last one, and if it still isn’t clear enough, we’ll blend it into one of the other two after you’ve defeated the boss, to make sure nobody’s confused about where to go after they’ve finished the boss :)

Another addition is that of a temporary space in the shop, for before anything but the shop is available! Looks a bit better than the space beside the shop being completely empty:

The travelling alchemist’s shop also needs slightly more proper graphics, to show off the fact that it’s not just ordinary potions but super potions that are for sale there:

One of the things you’ve told us in regards to the current update-in-progress is that you’d like to see a slightly darker version of the Grindea boss battle area, as she tends to blend in a bit much during the fight!

As such, here’s one such darker version, which we’ll try out and see how it works:

For Fred’s Friday, we have a little sneak peek of something curious… A couple sketches for an elevator! Whatever is this all about? Stay tuned to learn more next Monday! :)